


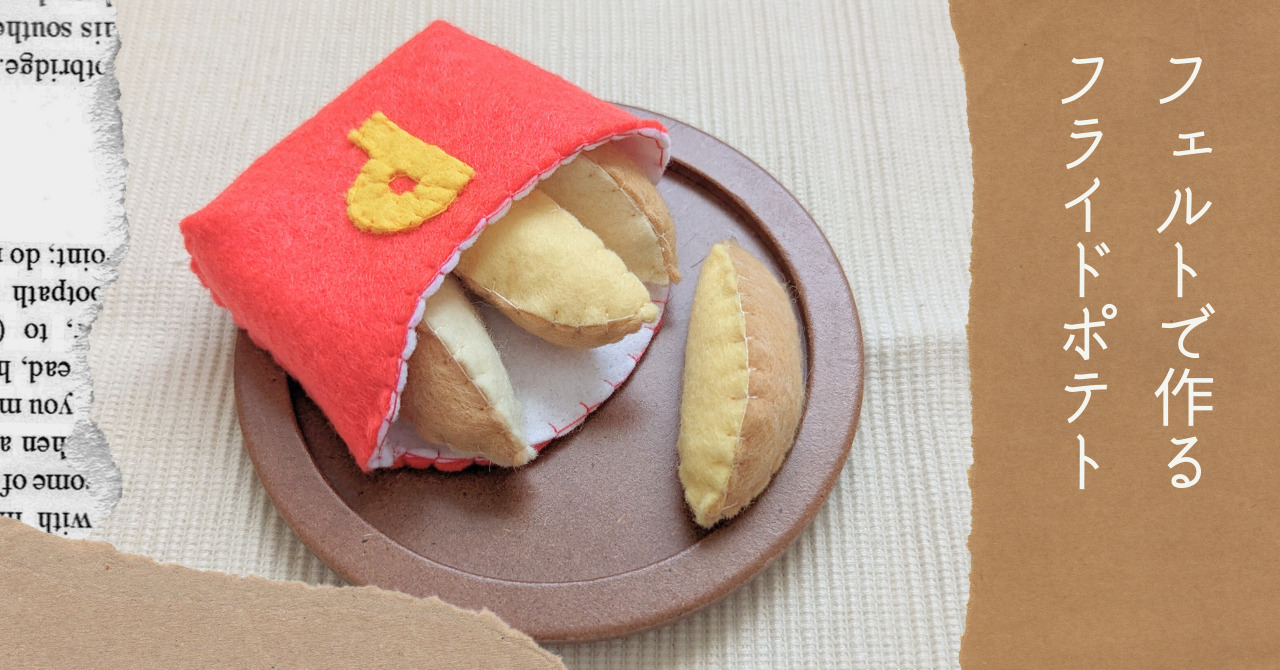
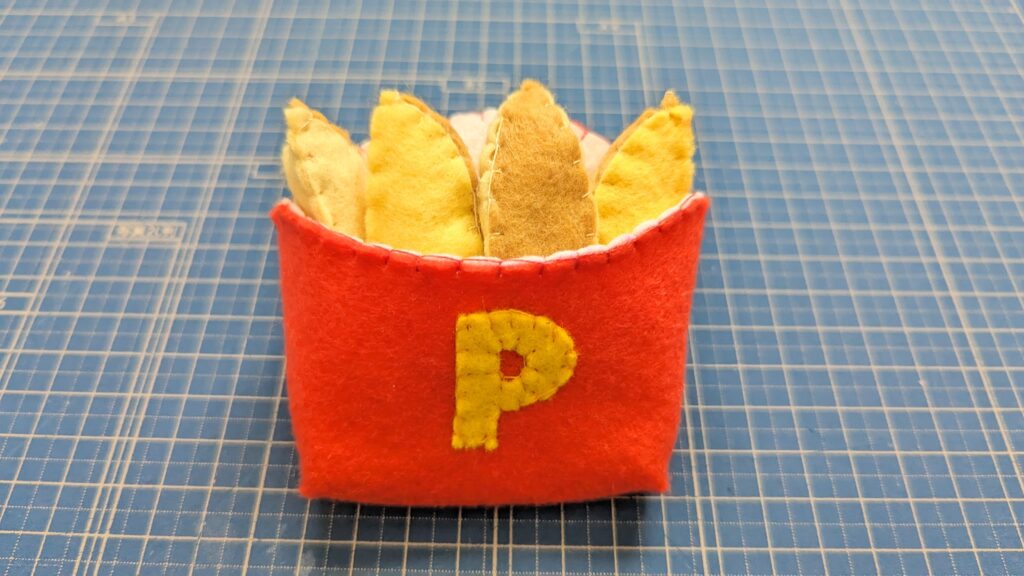
フェルトで作るフライドポテトのレシピです。
ポテトバック(ポテトを入れる容器)もセットにしました。
ポテトに合いそうなハンバーガーのレシピはこちら。

フェルトで作るバンズ
フェルトで作るバンズ(ハンバーガーのパン)の【無料型紙】&【無料レシピ】です。
amanatsu-handmade.com

フェルトで作るハンバーガーの具
フェルトで作るハンバーガーの具の【無料型紙】&【無料レシピ】です。
amanatsu-handmade.com
- 型紙、レシピの取り扱いについてははじめにをお読みください。
- パーツ同士を縫い合わせるときはブランケットステッチでおこなっています。
- 一般的な25番刺繍糸で、縫い合わせる時は1本取り、刺繍は3本取りにしています。
作品名&必要な材料
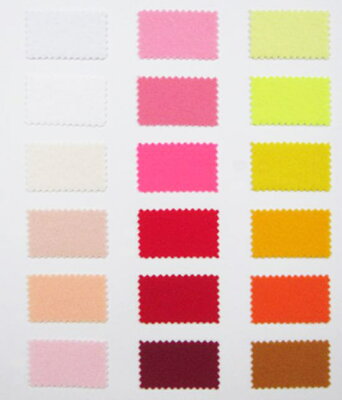
| 作品名 | パーツ名 | 必要なサイズ:数 | フェルトの色 | 刺繍糸の色 |
|---|---|---|---|---|
| フライドポテト | フライドポテト① | 2×5.5cm:2枚 | うす黄 | うす黄 |
| フライドポテト② | 2×7cm:1枚 | うす茶 | ||
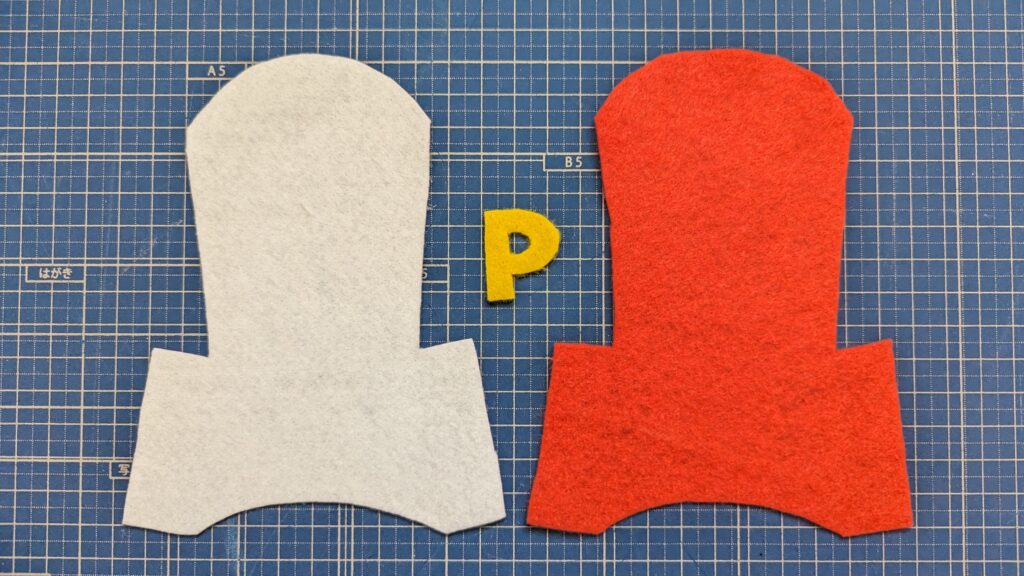
| ポテトバック | ポテトバック① | 14×11cm:各1枚 | 赤 白 | 黄 赤 |
| ポテトバック② | 3×2.5㎝:1枚 | 黄 |
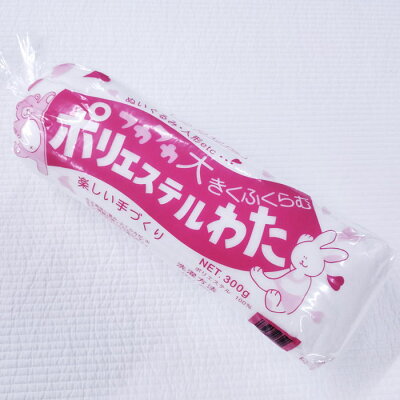
お子さまのために作る場合は、フェルトや手芸わたは洗えるタイプにすると清潔です
刺繍糸はこちらを使っています

型紙のダウンロード
作り方
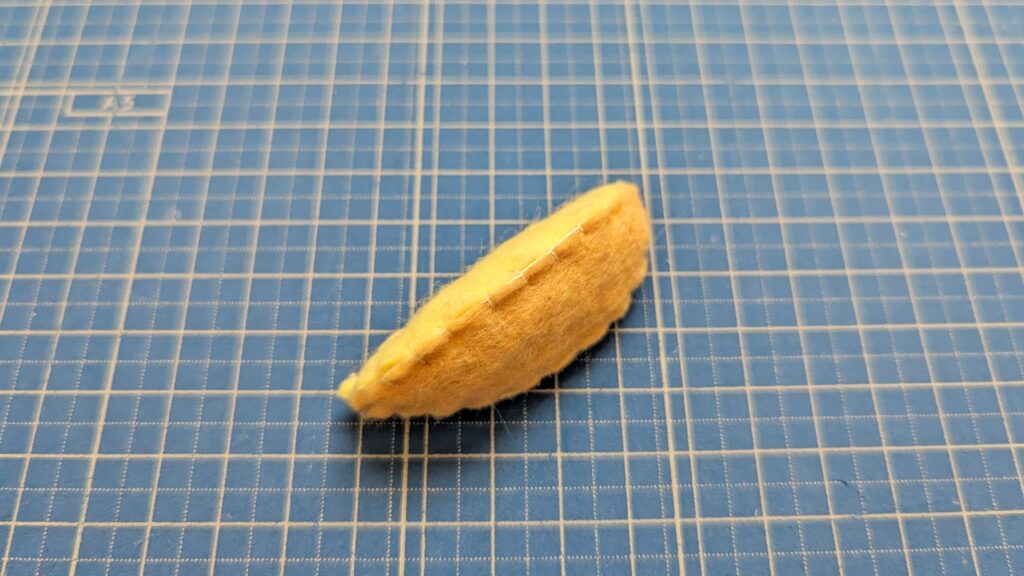
フライドポテト
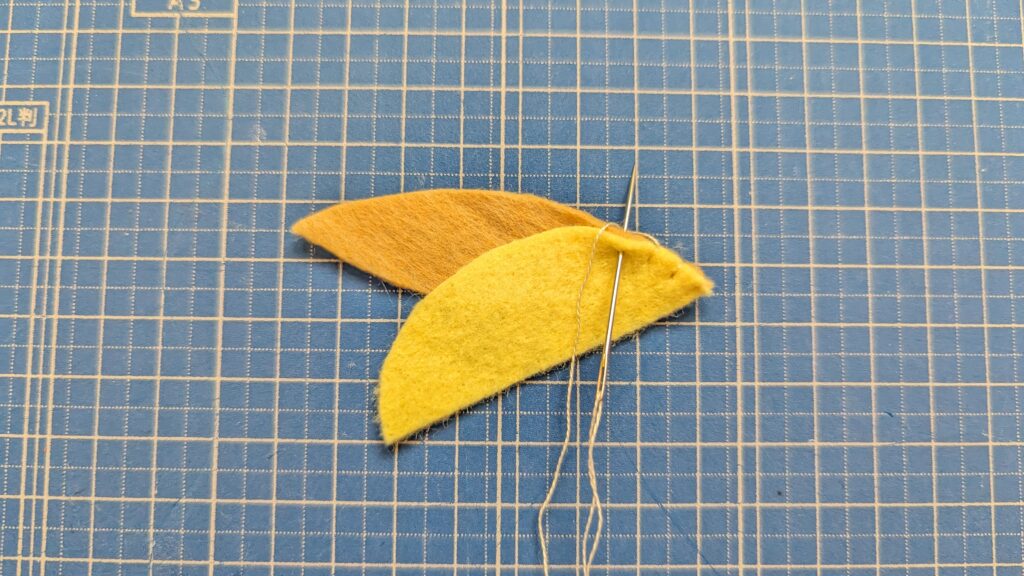
1.フェルトに型紙を写して切る。
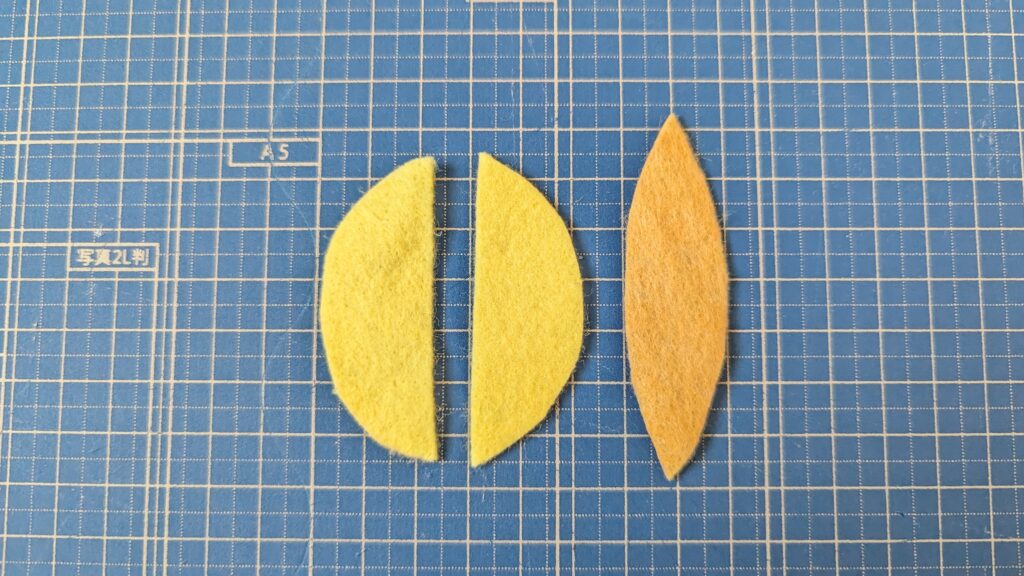
2.フライドポテト①とフライドポテト②を縫い合わせる。
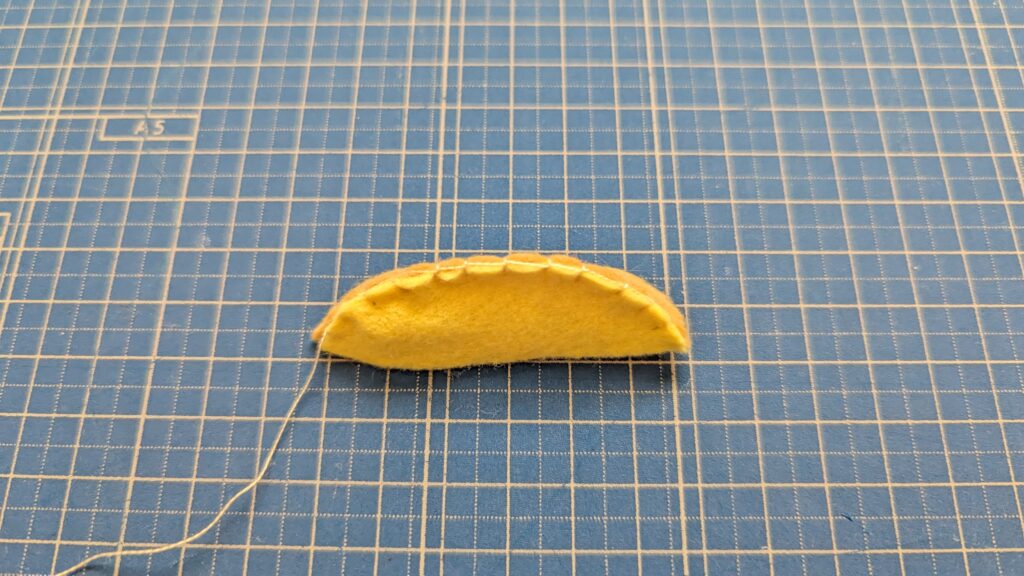
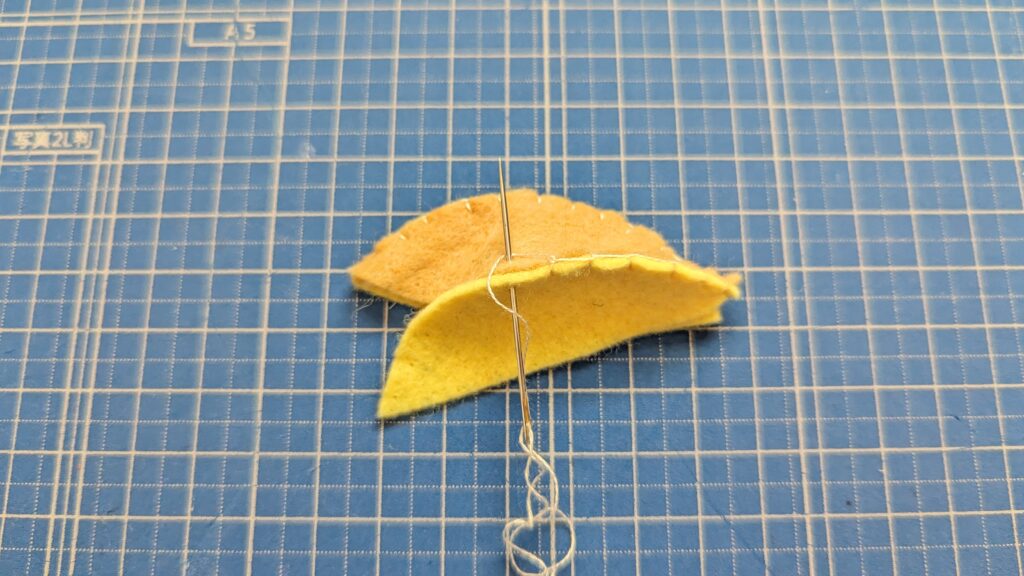
3.2ともう1枚のフライドポテト①を縫い合わせる。最後は2㎝ほど残して綿を詰め、残りを縫う。
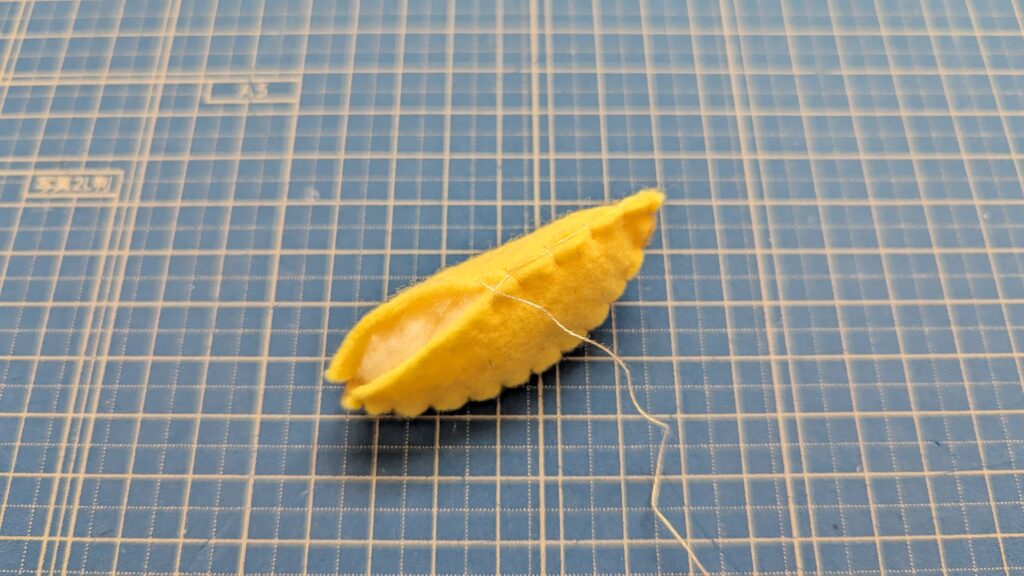

完成です!
ポテトバック
1.フェルトに型紙を写して切る。
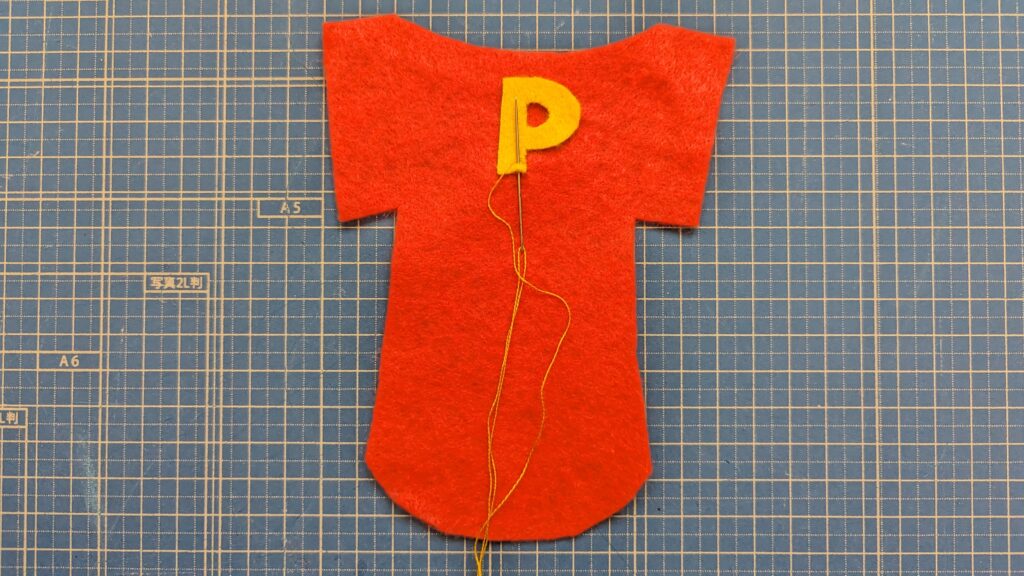
2.ポテトバック①(赤)に、ポテトバック②を縫いつける。

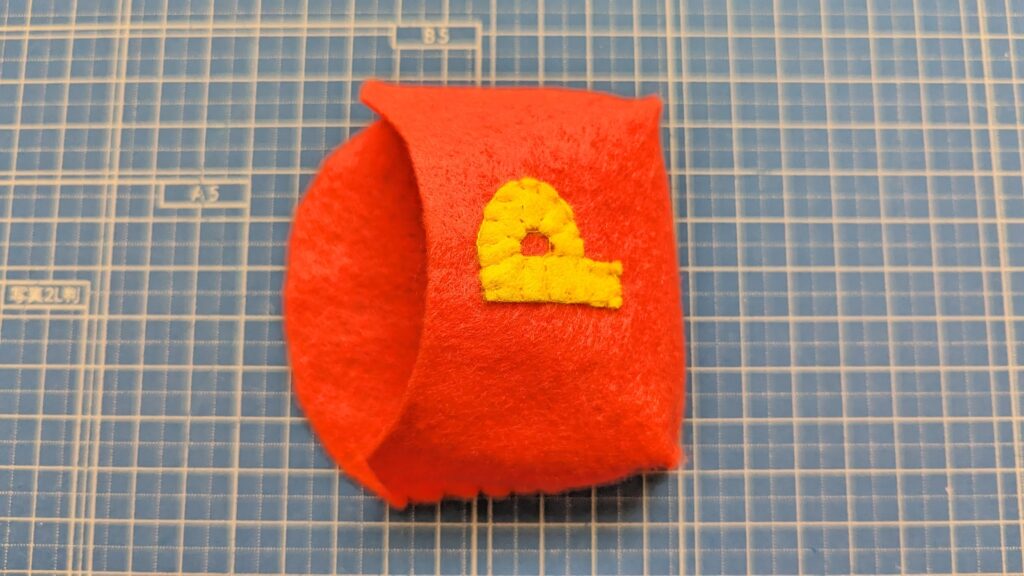
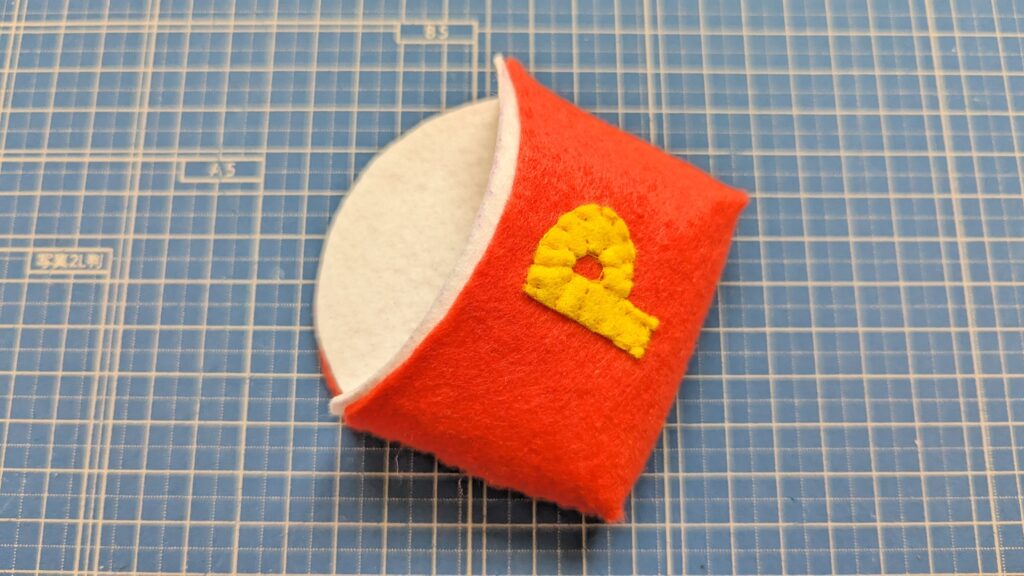
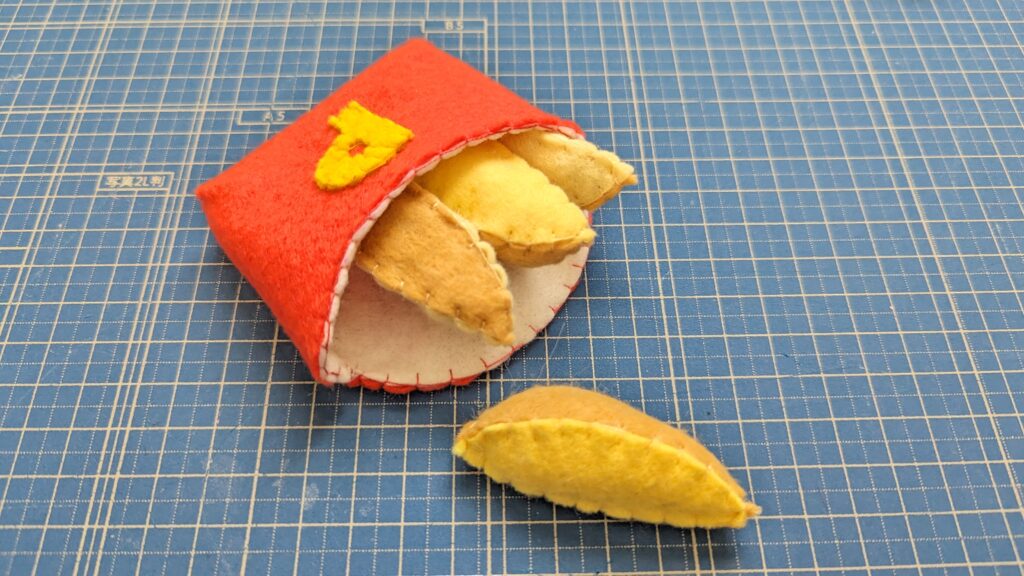
3.写真のように、2の端同士を縫い合わせる。
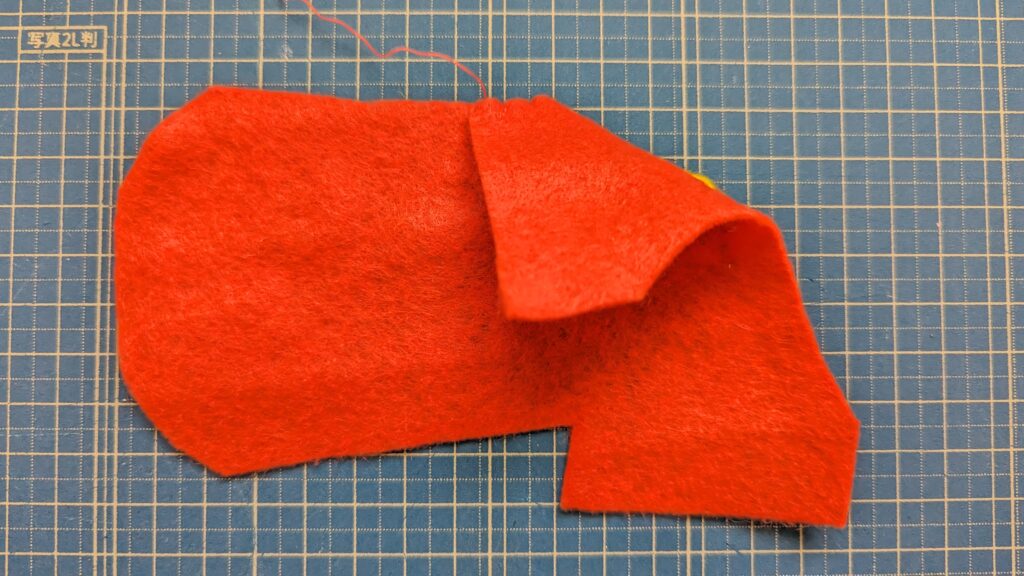
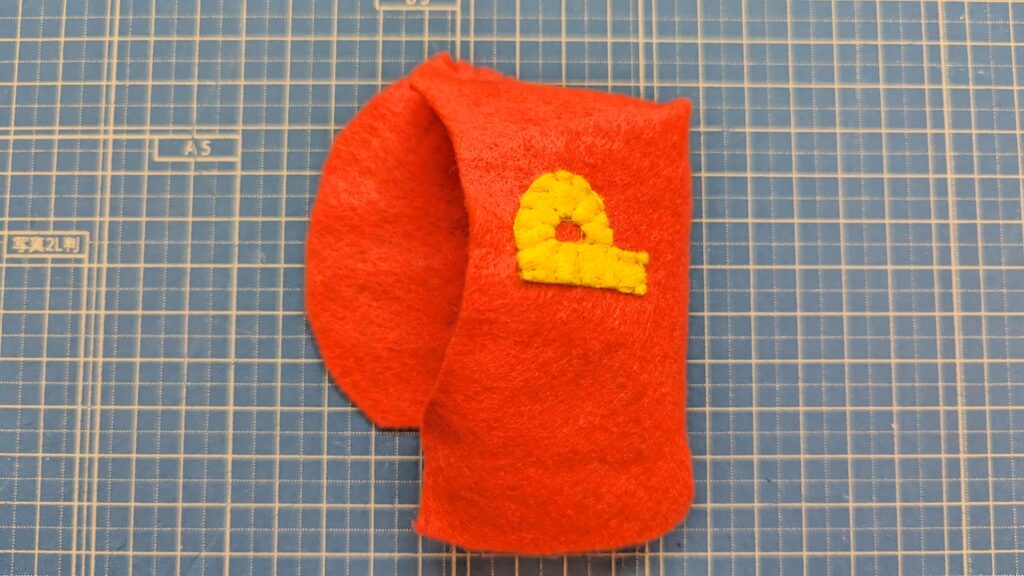
両側を同じように縫い合わせます
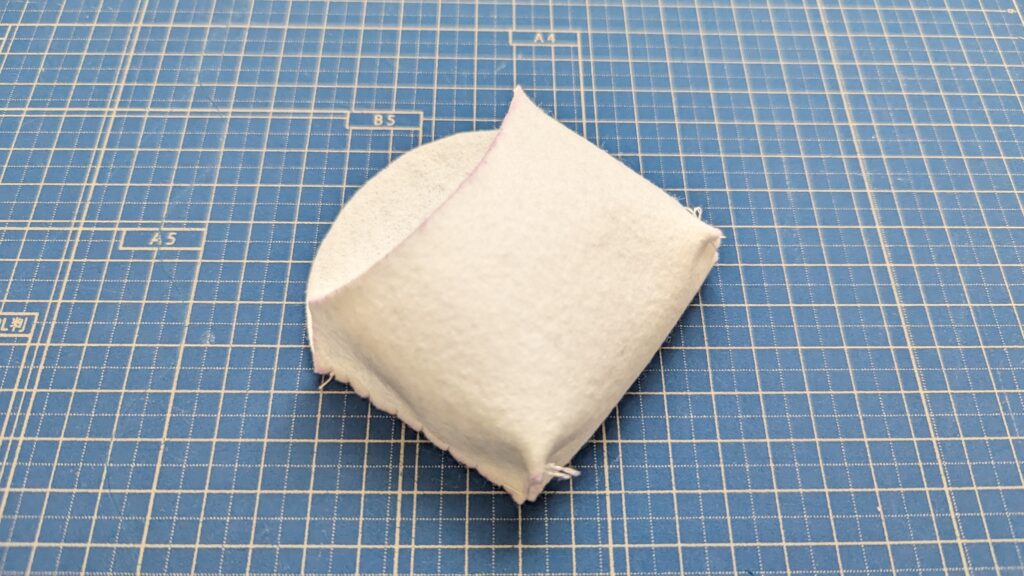
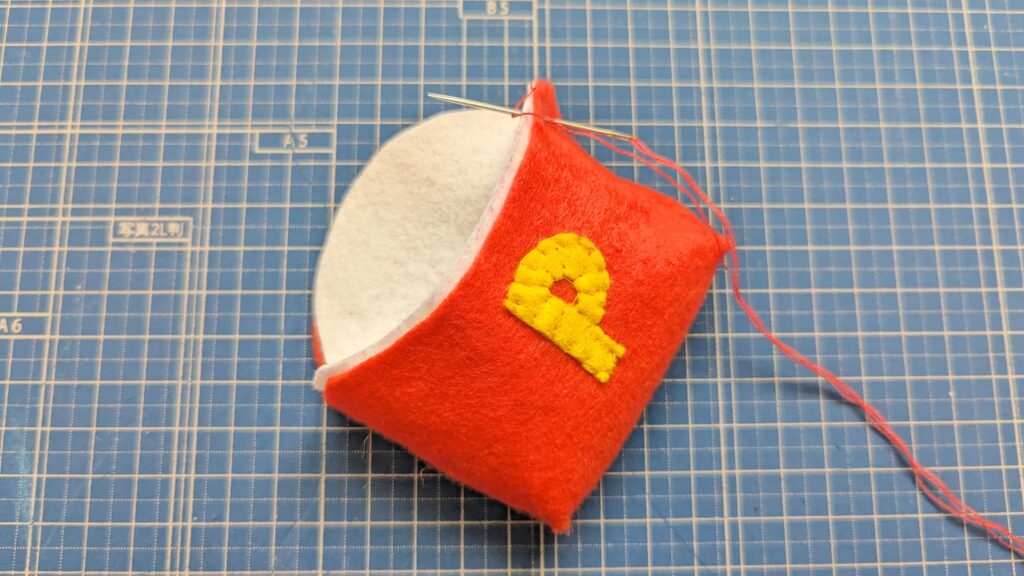
4.もう1枚のポテトバック①(白)も3と同様に縫い合わせる。この時、中表にして縫う。
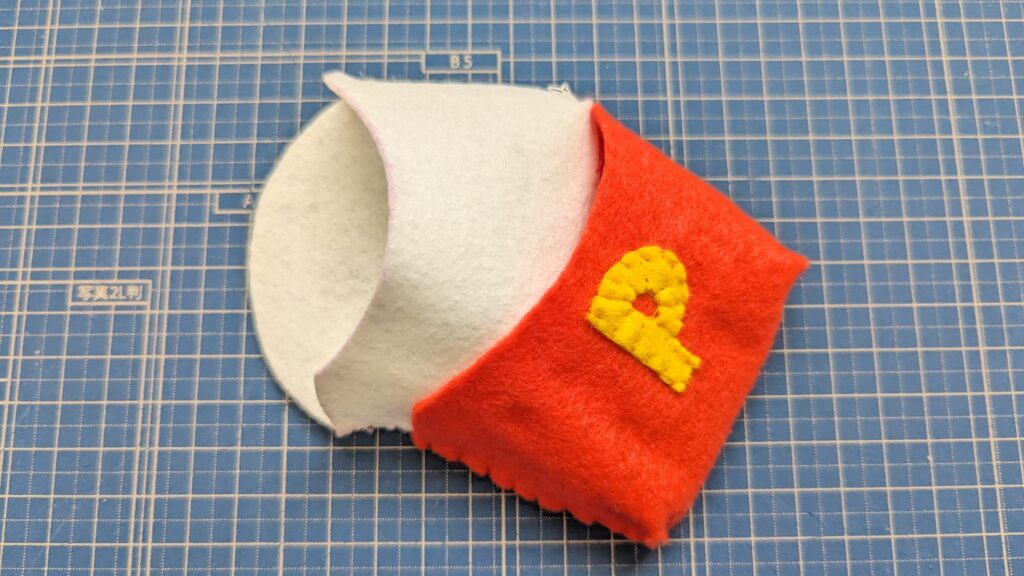
5.3に4を入れ込み、重なる部分を縫い合わせる。
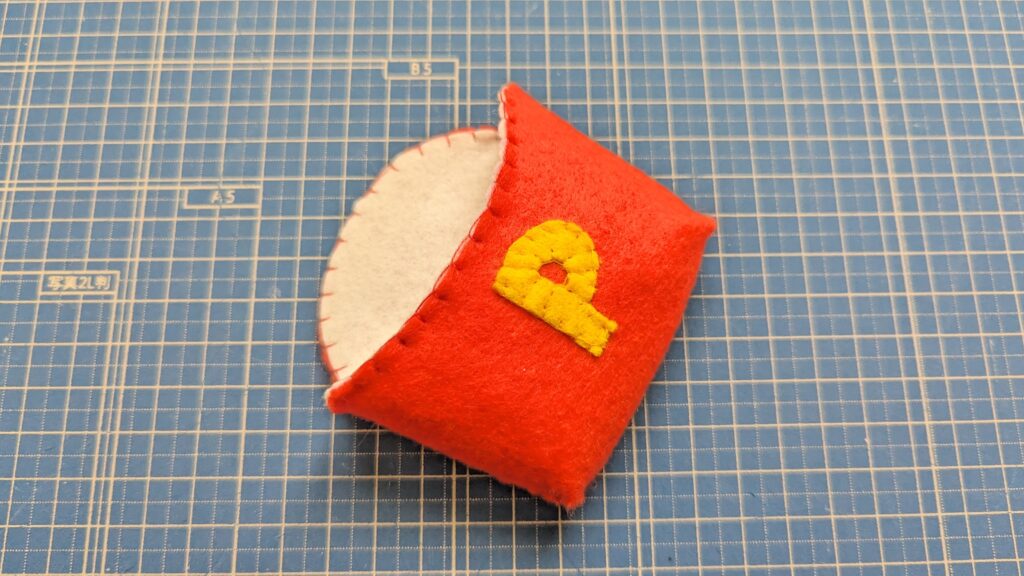
完成です!
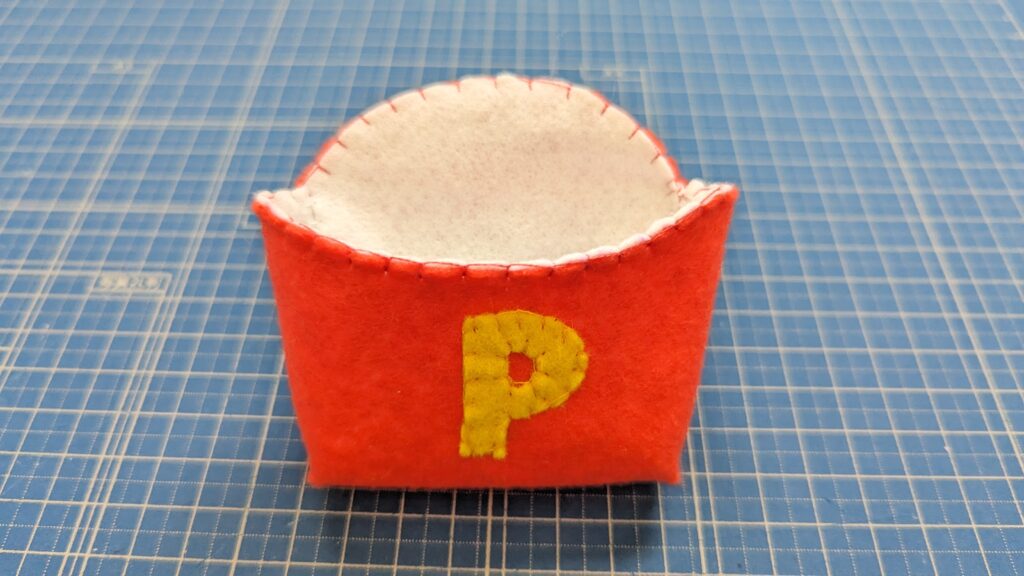
ポテトを入れるとこんな感じです

コメント