
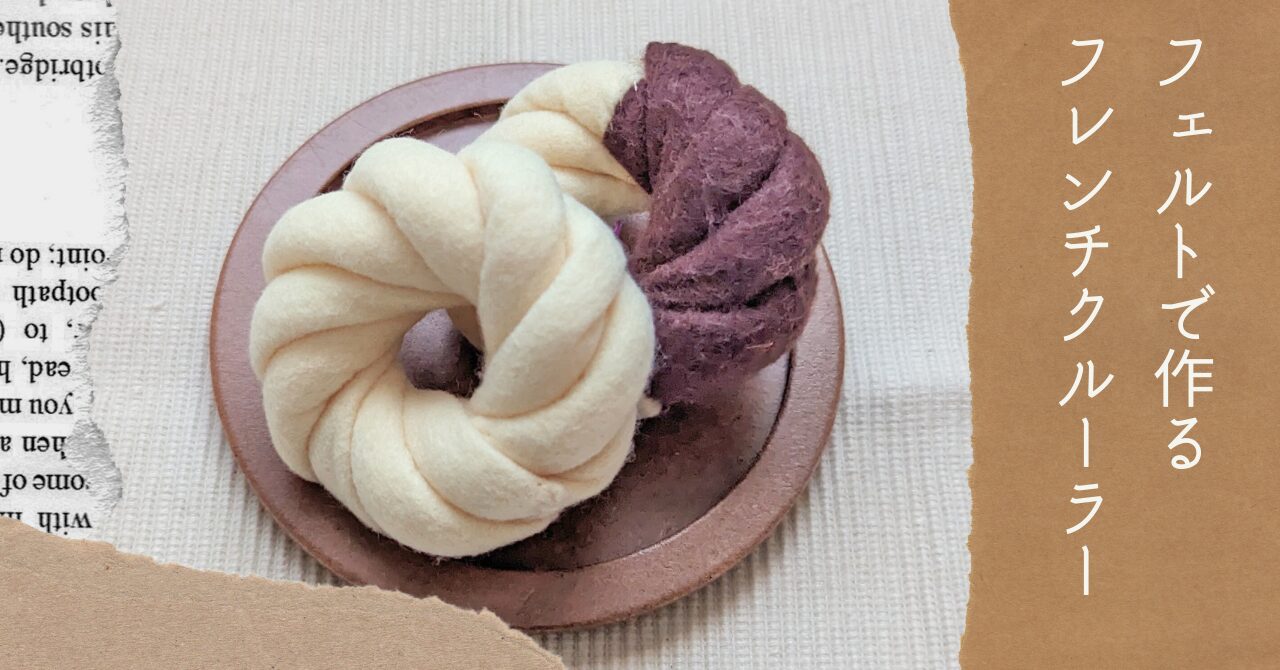
フェルトで作るフレンチクルーラーのレシピです。
最後の工程が少し難しいですが、型紙なしでも作れます。
その他ドーナツシリーズはこちら。

フェルトで作るポンデリング風ドーナツ
フェルトで作るポンデリング風ドーナツの【無料型紙】&【無料レシピ】です。
amanatsu-handmade.com

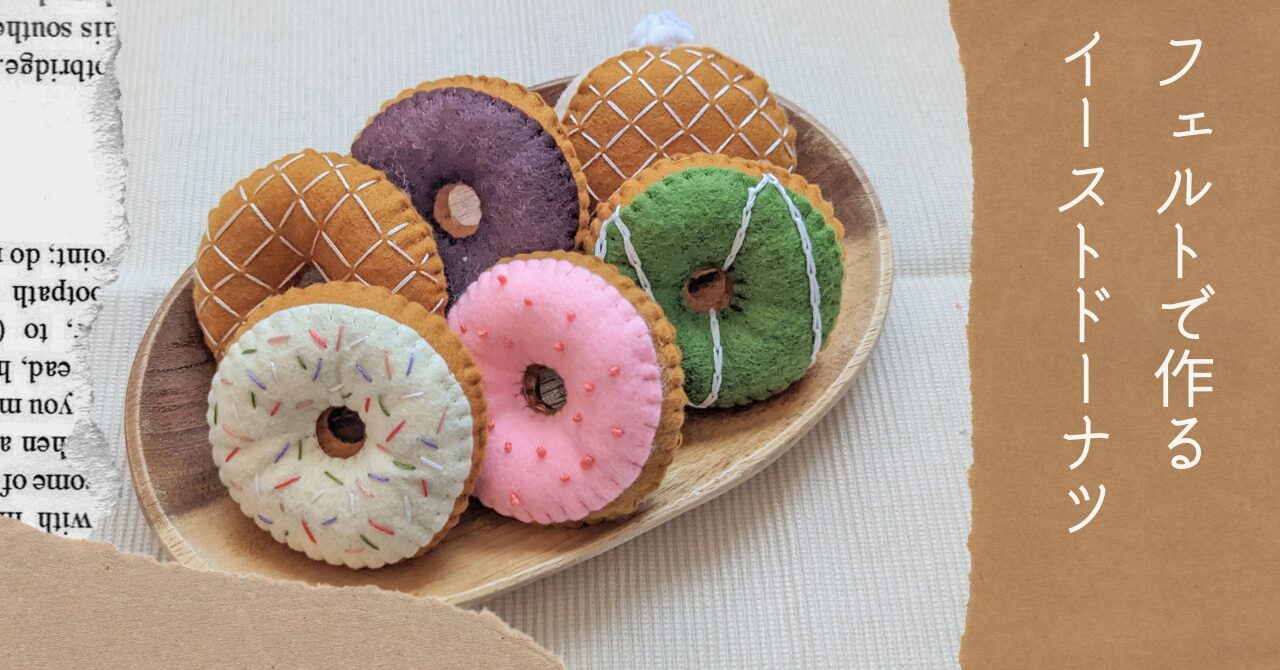
フェルトで作るイーストドーナツ
フェルトで作るイーストドーナツの【無料型紙】&【無料レシピ】です。
amanatsu-handmade.com

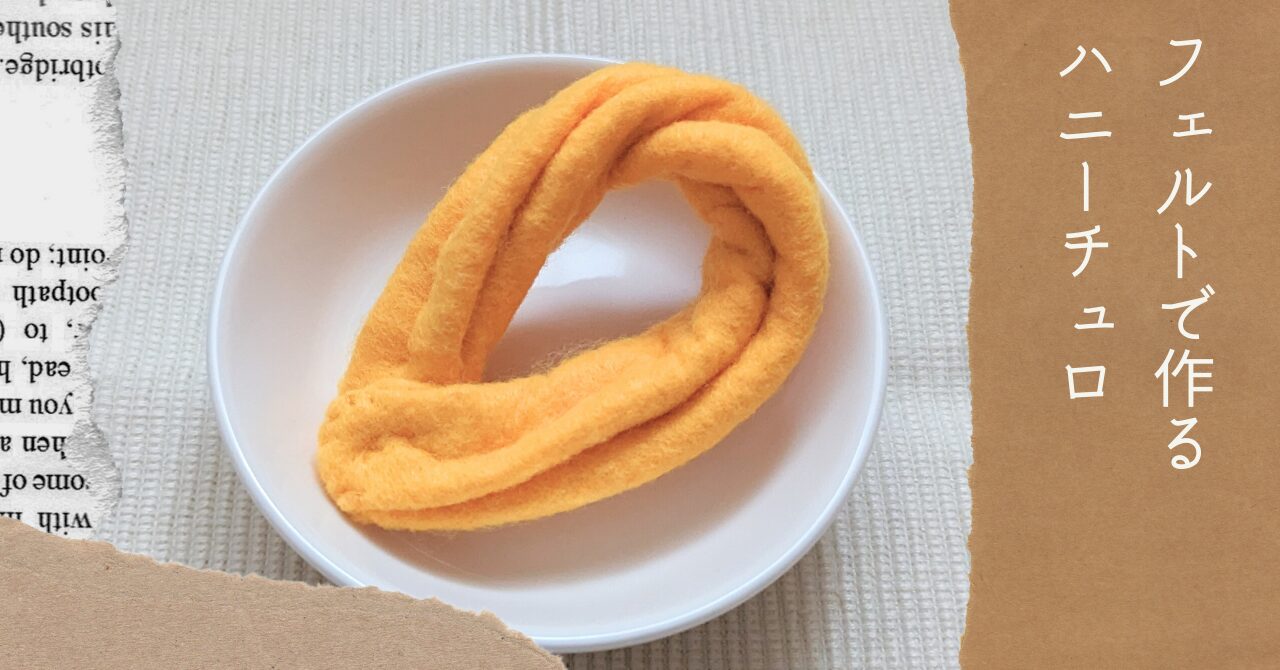
フェルトで作るハニーチュロ風ドーナツ
フェルトで作るハニーチュロ風ドーナツの【無料型紙】&【無料レシピ】です。型紙が無くても作れます。
amanatsu-handmade.com
- 型紙、レシピの取り扱いについてははじめにをお読みください。
- パーツ同士を縫い合わせるときはかがり縫いでおこなっています。
- 一般的な25番刺繍糸で、縫い合わせる時は1本取りにしています。
作品名&必要な材料
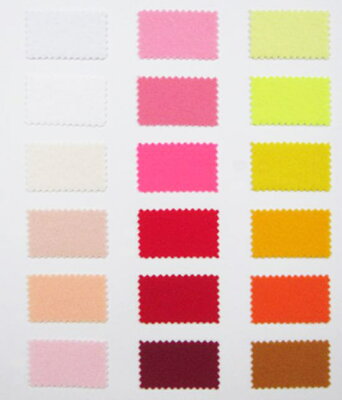
| 作品名 | パーツ名 | 必要なサイズ:数 | フェルトの色 | 刺繍糸の色 |
|---|---|---|---|---|
| フレンチクルーラー | 本体 | 16×18cm:1枚 | クリーム | クリーム |
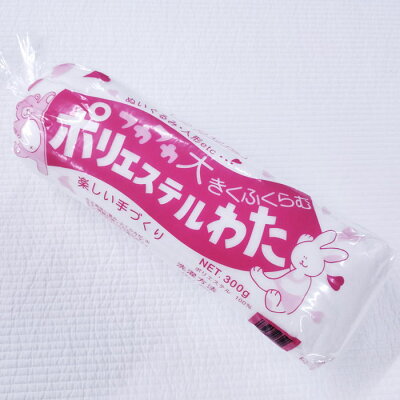
お子さまのために作る場合は、フェルトや手芸わたは洗えるタイプにすると清潔です
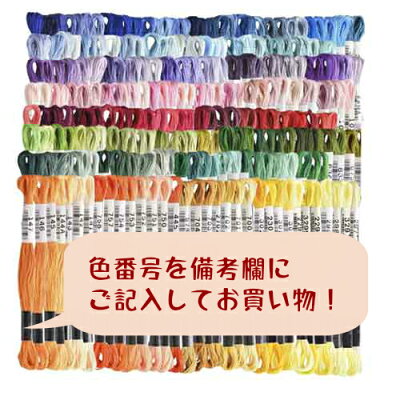
刺繍糸はこちらを使っています
型紙のダウンロード
作り方
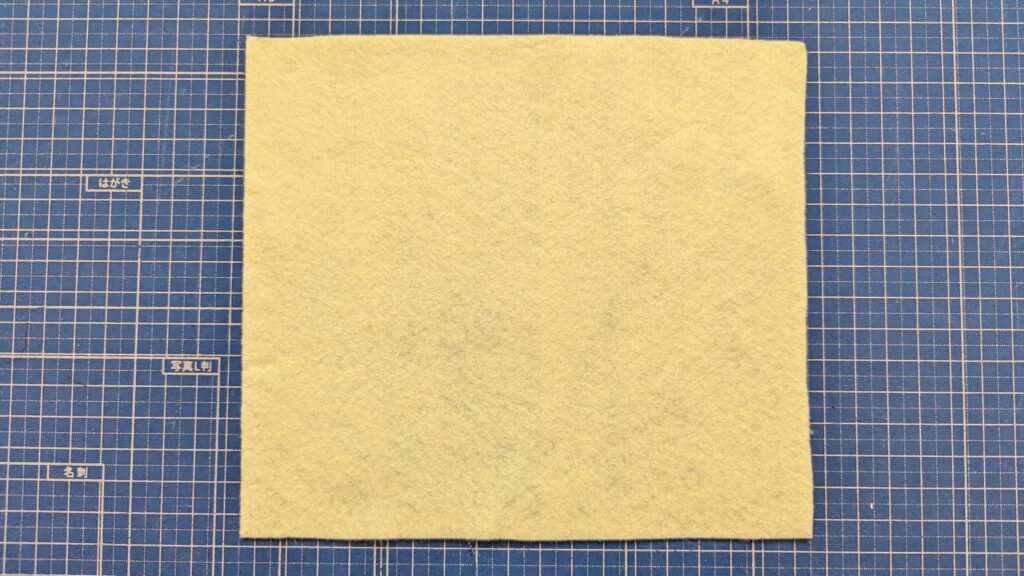
1.フェルトに型紙を写して切る。
型紙が無い場合
16×18㎝の長方形に切ります
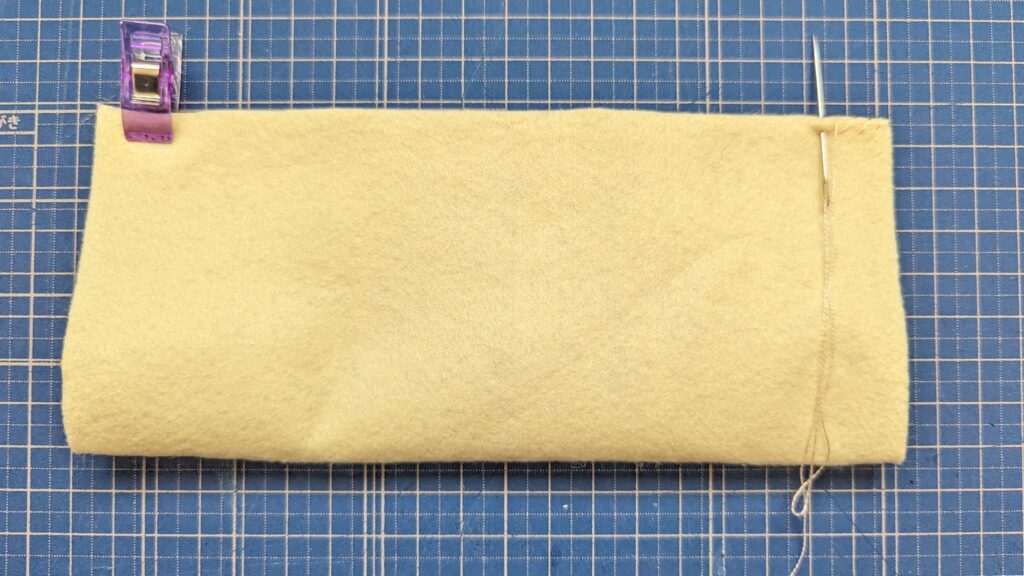
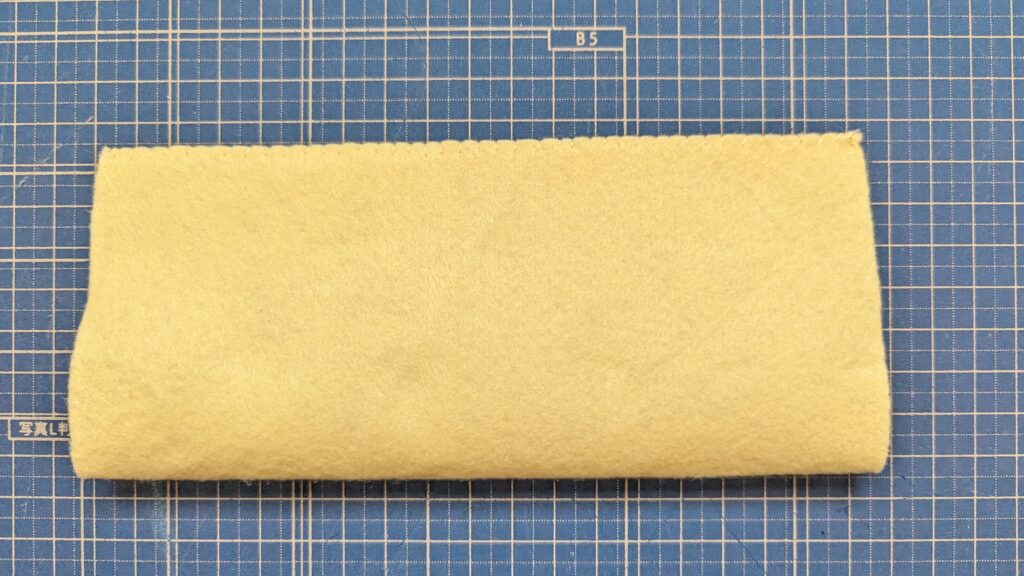
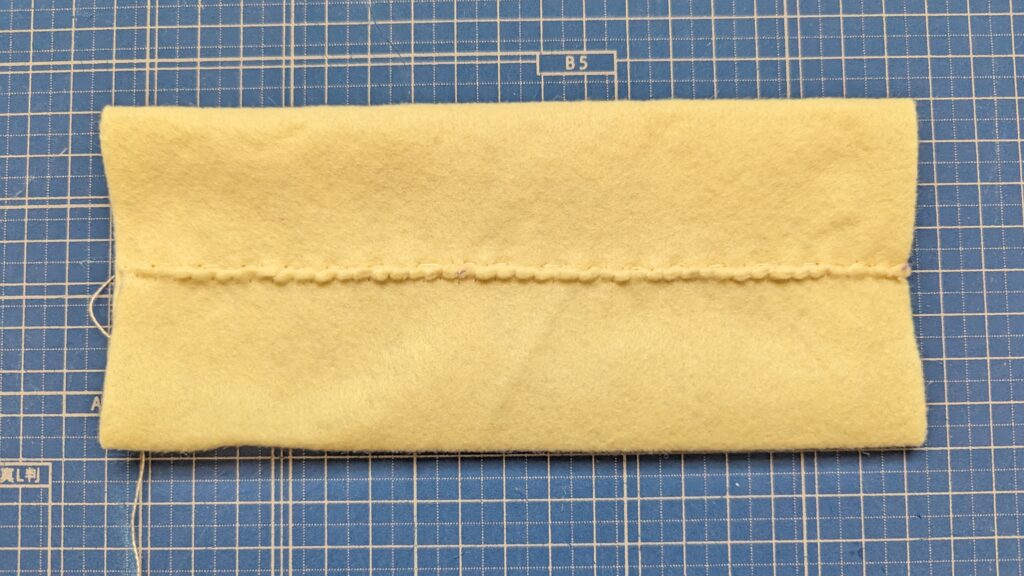
2.本体を半分に折り、上の端同士を縫い合わせる。
16㎝の辺を折って、8×18㎝の長方形にします
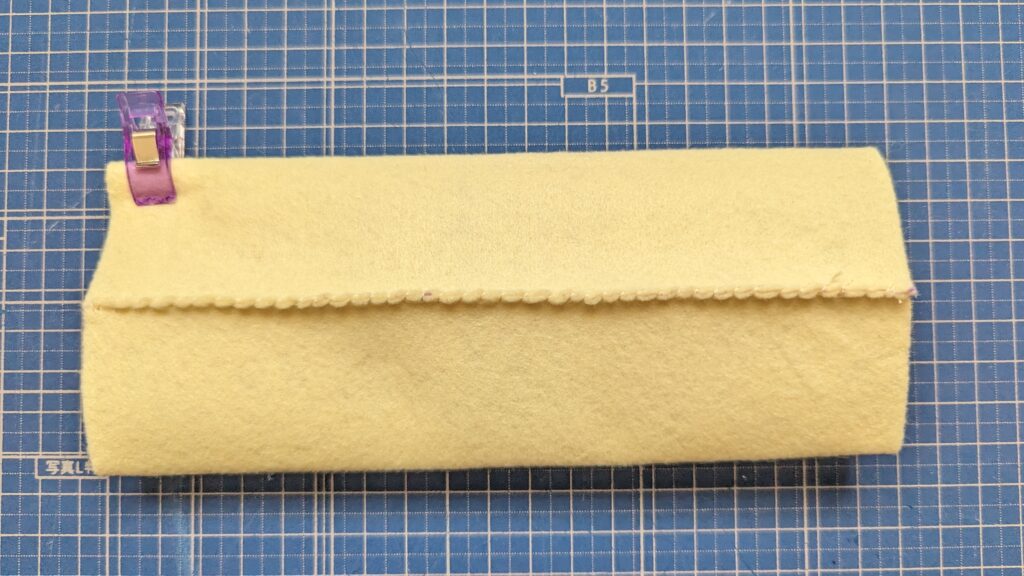
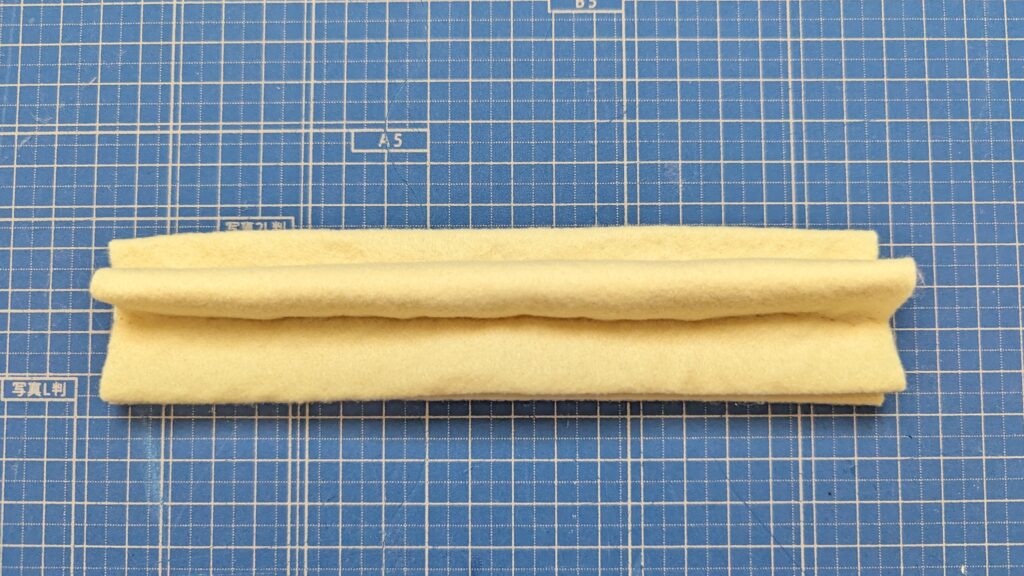
3.縫い目を中心にずらし、その上をなみ縫いで縫い合わせる。
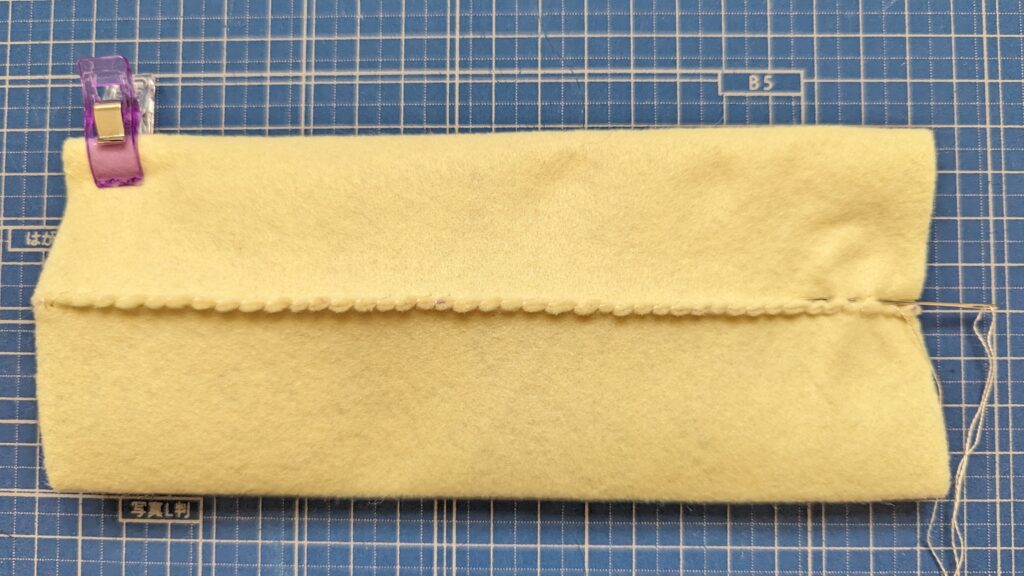
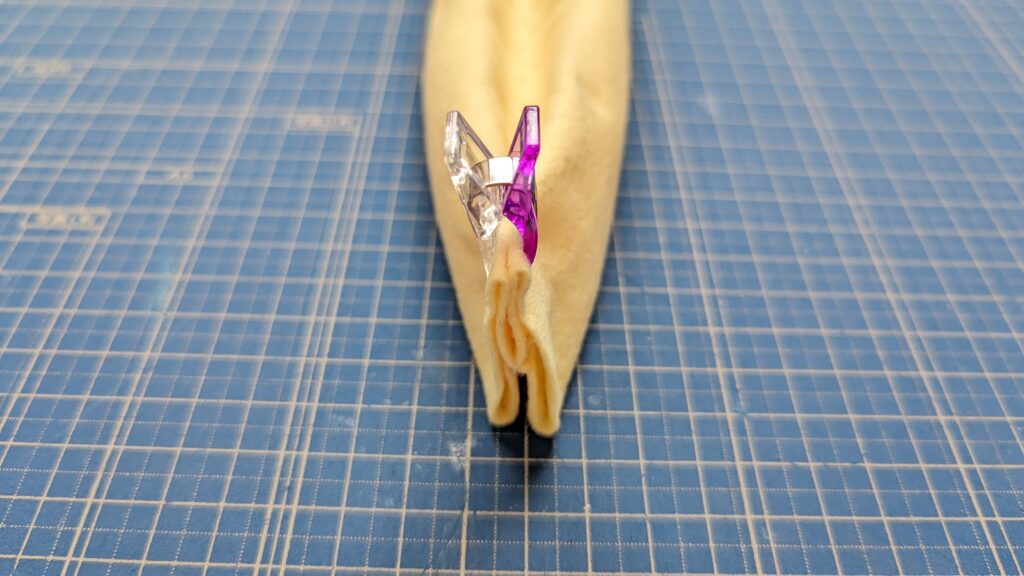
4.写真のように折りたたみ、中心をなみ縫いで縫い合わせる。

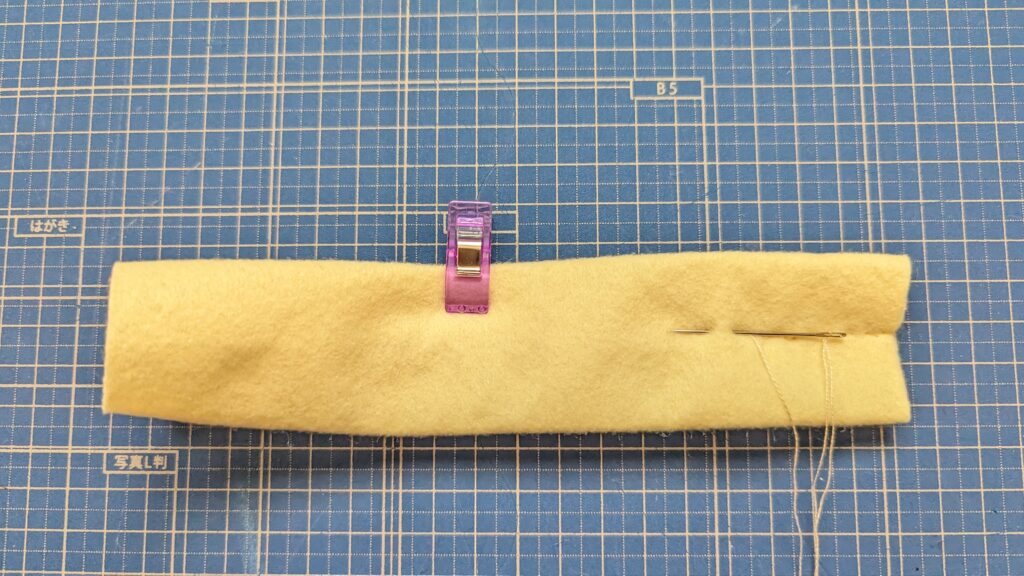
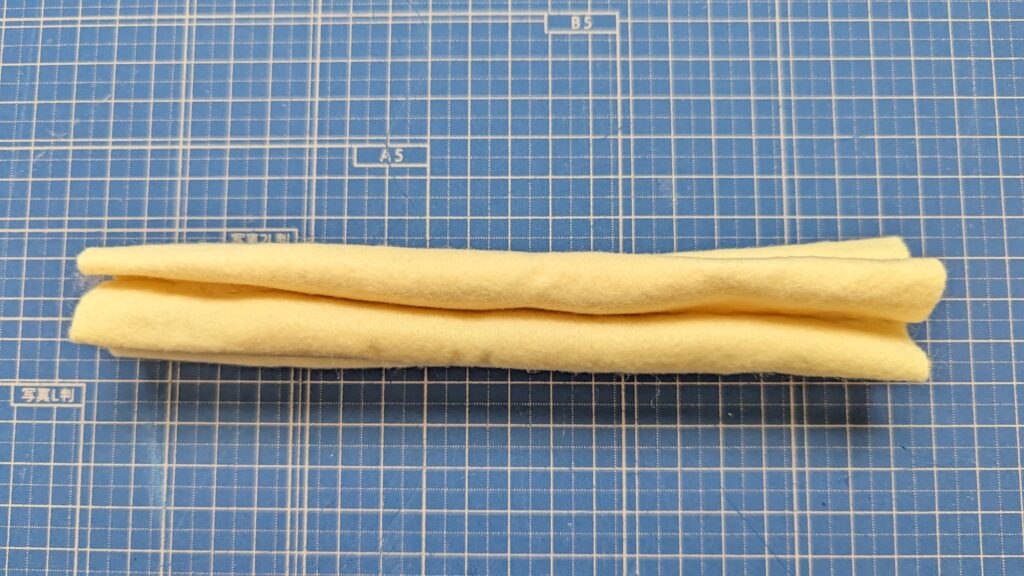
5.それぞれの筒に綿を軽く詰める。
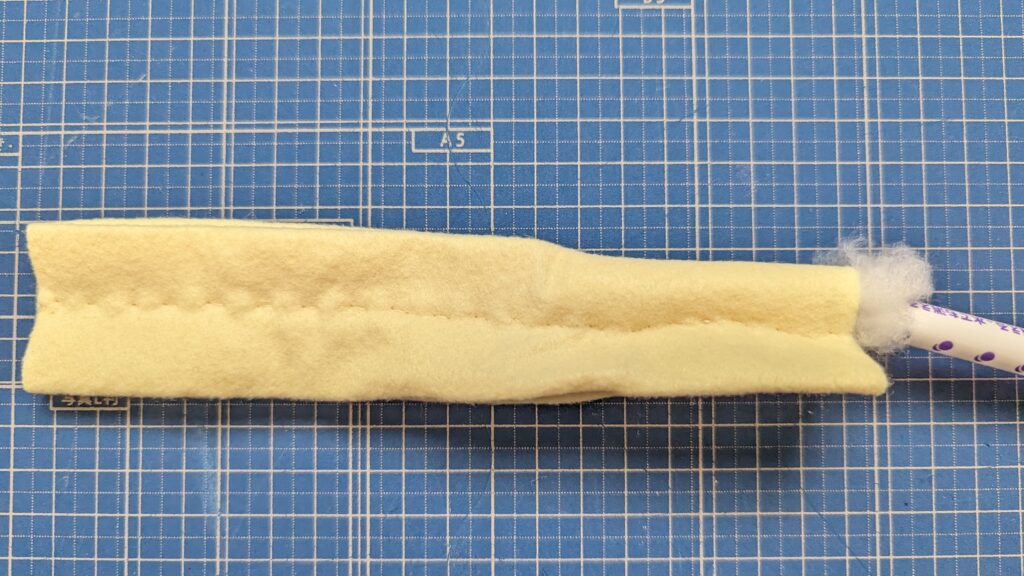
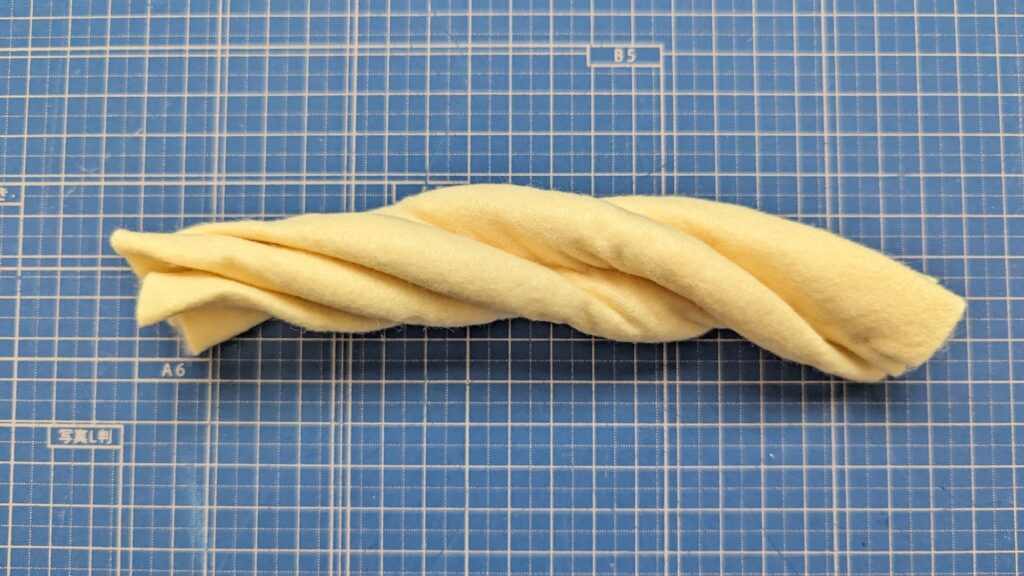
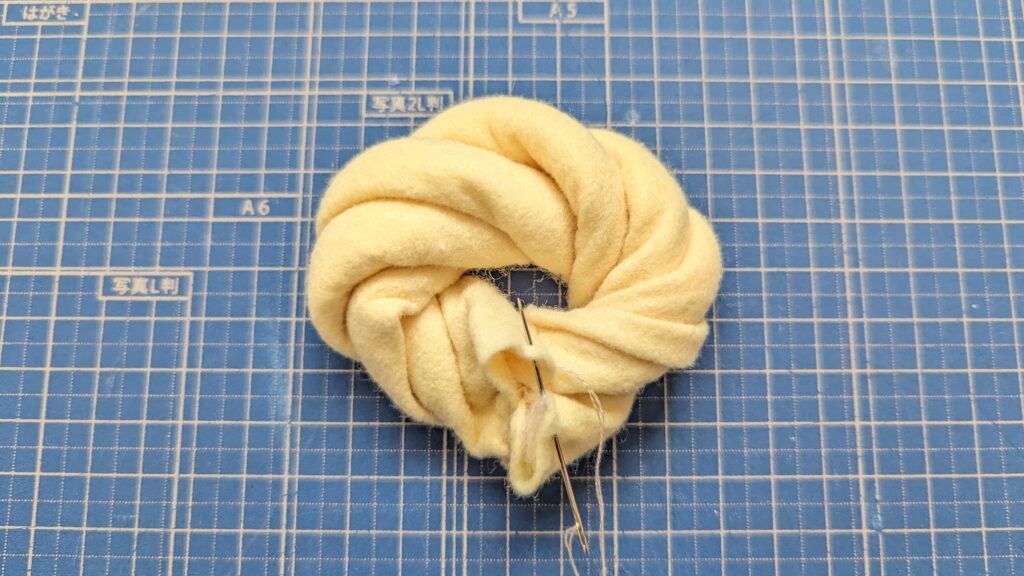
6.5をできるだけねじる。綿を足しながら、向かい合う筒同士を2本取りの刺繍糸で縫い合わせる。
ここが少し大変です…!
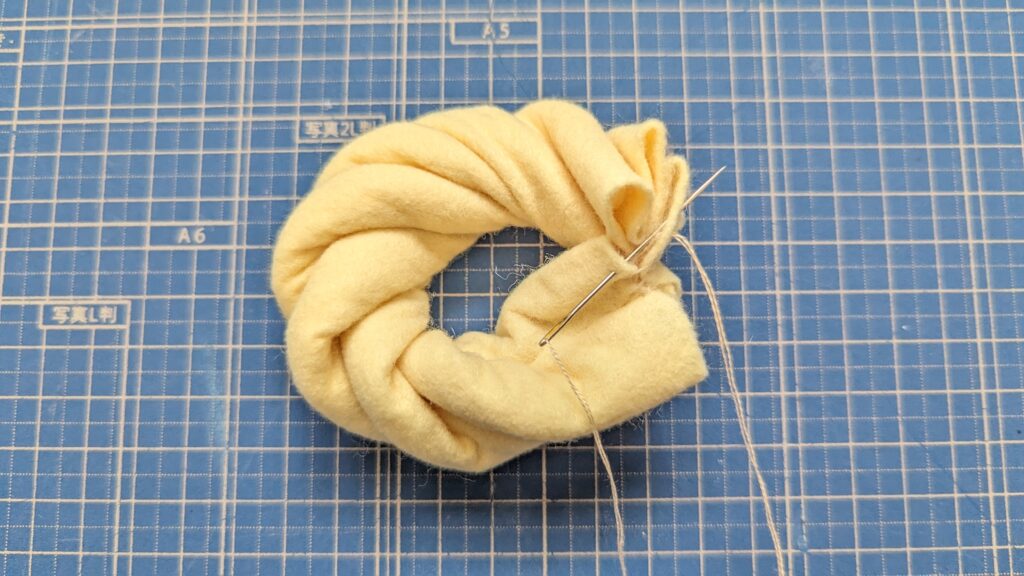
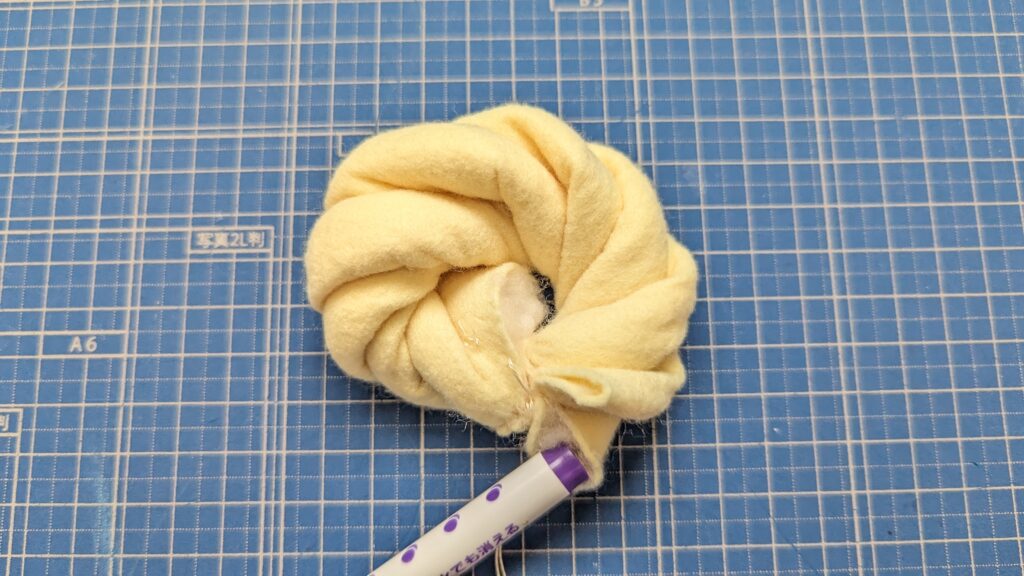
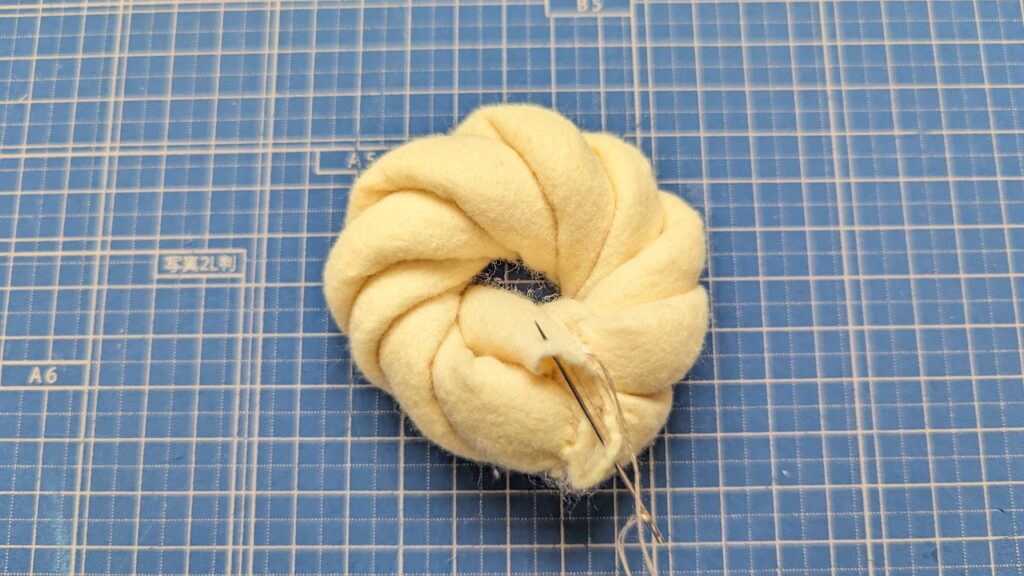
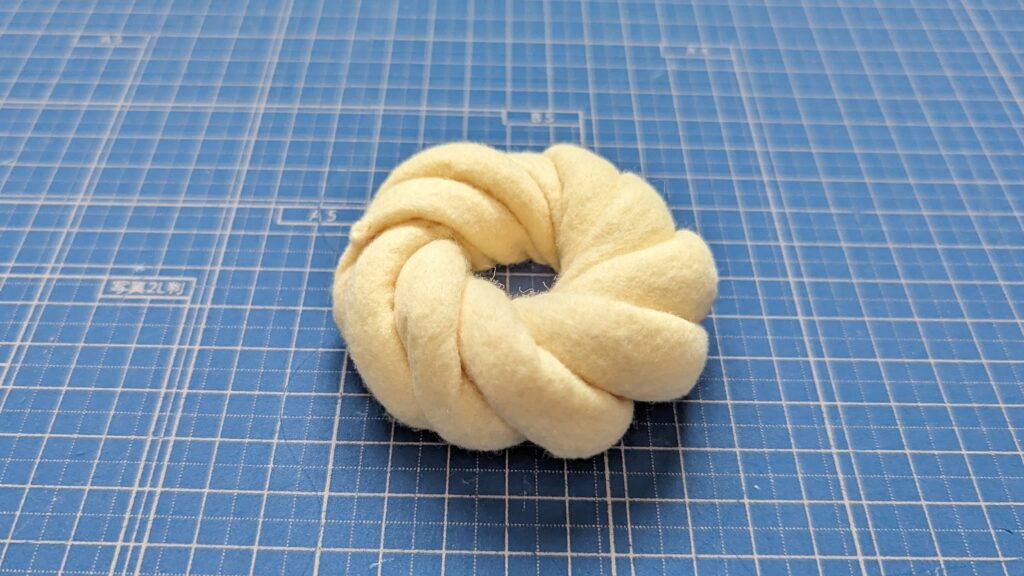
7.綿をなじませ、形を整える。
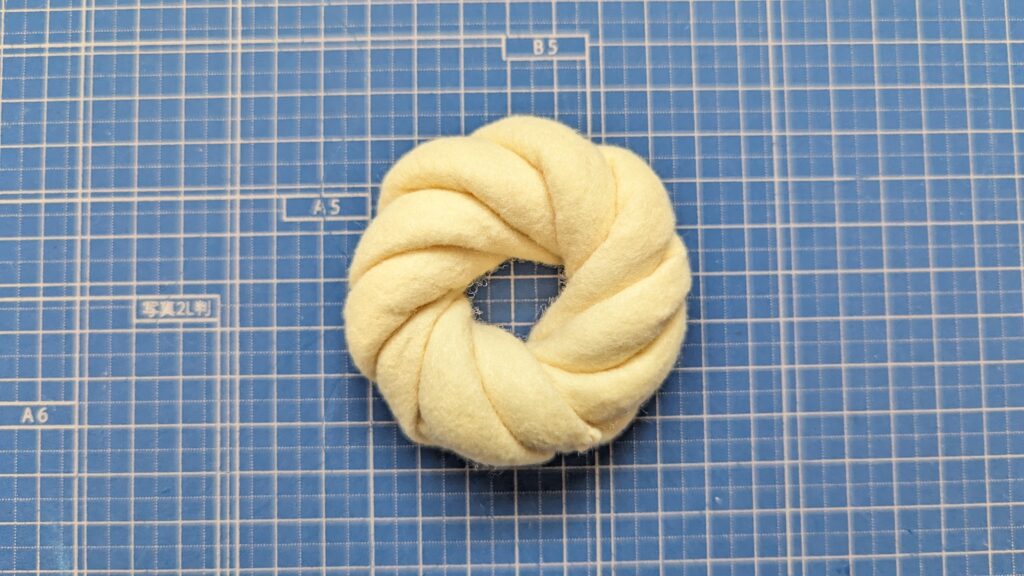
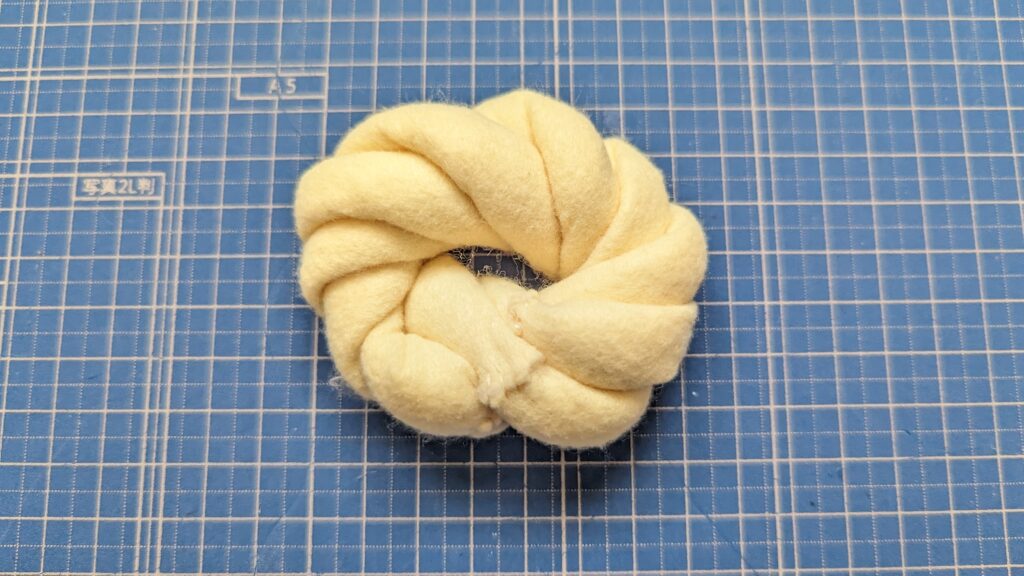
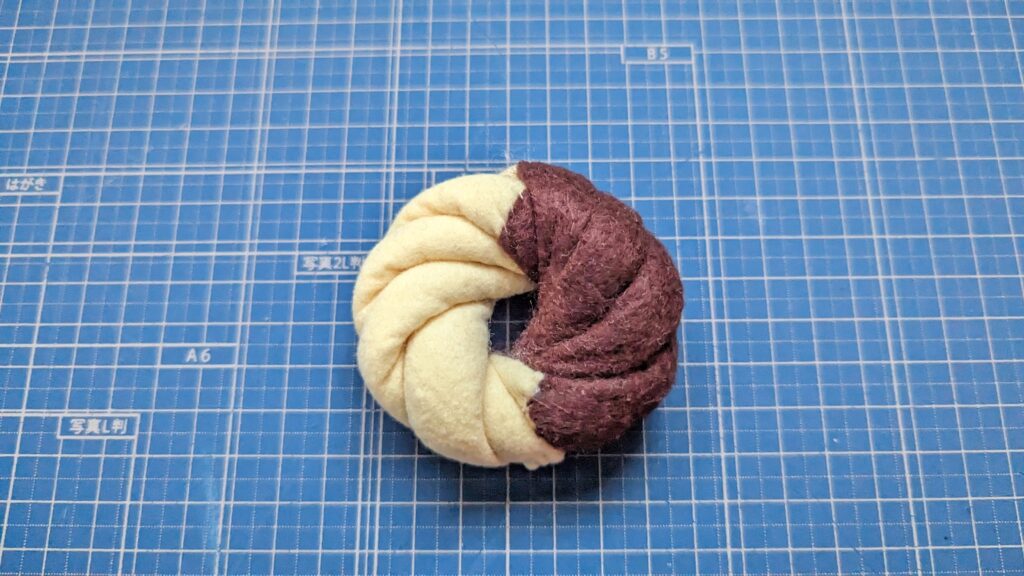
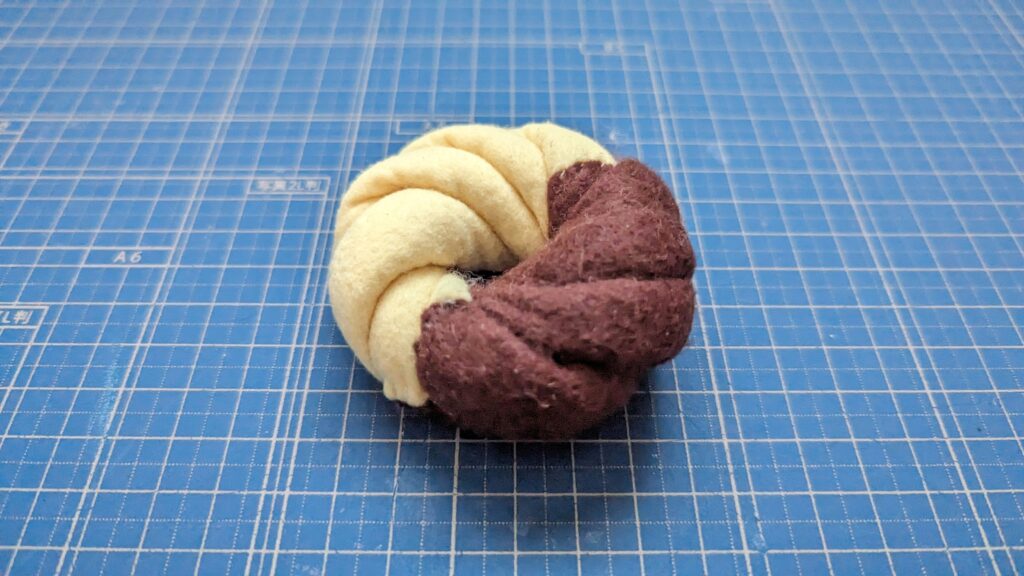
完成です!
アレンジレシピ
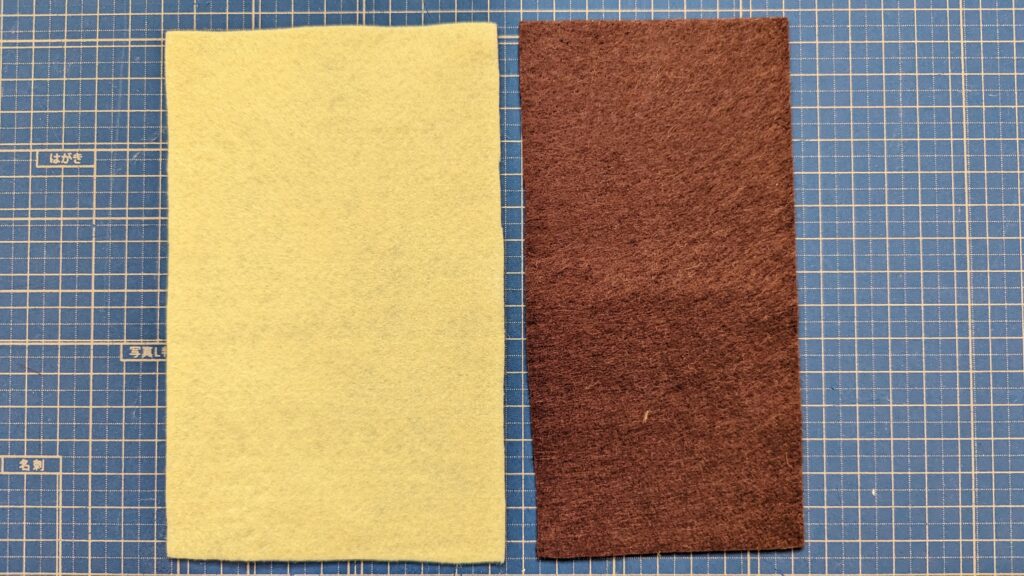
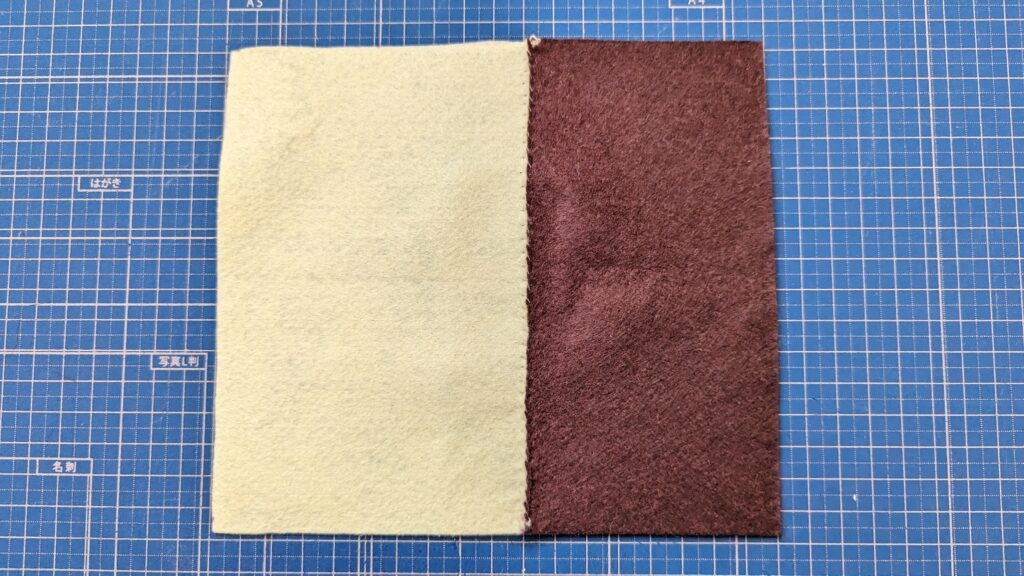
型紙を16×10㎝と16×8㎝に分け、2色を縫い合わせてから作るとチョコありバージョンになります。
2色を縫い合わせる時は、刺繍糸は2本取りがおすすめです


コメント