
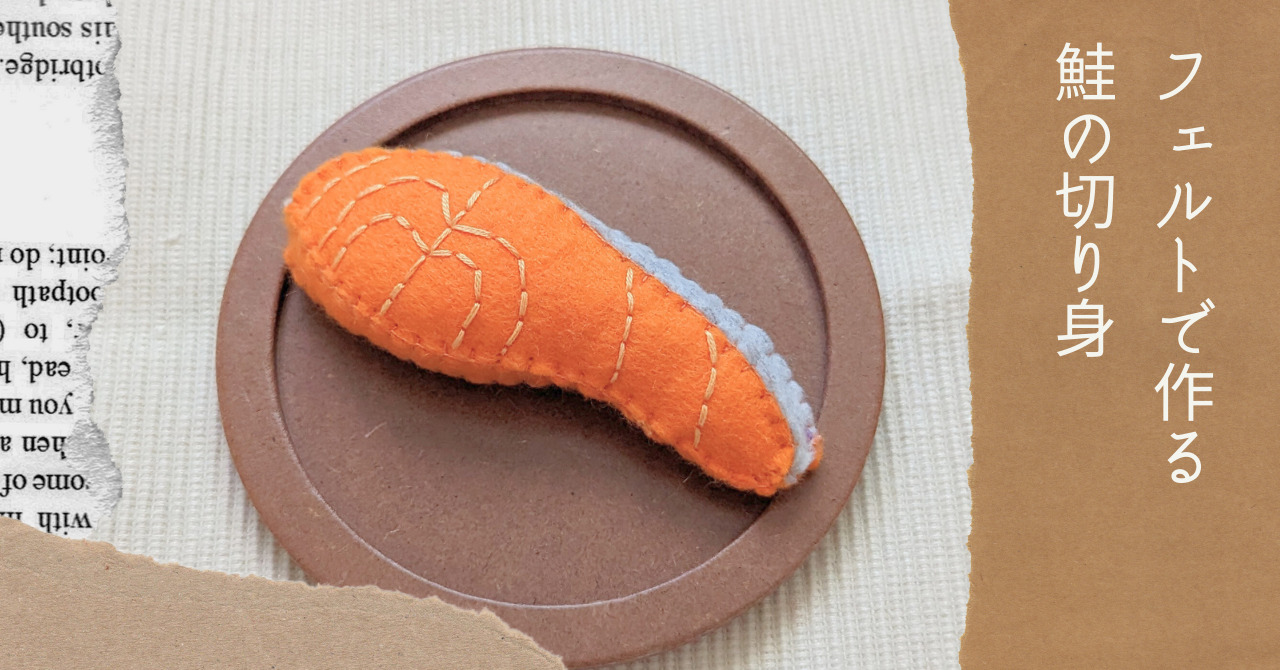
フェルトで作る鮭の切り身のレシピです。朝食セットやお弁当の具としても楽しめます。
お弁当箱も作ってみました。

- 型紙、レシピの取り扱いについてははじめにをお読みください。
- パーツ同士を縫い合わせるときはブランケットステッチでおこなっています。
- 一般的な25番刺繍糸で、縫い合わせる時は1本取り、刺繍は3本取りにしています。
作品名&必要な材料
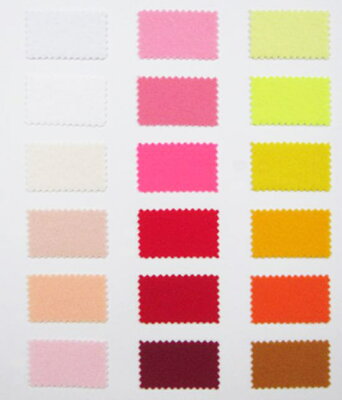
| 作品名 | パーツ名 | 必要なサイズ:数 | フェルトの色 | 刺繍糸の色 |
|---|---|---|---|---|
| 鮭の切り身 | 身① | 4×10cm:2枚 | オレンジ | オレンジ 薄オレンジ |
| 身⓶ | 1×12cm:1枚 | オレンジ | ||
| 皮 | 1×12cm:1枚 | グレー(メランジ) |
お子さまのために作る場合は、フェルトや手芸わたは洗えるタイプにすると清潔です
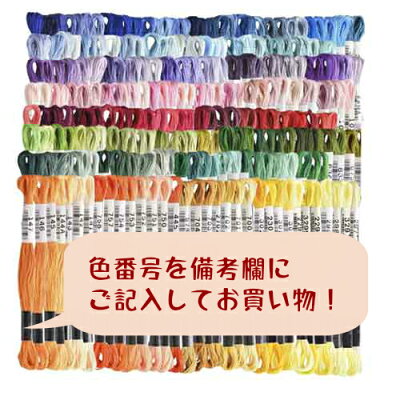
刺繍糸はこちらを使っています
型紙のダウンロード
作り方
1.フェルトに型紙を写して切る。
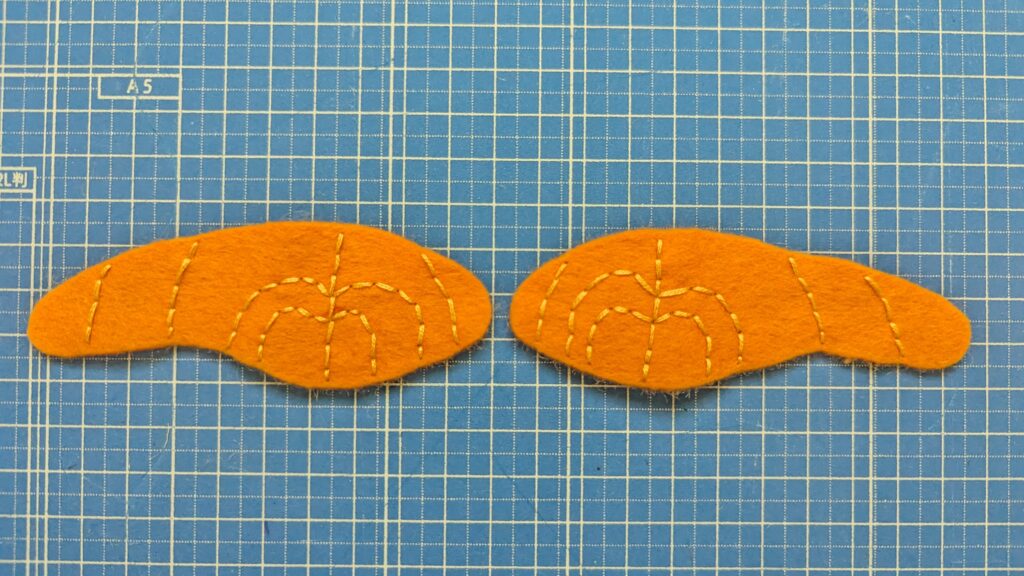
身①は左右対称に2枚切ります
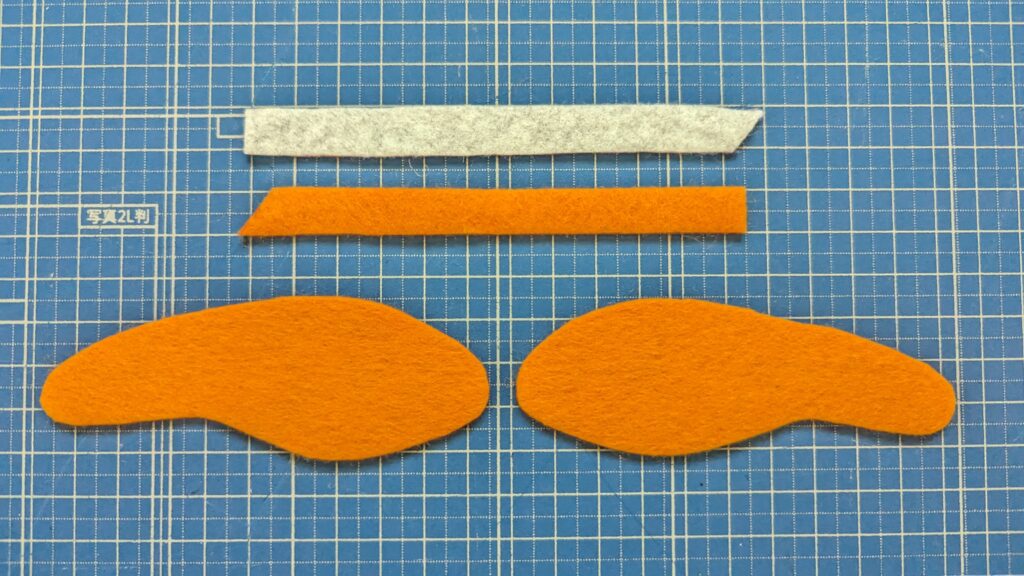
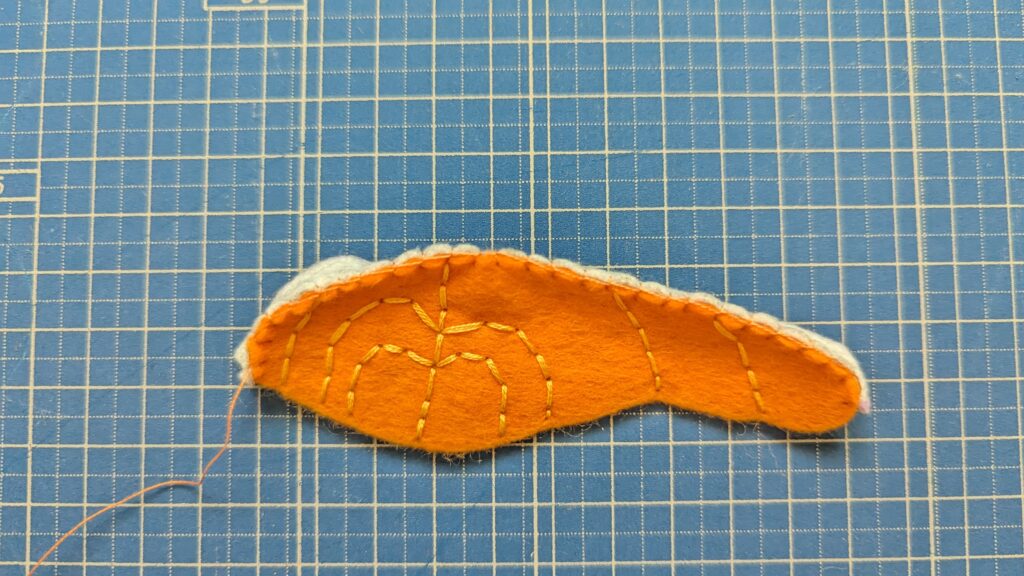
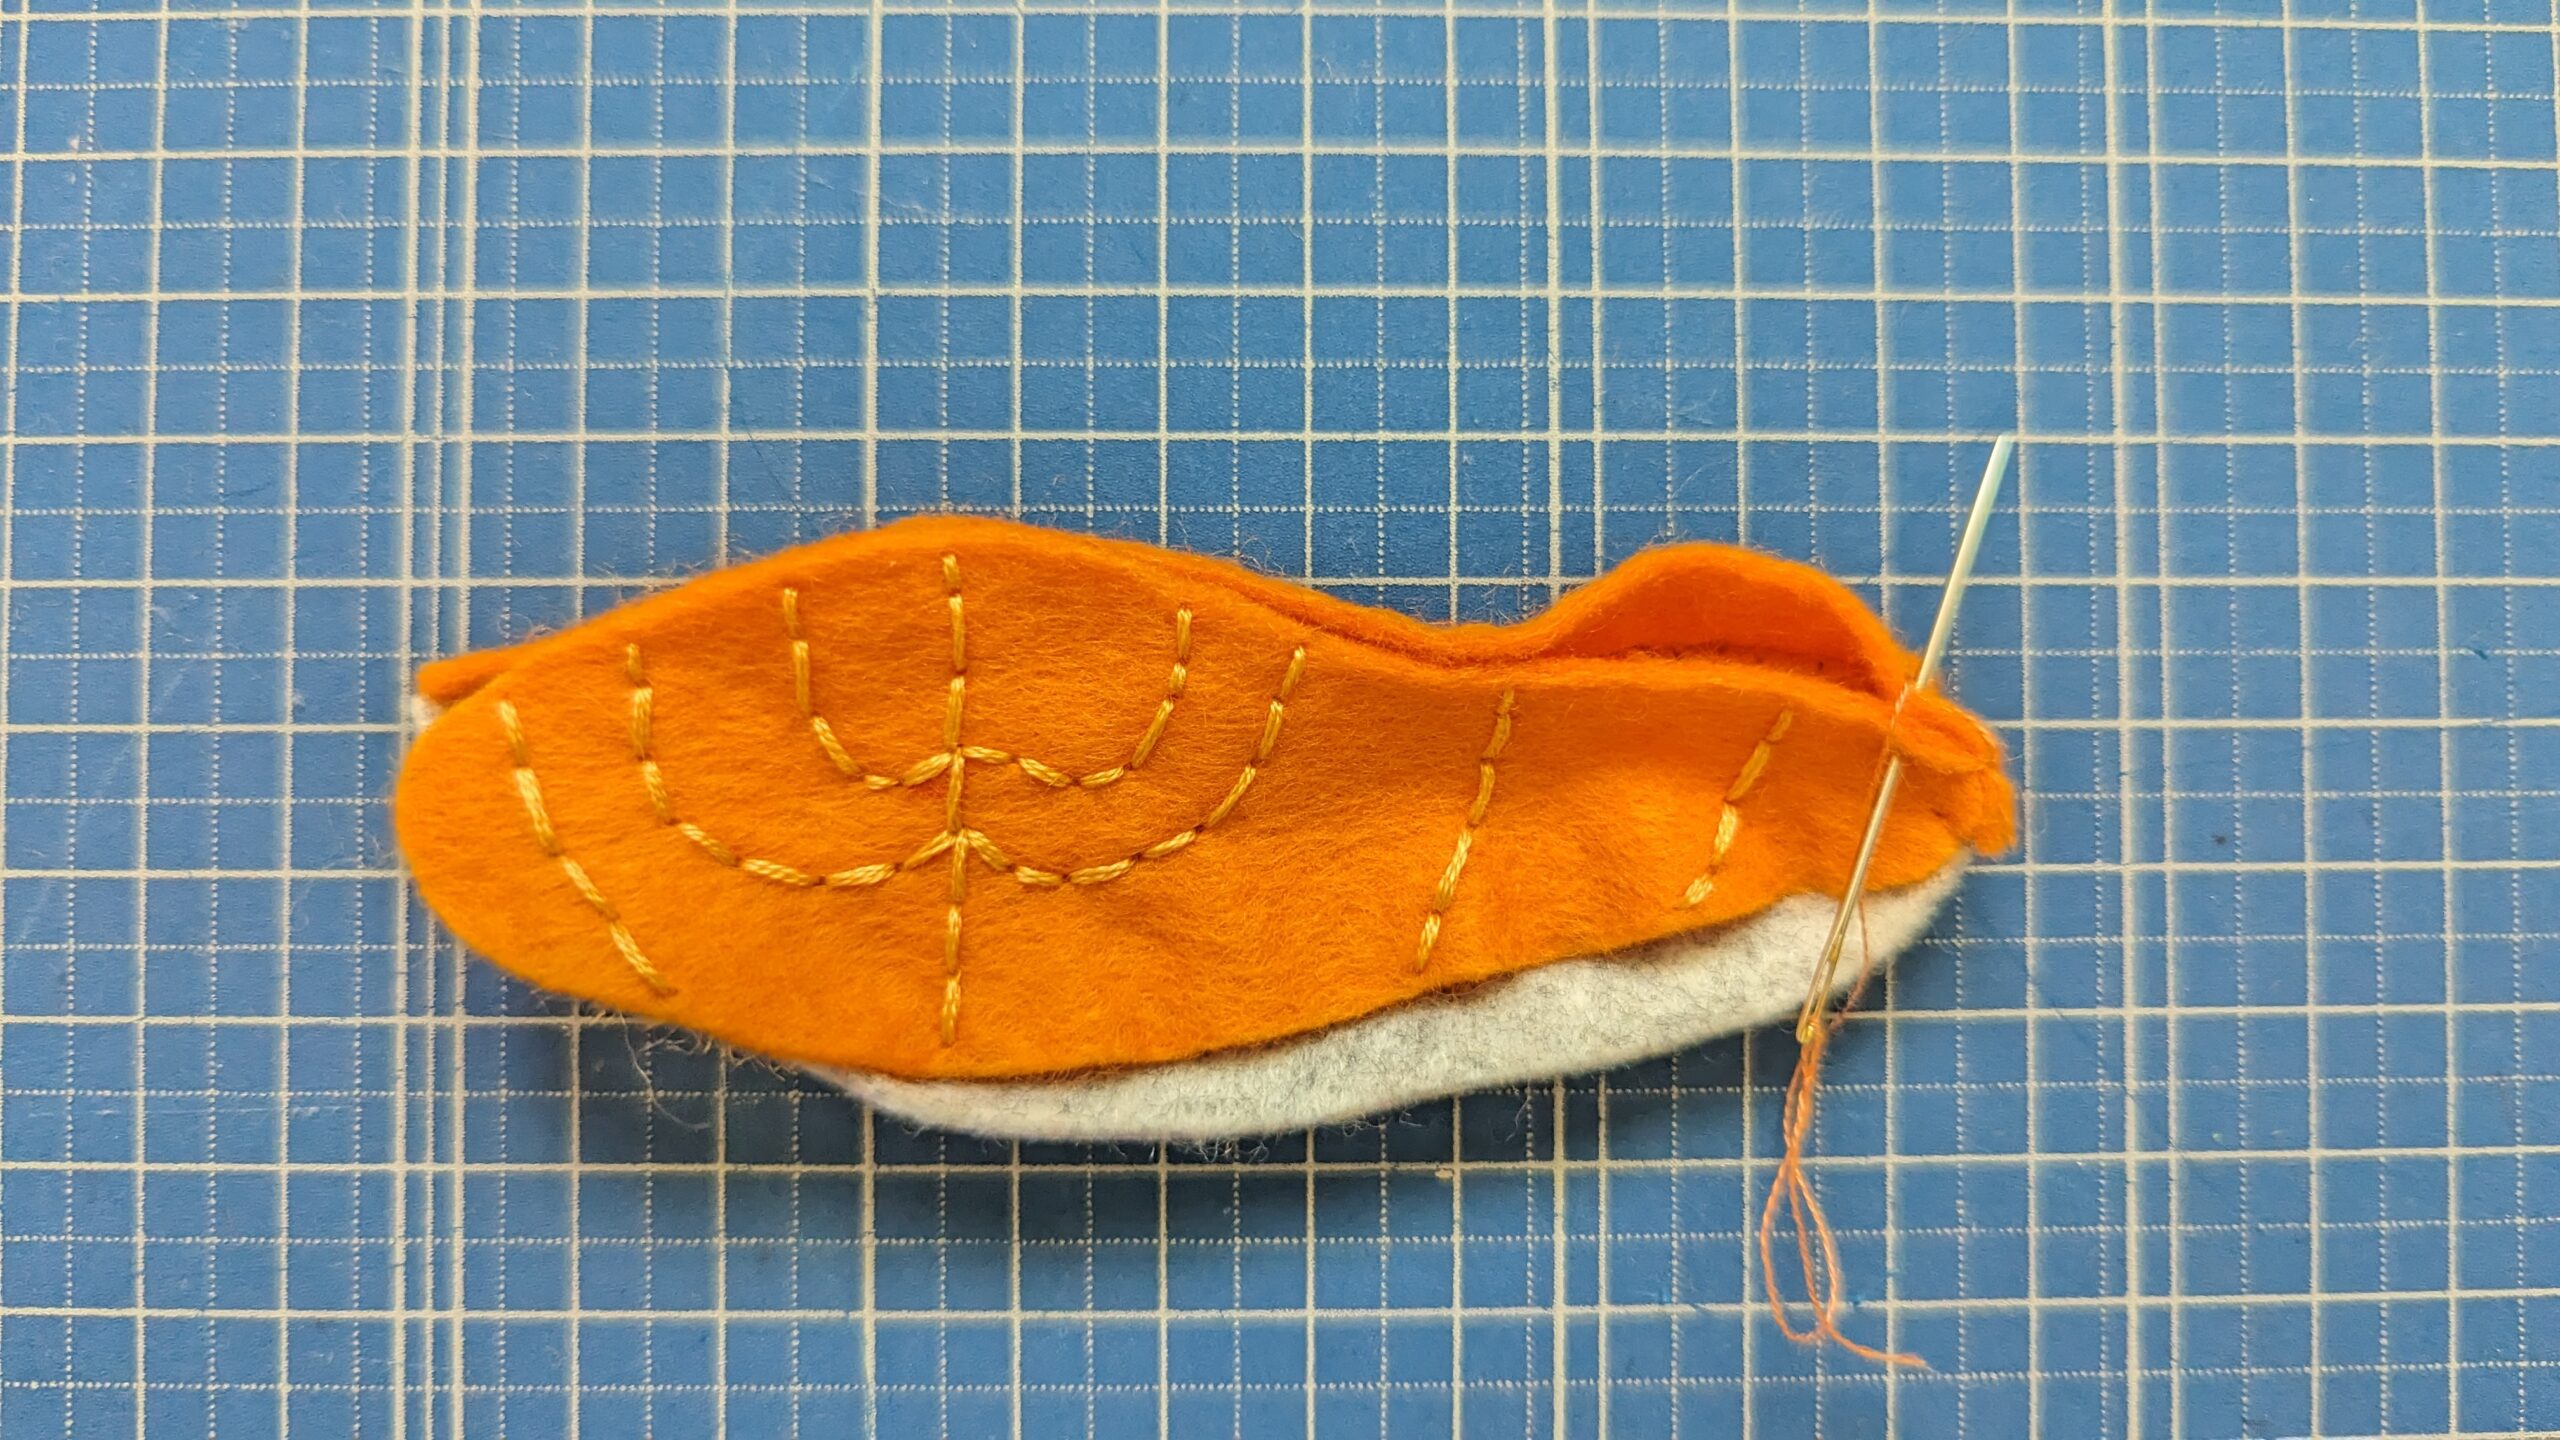
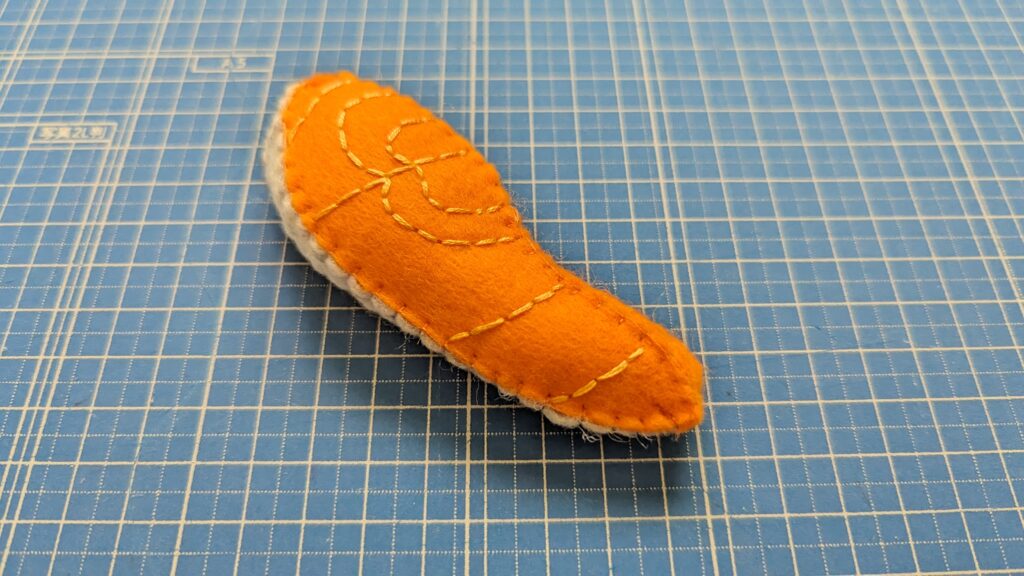
2.身①にチャコペンで模様を描き、バックステッチで刺繍する。
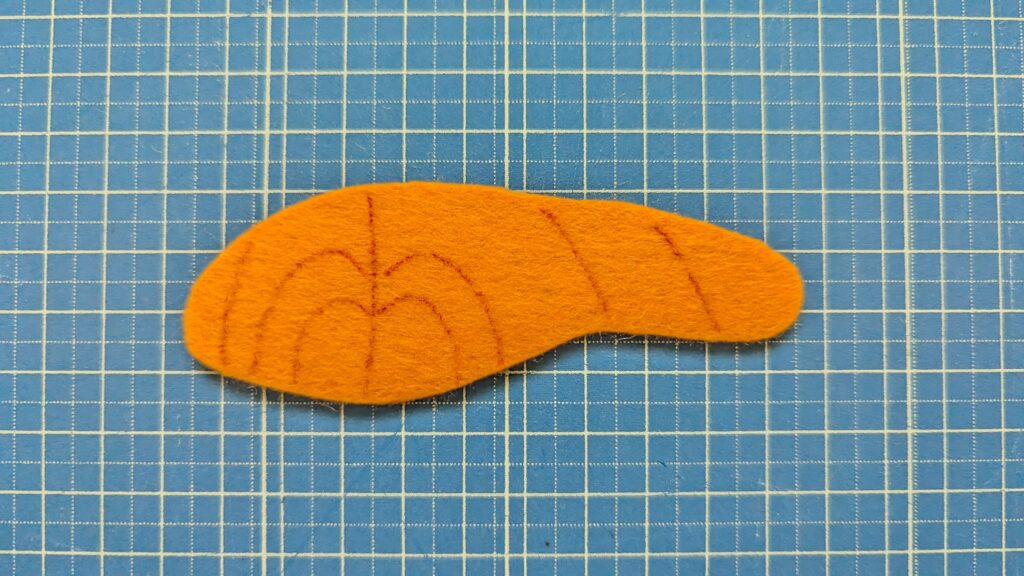
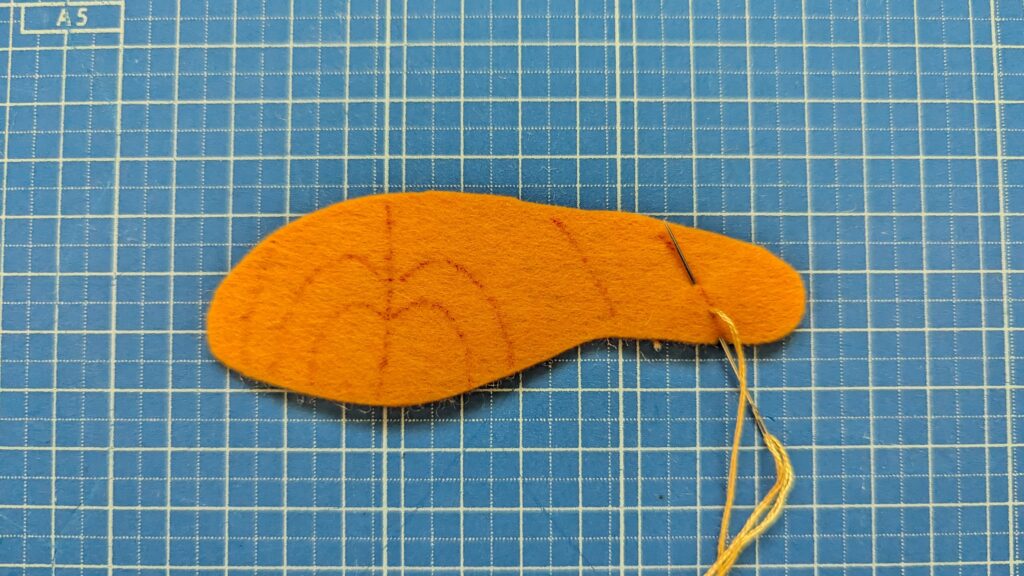

2枚刺繍します
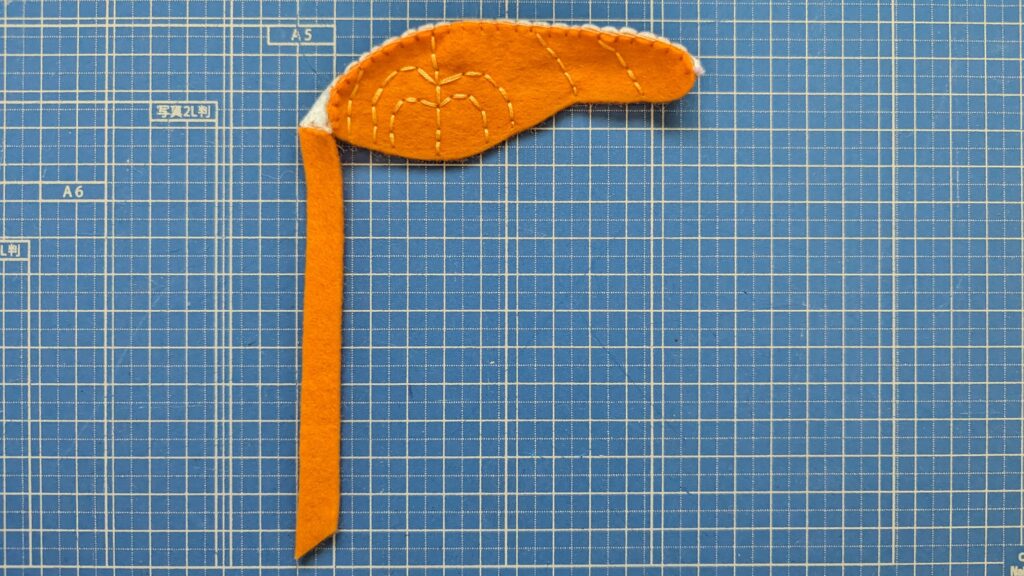
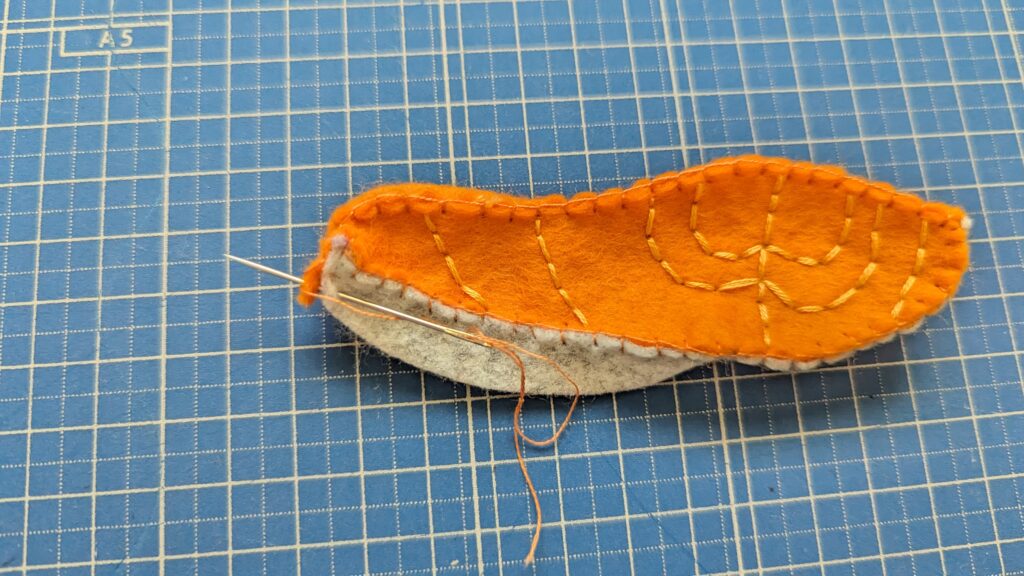
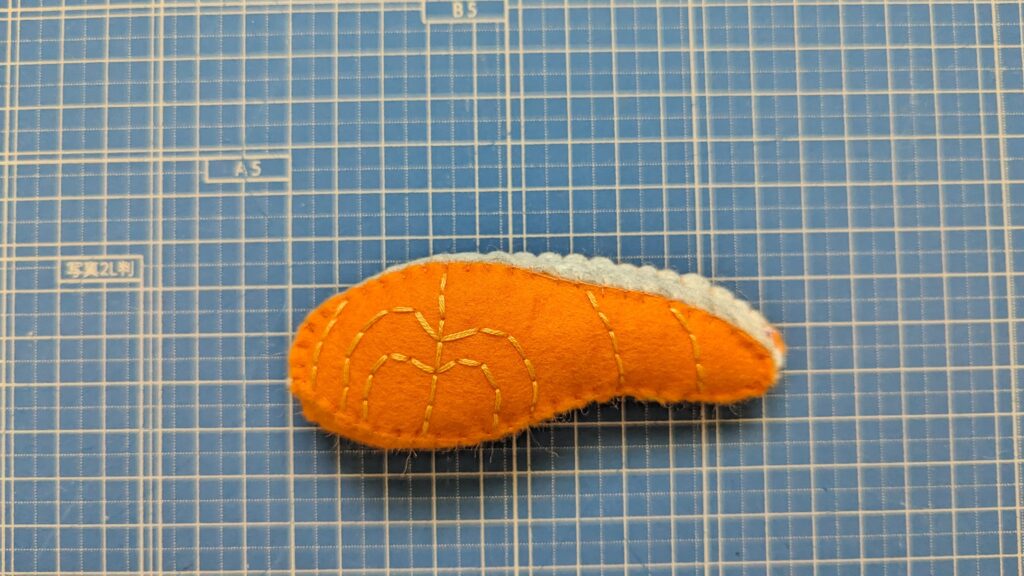
3.2と皮を縫い合わせる。
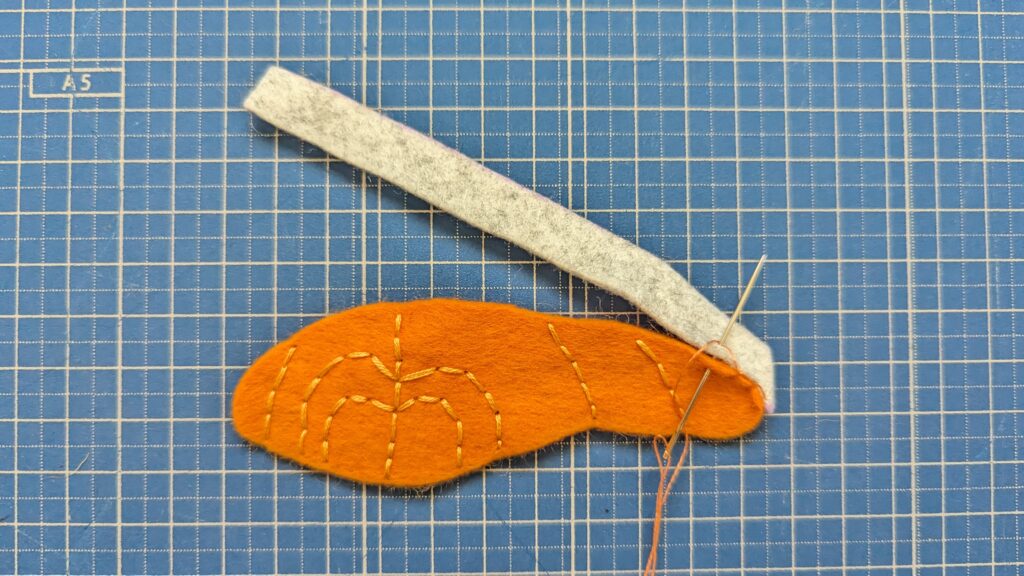
4.皮と身②を縫い合わせる。
皮②の表裏に注意して縫い合わせます
長い方が左側です
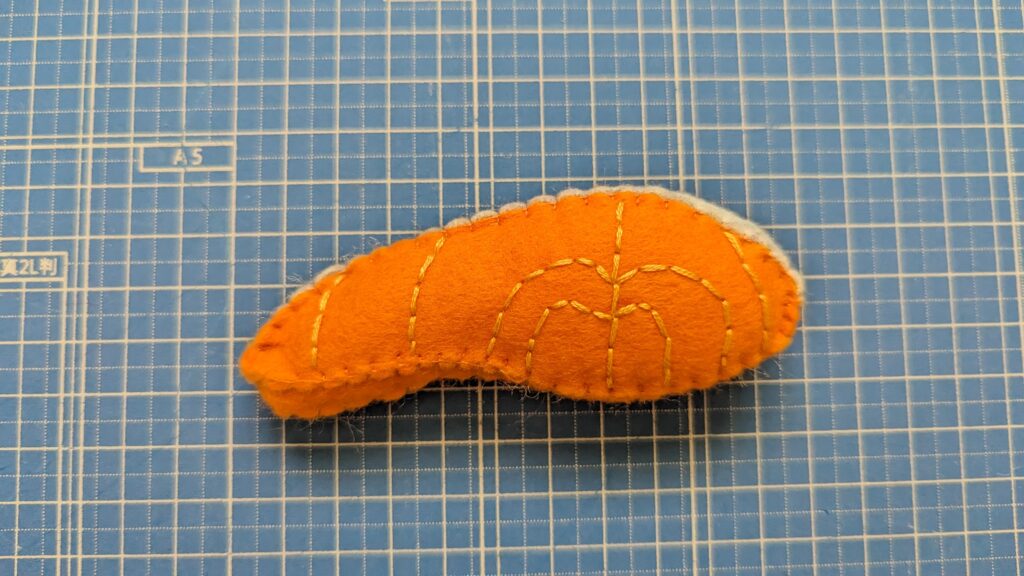
5.3と身②を縫い合わせる。
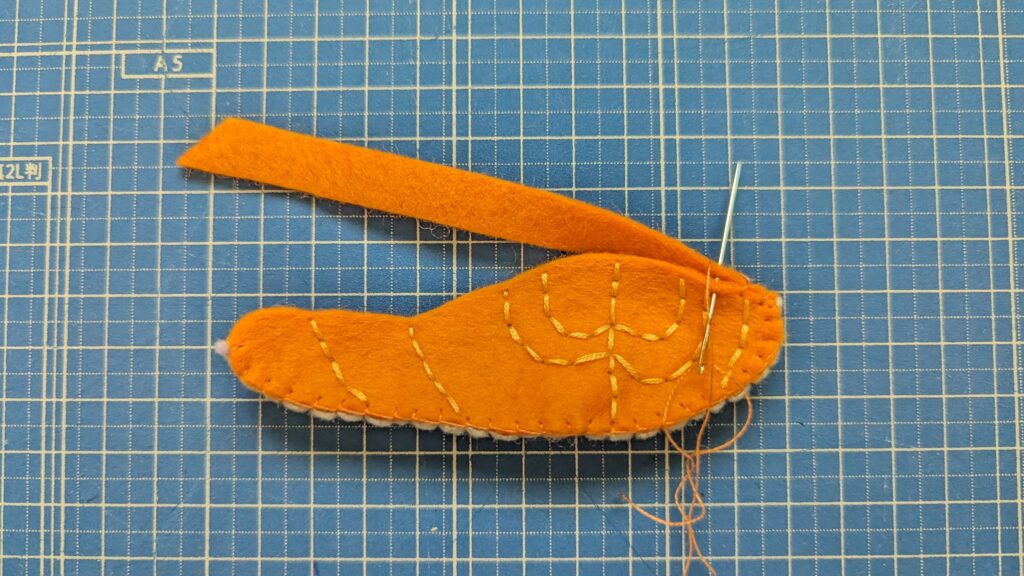
6.皮と身②を縫い合わせる。
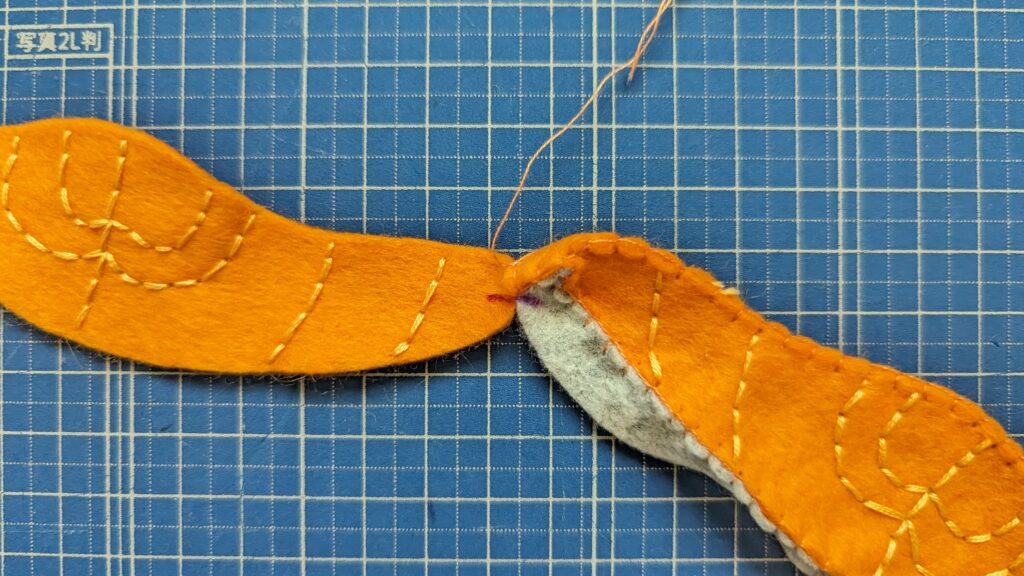
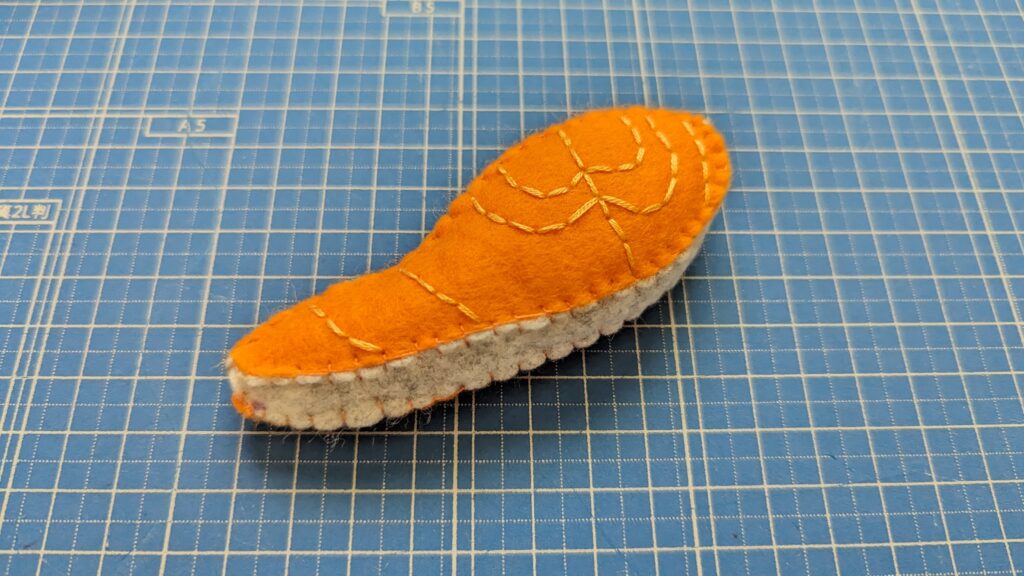
7.6ともう1枚の身①を縫い合わせる。最後は4㎝程残して綿を詰め、残りを縫う。
下の写真のように、チャコペンで印をつけた位置を合わせて縫い始めます
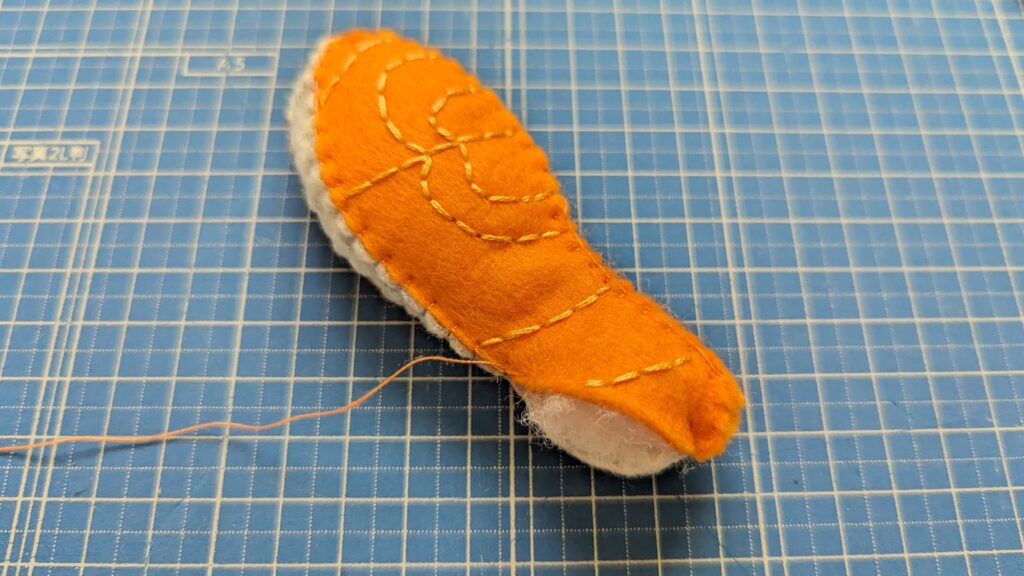
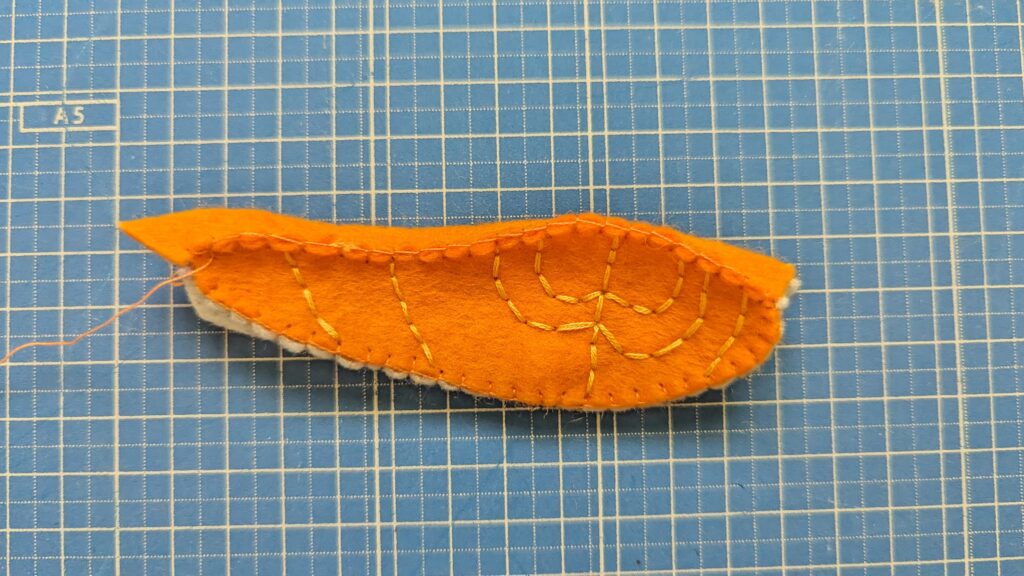
完成です!

コメント