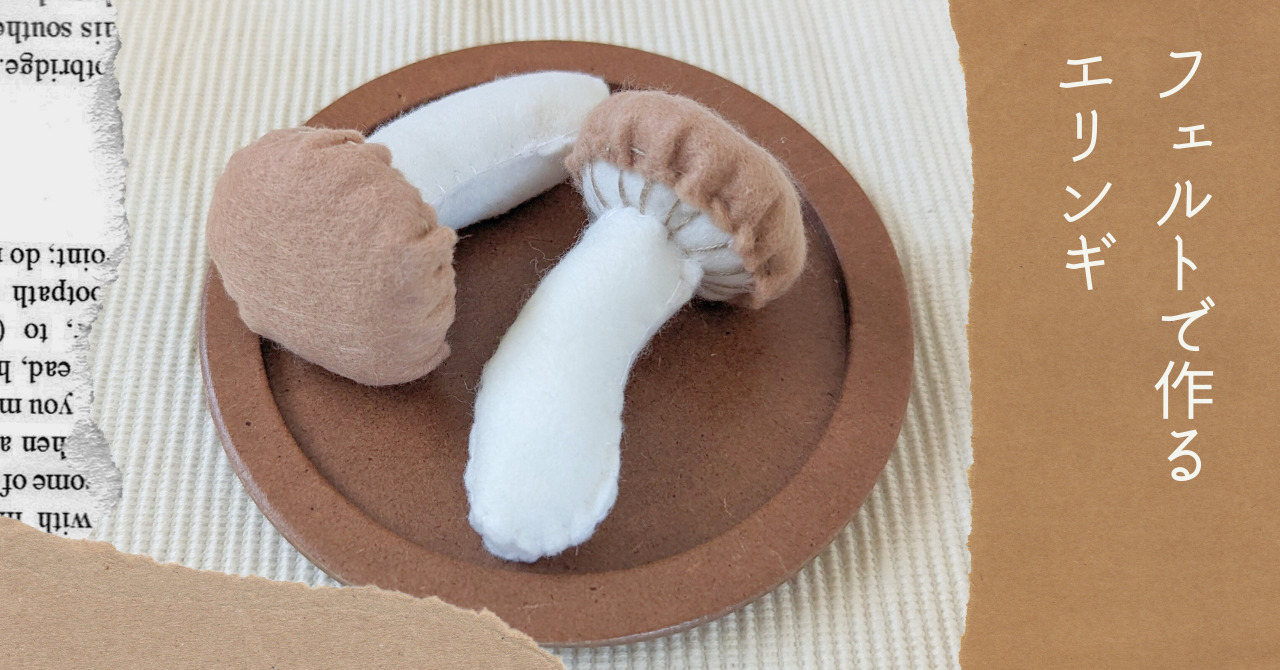
フェルトで作るエリンギのレシピです。
キノコシリーズその他の作品はこちら。

フェルトで作るシイタケ
フェルトで作るシイタケの【無料型紙】&【無料レシピ】です。
amanatsu-handmade.com
フェルトで作るシメジ
フェルトで作るシメジの【無料型紙】&【無料レシピ】です。
amanatsu-handmade.com

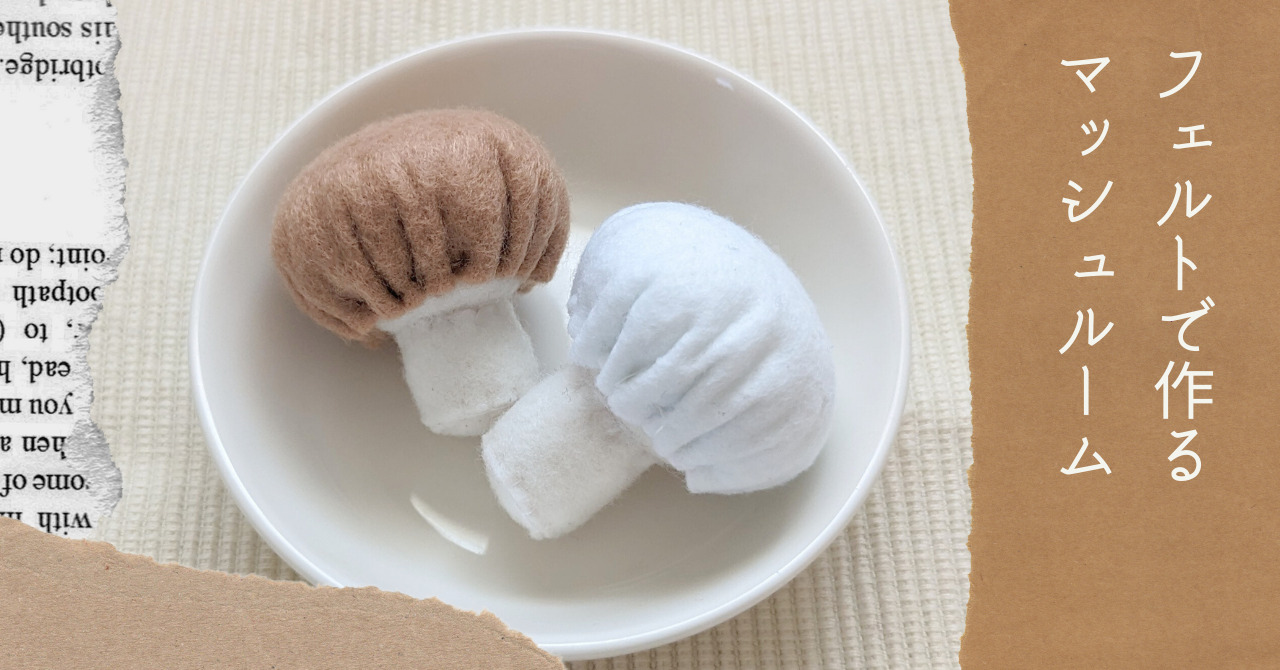
フェルトで作るマッシュルーム
フェルトで作るマッシュルームの【無料型紙】&【無料レシピ】です。
amanatsu-handmade.com
- 型紙、レシピの取り扱いについてははじめにをお読みください。
- パーツ同士を縫い合わせるときはブランケットステッチでおこなっています。
- 一般的な25番刺繍糸で、縫い合わせる時は1本取り、刺繍は3本取りにしています。
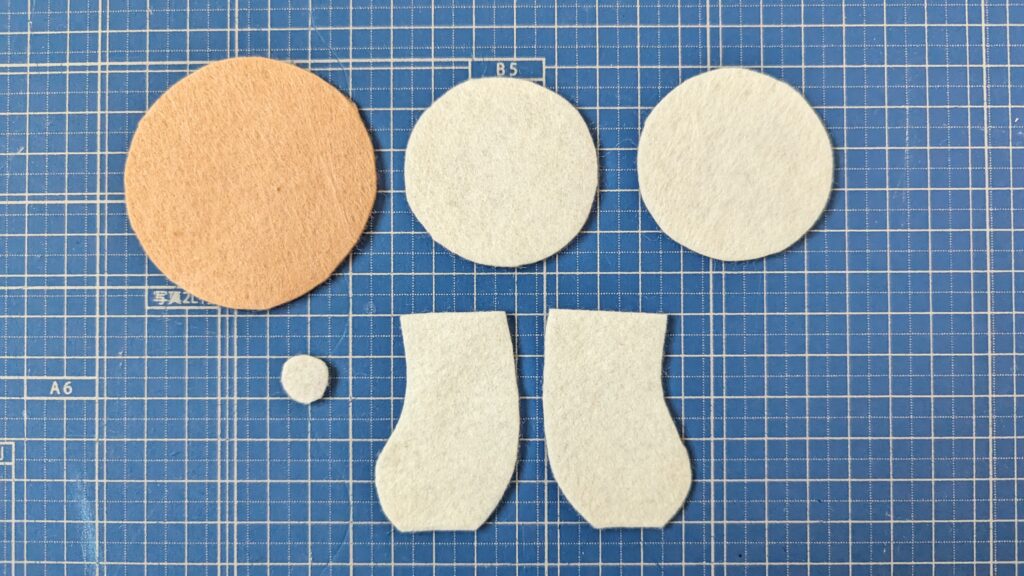
作品名&必要な材料
| 作品名 | パーツ名 | 必要なサイズ:数 | フェルトの色 | 刺繍糸の色 |
|---|---|---|---|---|
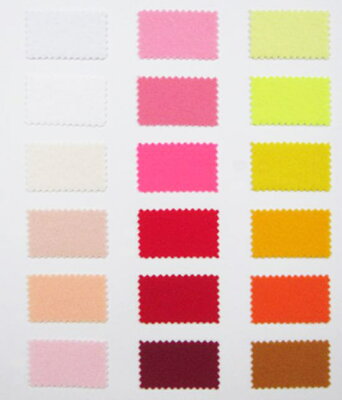
| エリンギ | 傘① | 4.5×4.5cm:2枚 | オフ白 | 白 うす茶 |
| 傘② | 6×6cm:1枚 | うす茶 | ||
| 軸① | 5×3.5cm:1枚 | オフ白 | ||
| 軸② | 1×1㎝:1枚 | オフ白 |
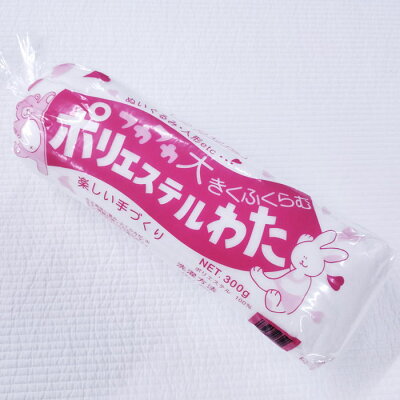
お子さまのために作る場合は、フェルトや手芸わたは洗えるタイプにすると清潔です
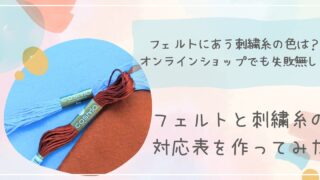
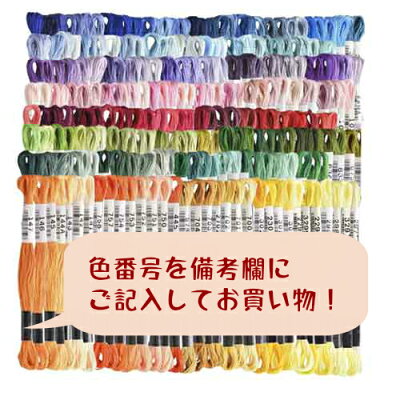
刺繍糸はこちらを使っています
型紙のダウンロード
作り方
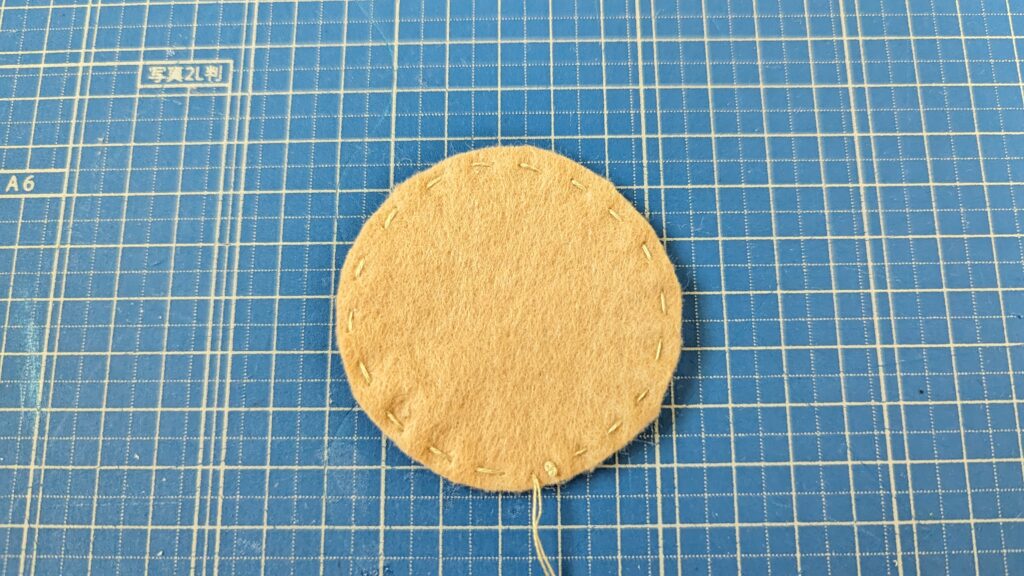
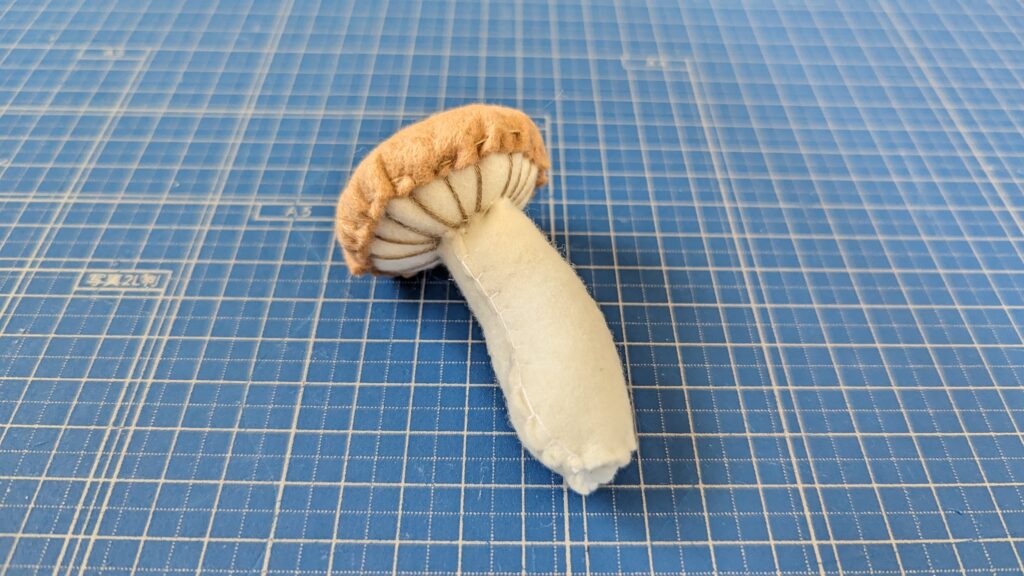
1.フェルトに型紙を写して切る。
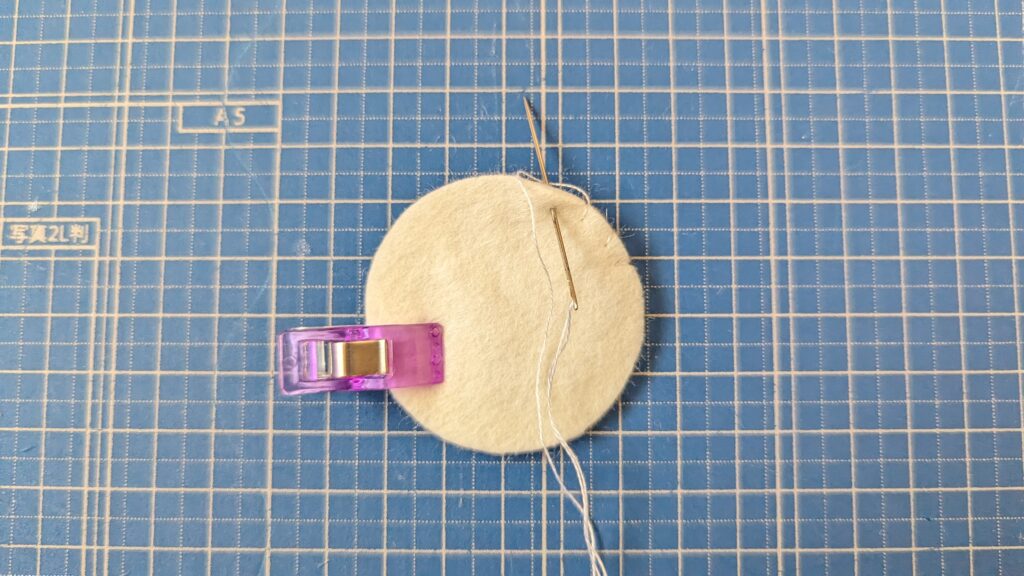
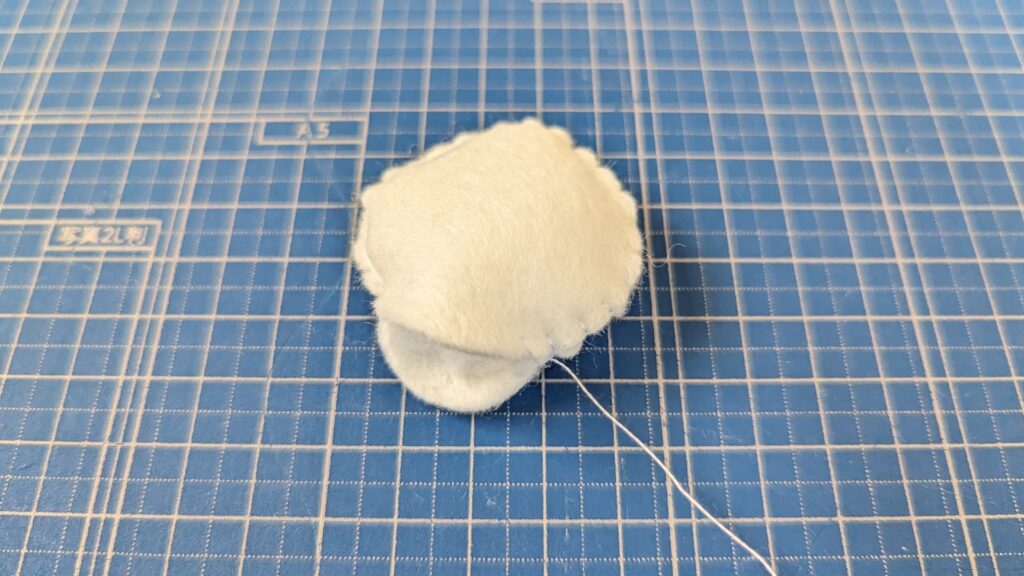
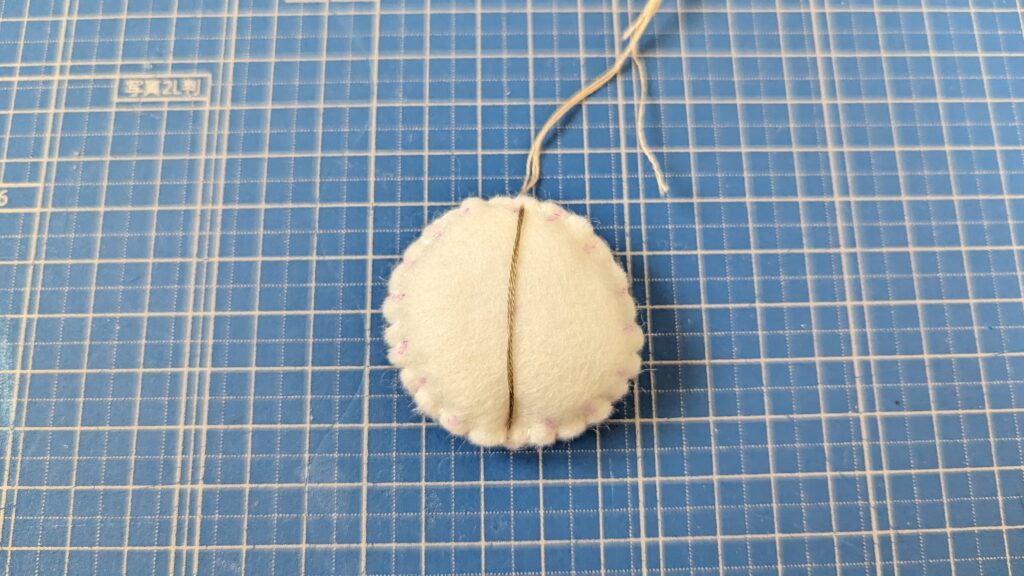
2.傘①同士を縫い合わせる。最後は2㎝ほど残して綿を詰め、残りを縫う。

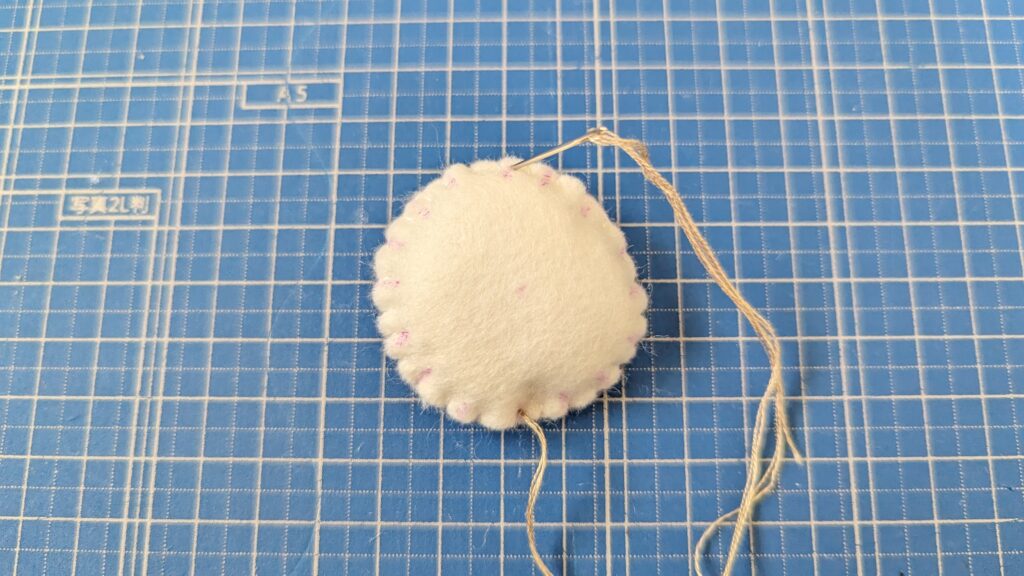
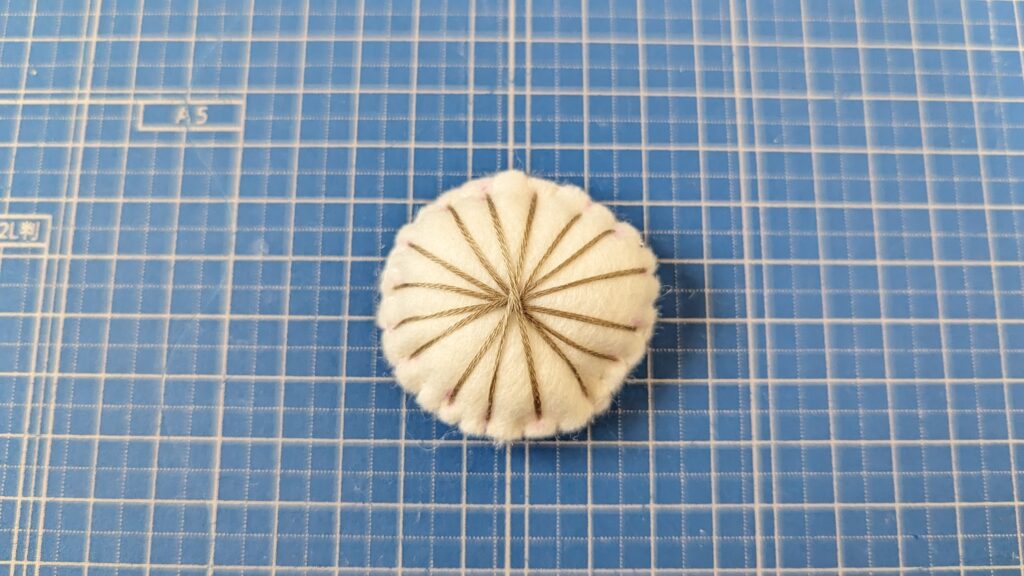
3.チャコペンで中心と円周を16等分した位置に点を打ち、うす茶色の刺繍糸で中心と円周の点を繋ぐ。
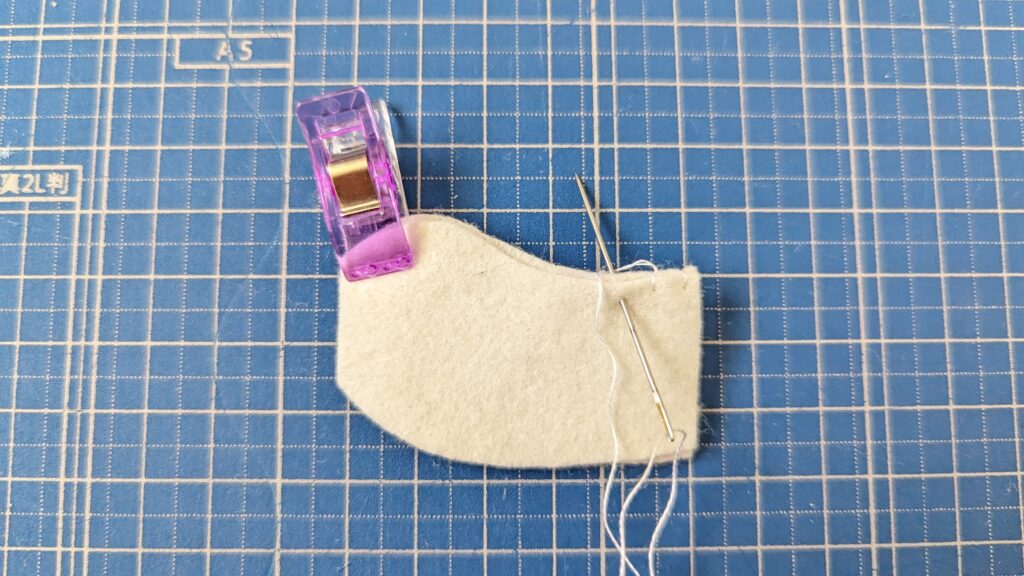
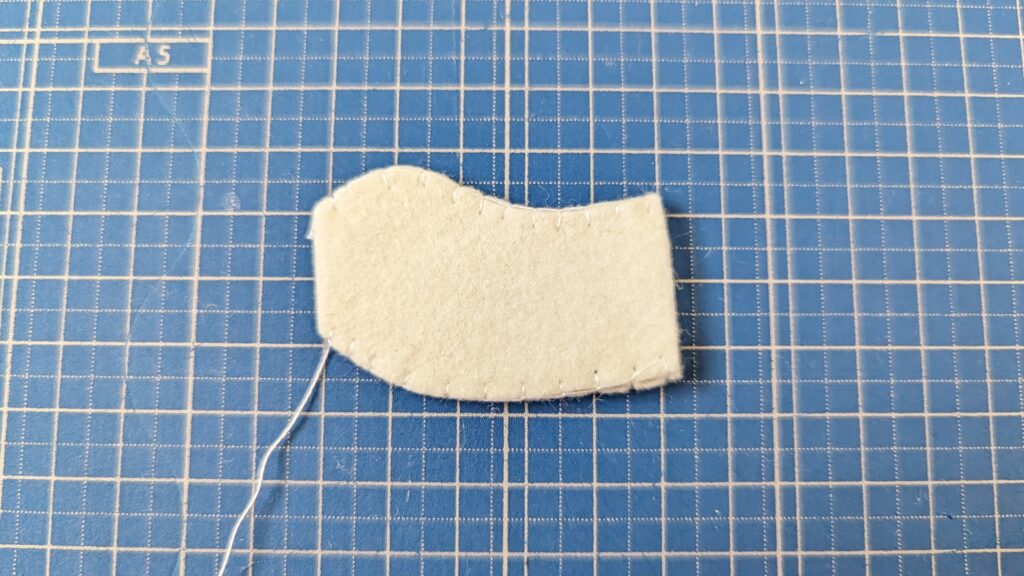
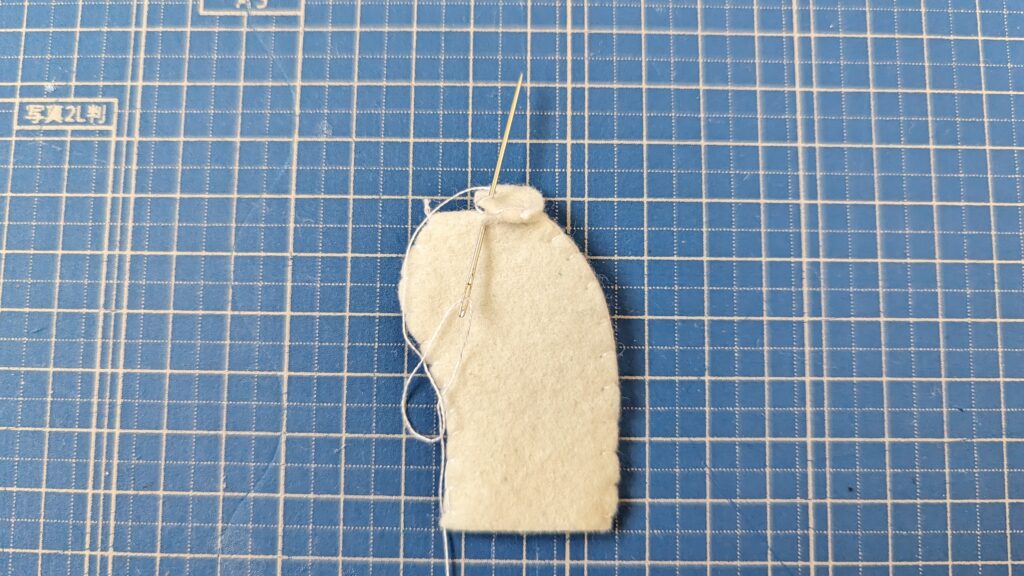
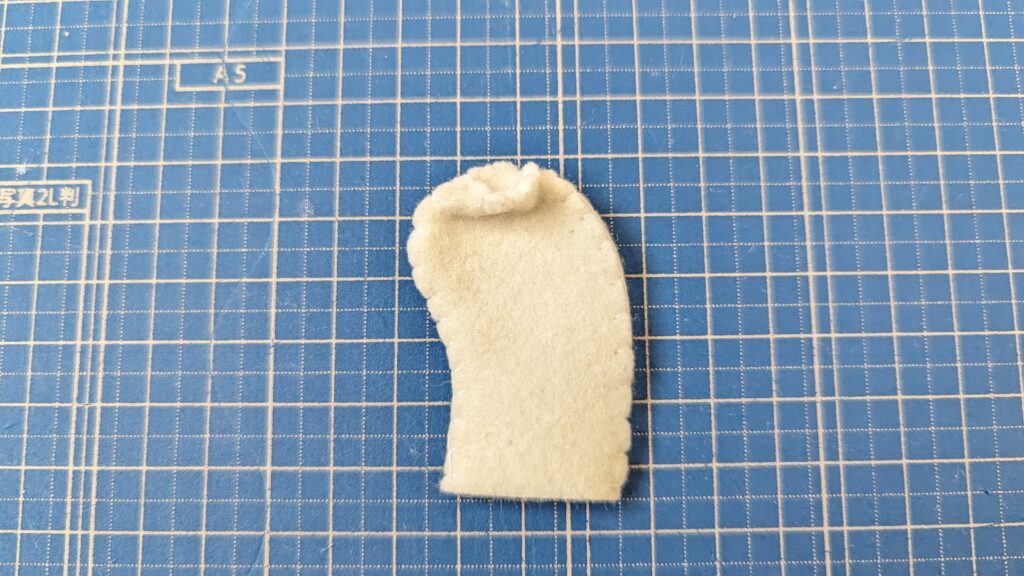
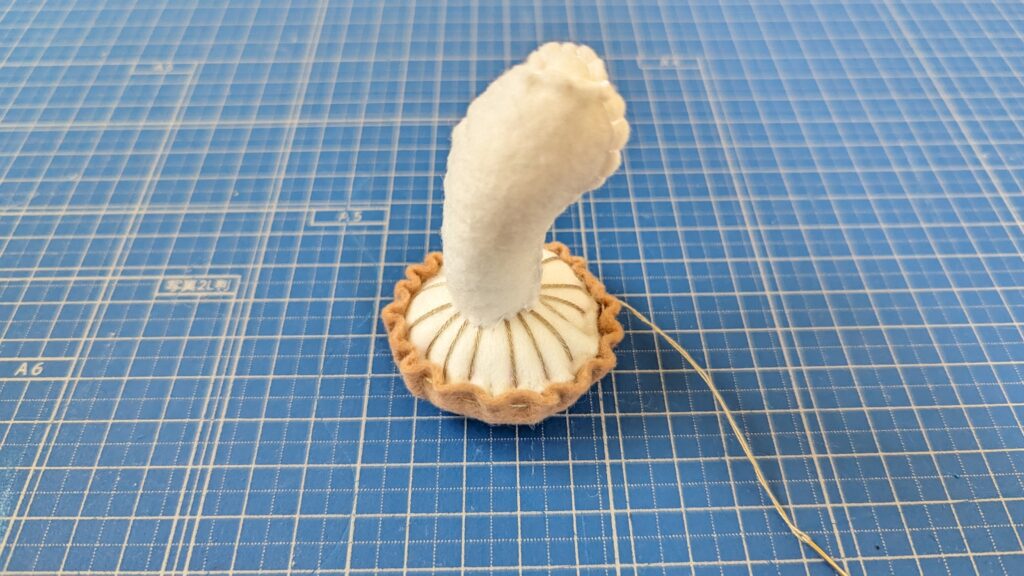
4.軸①同士を縫い合わせる。この時、上下部分は縫わないでおく。
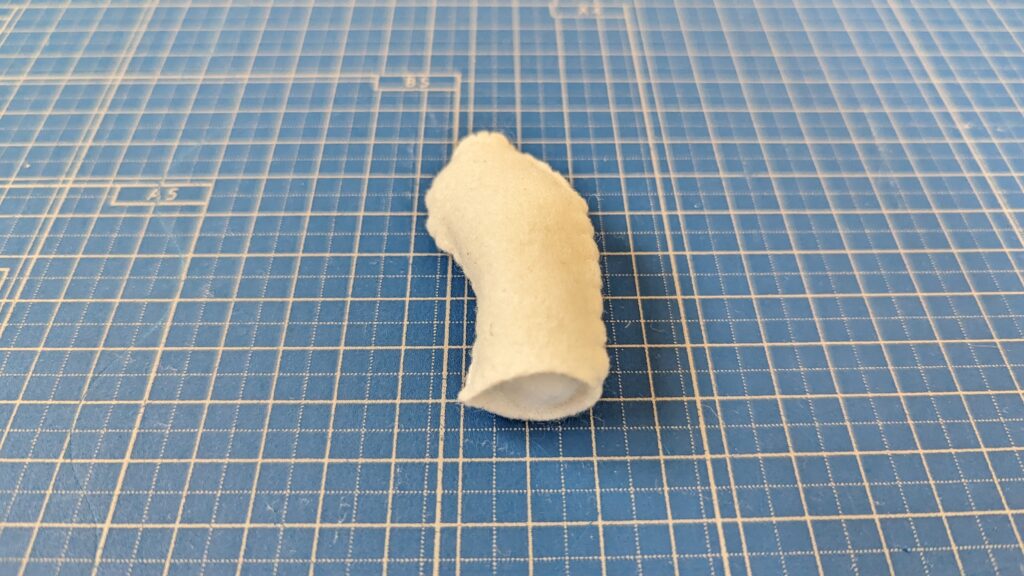
5.4の下部分と軸②を縫い合わせ、綿を詰める。
6.3と5をかがり縫いで縫い合わせる。
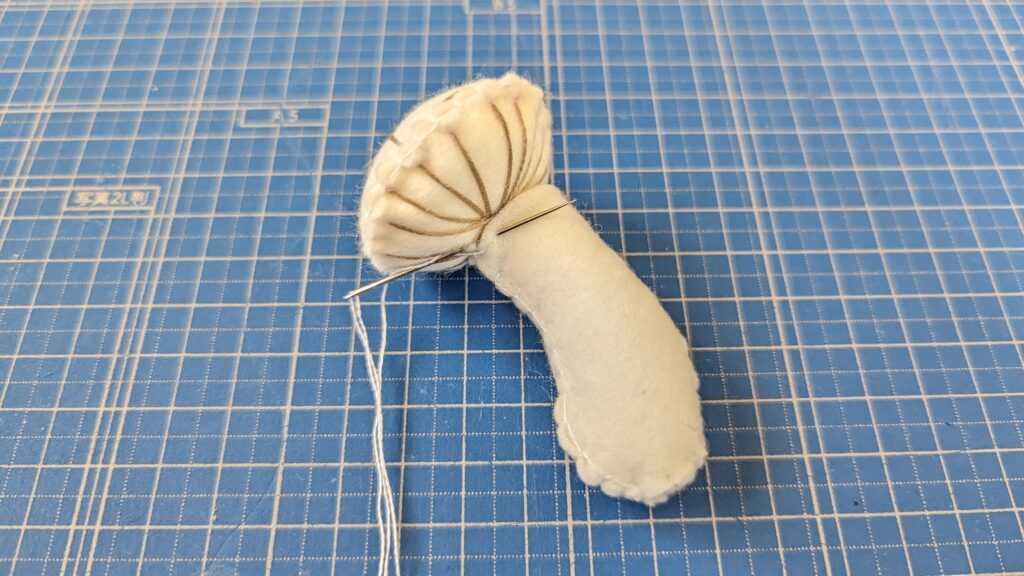

7.傘②の外周を2本取りの刺繍糸で粗くなみ縫いする。

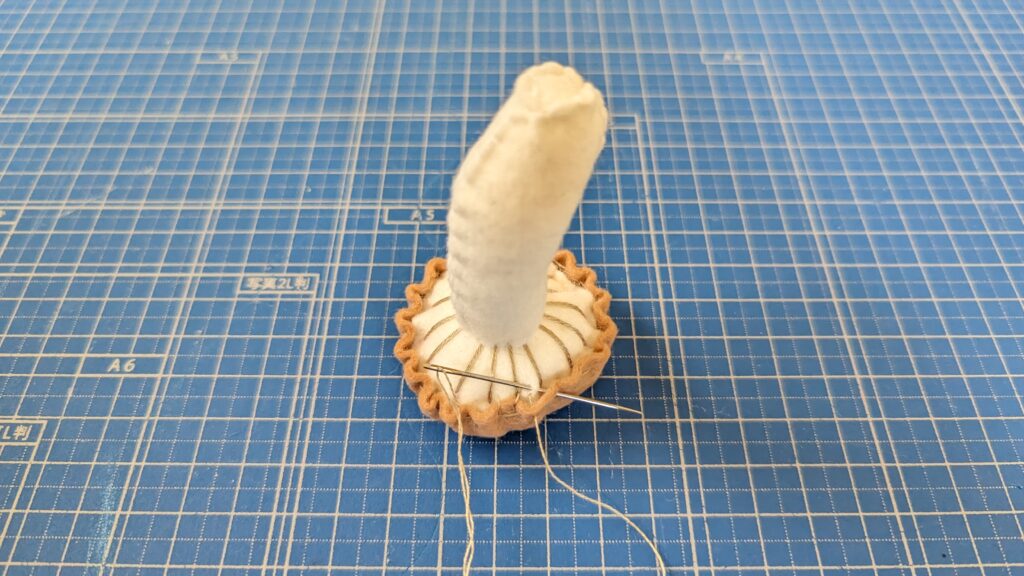
8.4を7で包んだら糸を引いて玉止めし、かがり縫いで縫い合わせる。
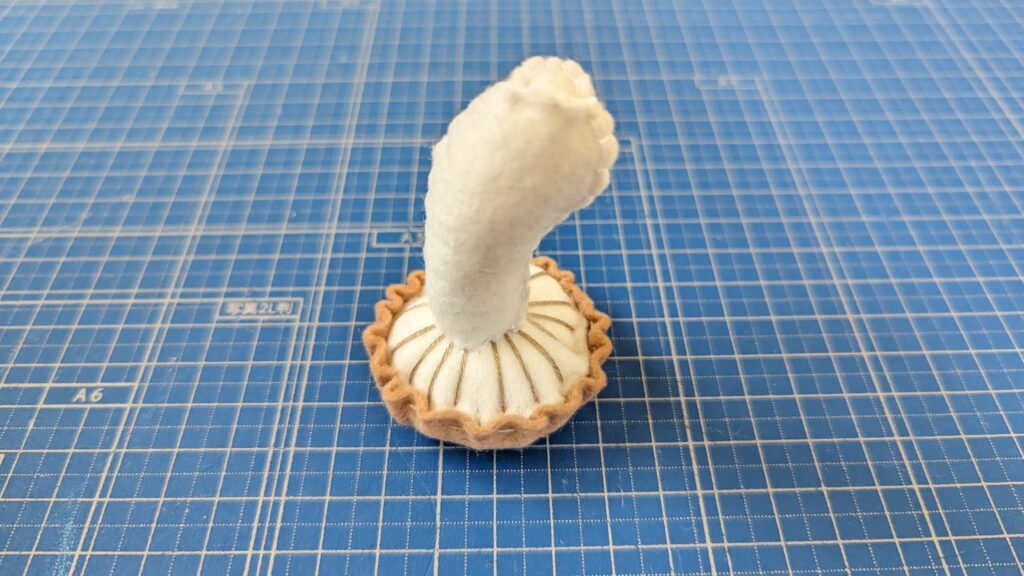
完成です!


コメント