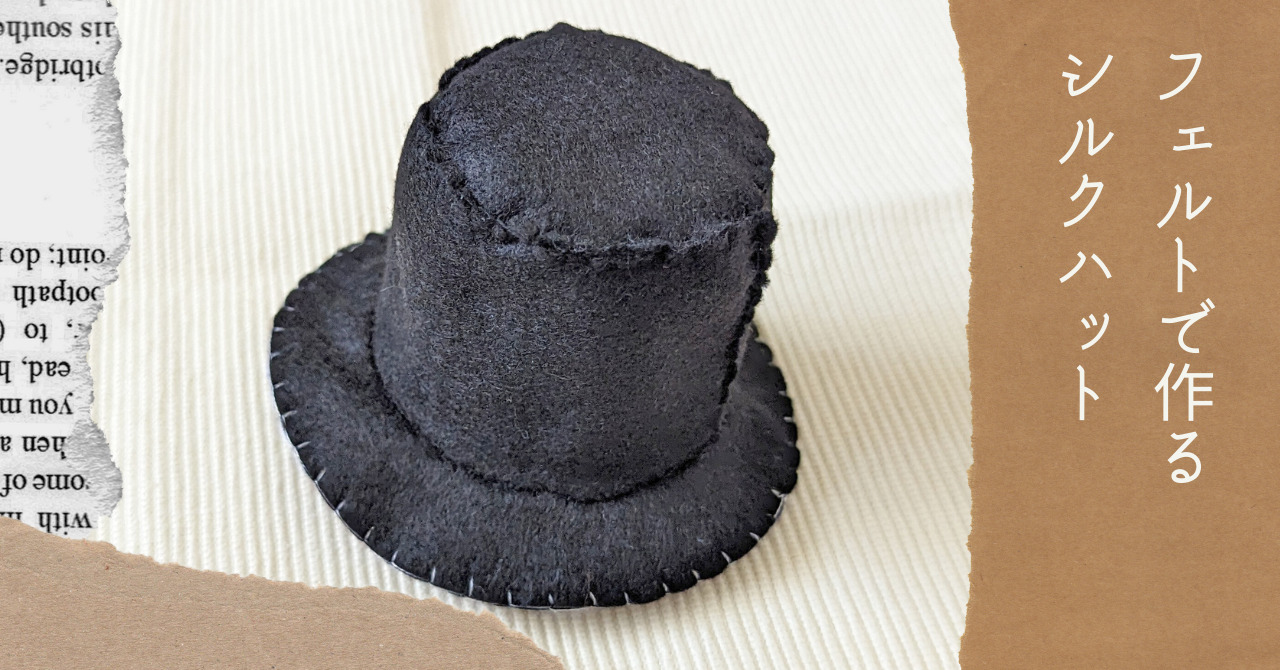
フェルトで作るシルクハットです。
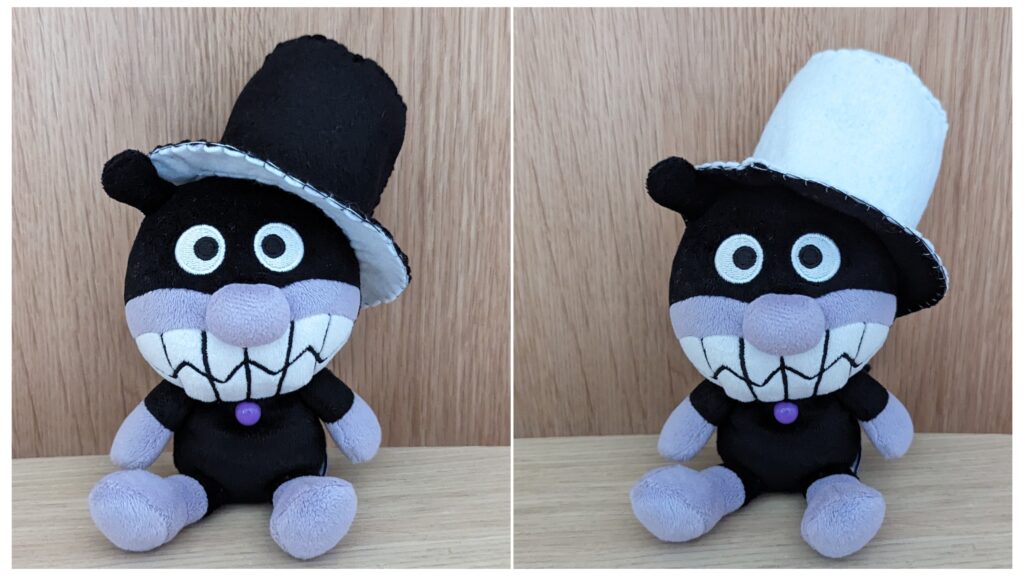
リバーシブルで使えます。
また、帽子の内寸を入力すると型紙の倍率が計算できるようにしました。
お好きなサイズに合わせて印刷してください(誤差はあるので参考程度に…)。
帽子シリーズその他の作品はこちら。
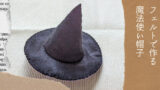
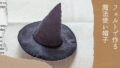
フェルトで作る魔法使い帽子
フェルトで作る魔法使い(魔女)帽子の【無料型紙】&【無料レシピ】です。リバーシブルで使えます。サイズ調節も可能です。
amanatsu-handmade.com
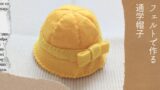
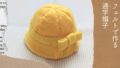
フェルトで作る通学帽子
フェルトで作る通学帽子(黄色い帽子)の【無料型紙】&【無料レシピ】です。小学校・幼稚園・保育園への通学・通園の際に被るあの帽子をイメージしました。サイズ調節も可能です。
amanatsu-handmade.com
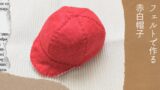
フェルトで作る赤白帽子
フェルトで作る赤白帽子の【無料型紙】&【無料レシピ】です。リバーシブルで使えます。サイズ調節も可能です。
amanatsu-handmade.com
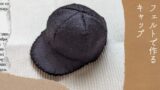
フェルトで作るキャップ
フェルトで作るキャップの【無料型紙】&【無料レシピ】です。サイズ調節も可能です。
amanatsu-handmade.com
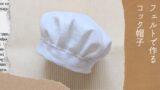
フェルトで作るコック帽子
フェルトで作るコック帽子の【無料型紙】&【無料レシピ】です。サイズ調節も可能です。
amanatsu-handmade.com
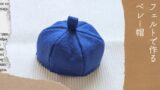
フェルトで作るベレー帽
フェルトで作るベレー帽の【無料型紙】&【無料レシピ】です。
amanatsu-handmade.com
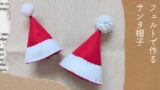
フェルトで作るサンタ帽子
フェルトで作るサンタ帽子の【無料型紙】&【無料レシピ】です。
amanatsu-handmade.com

フェルトで作るサンタ帽子 Vol.2
フェルトで作るサンタ帽子の【無料型紙】&【無料レシピ】です。
amanatsu-handmade.com
- 型紙、レシピの取り扱いについてははじめにをお読みください。
- パーツ同士を縫い合わせるときはブランケットステッチでおこなっています。
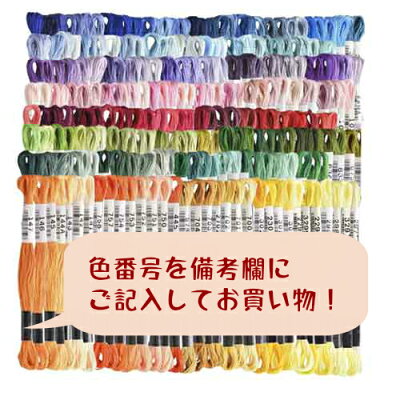
- 一般的な25番刺繍糸で、縫い合わせる時は1本取りまたは2本取りにしています。
作品名&必要な材料
| 作品名 | パーツ名 | 必要サイズ:数 | フェルトの色 | 刺繍糸の色 |
|---|---|---|---|---|
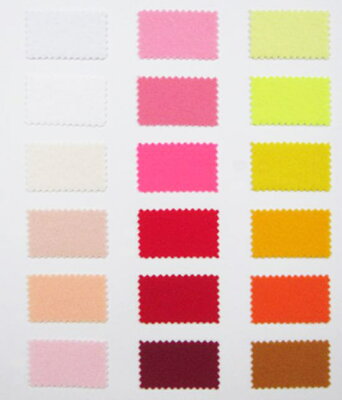
| シルクハット | クラウン① | 6×20cm:各1枚 | 黒 白 | 黒 白 |
| クラウン② | 6.4×6.4㎝:各1枚 | 黒 白 | ||
| ブリム | 10×10cm:各1枚 | 黒 白 |
お子さまのために作る場合は、フェルトは洗えるタイプにすると清潔です
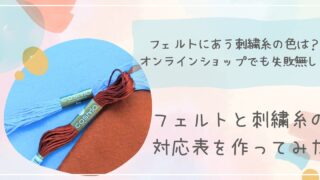
刺繍糸はこちらを使っています
型紙のダウンロード
帽子の内寸が約20㎝で型紙倍率100%になります。
倍率の差が大きくなるほど誤差も大きくなりますので、ご活用の際は参考程度にしてください。
作り方
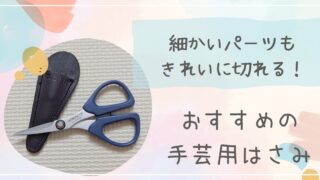
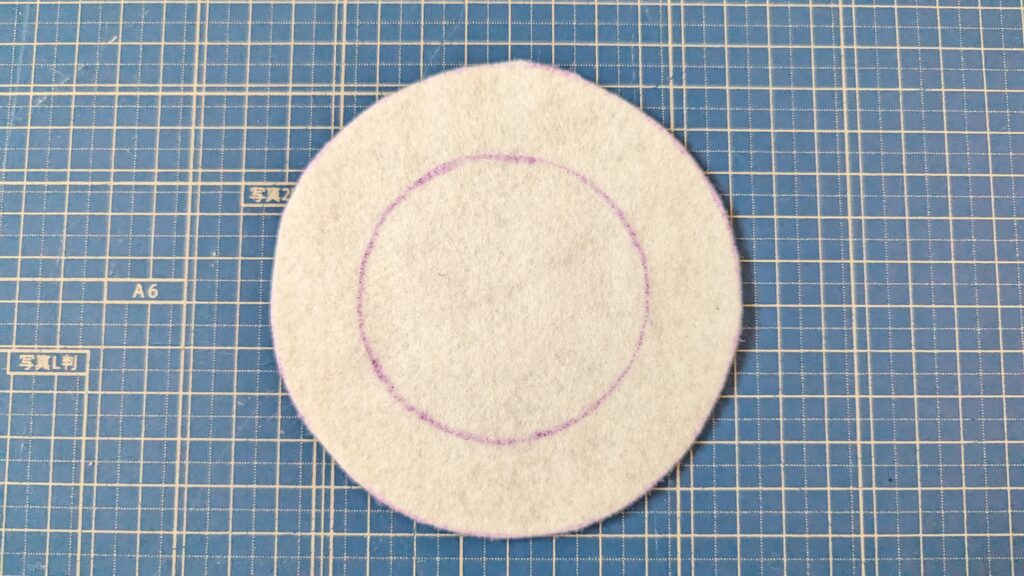
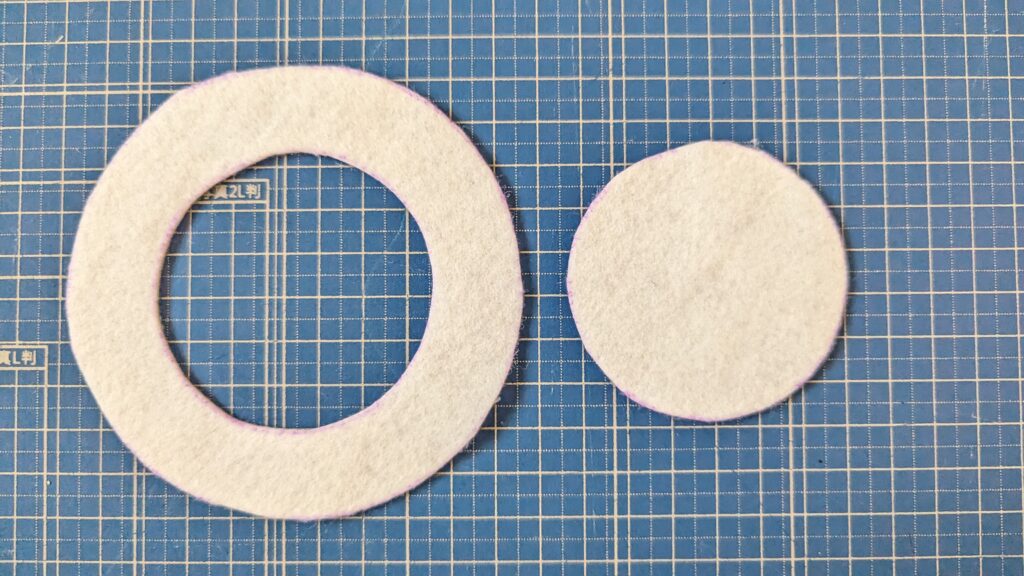
1.フェルトに型紙を写して切る。
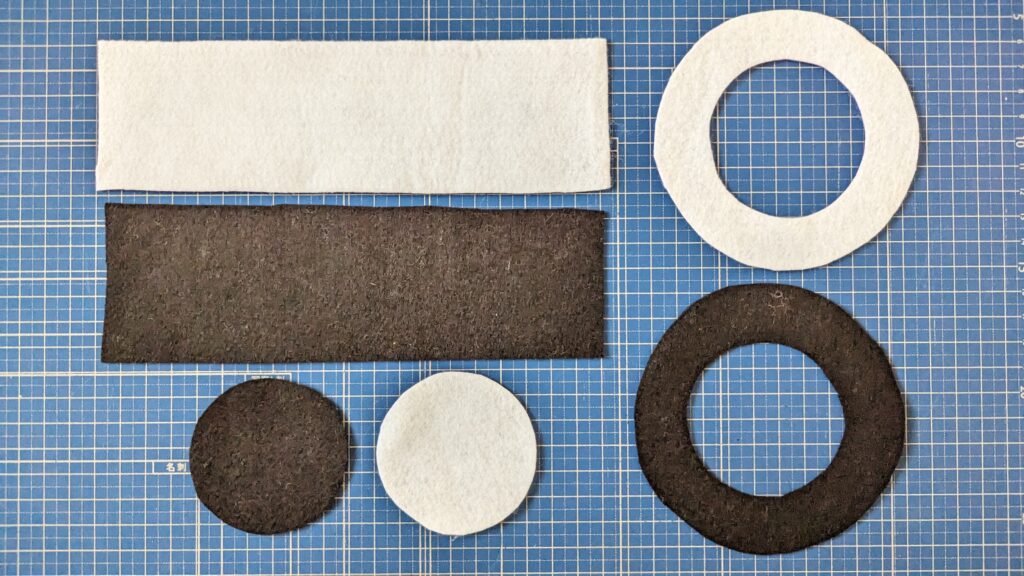
ブリムの中心をうまく切り抜くと、クラウン②として使えます
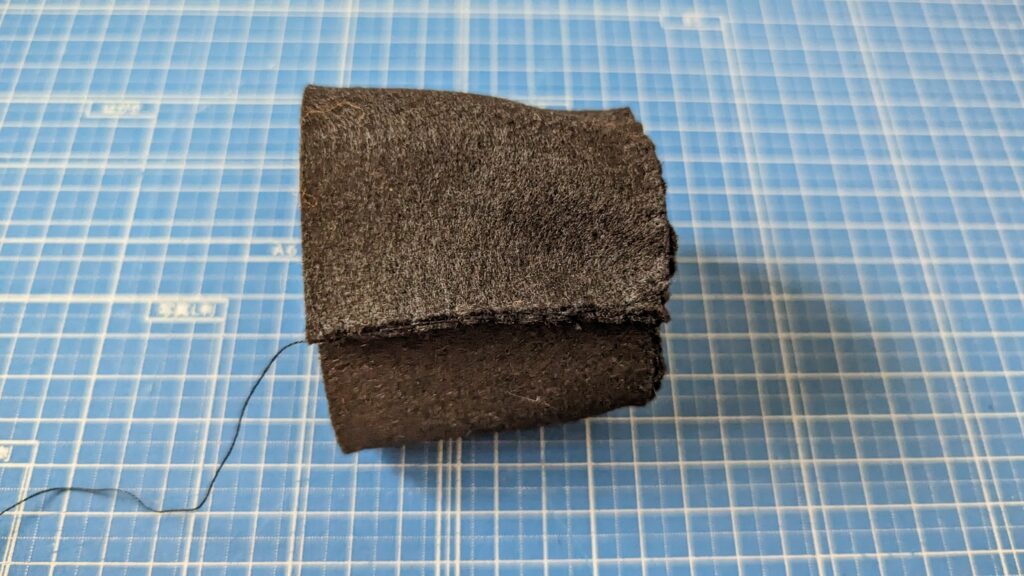
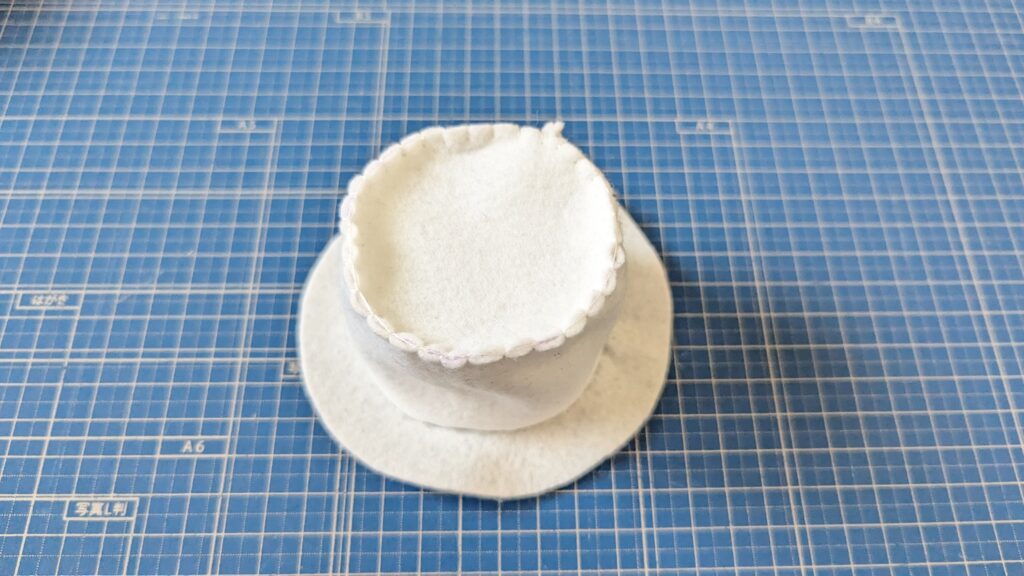
2.クラウン①とクラウン②を縫い合わせる。
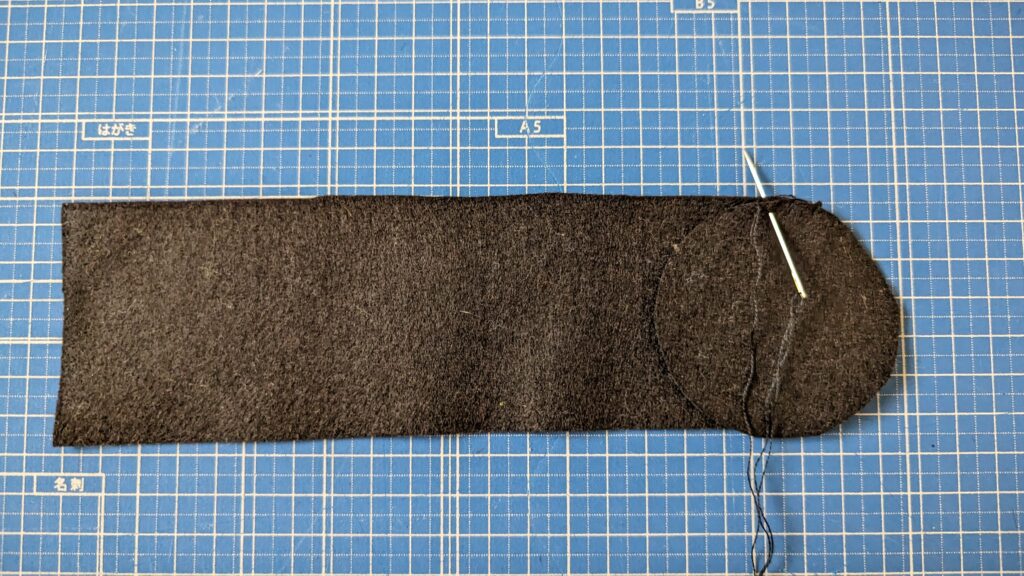
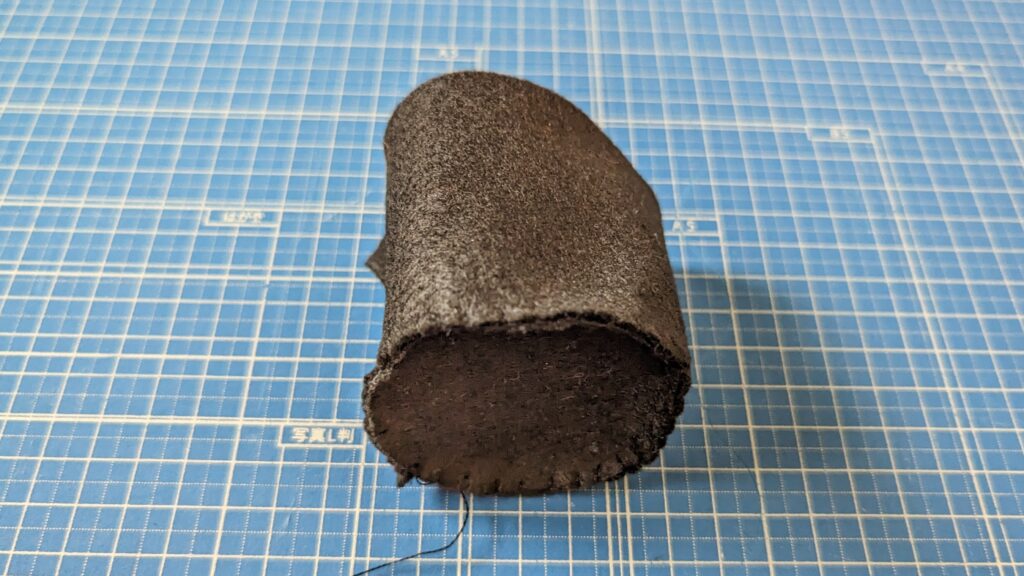
3.クラウン①の端同士を縫い合わせる。
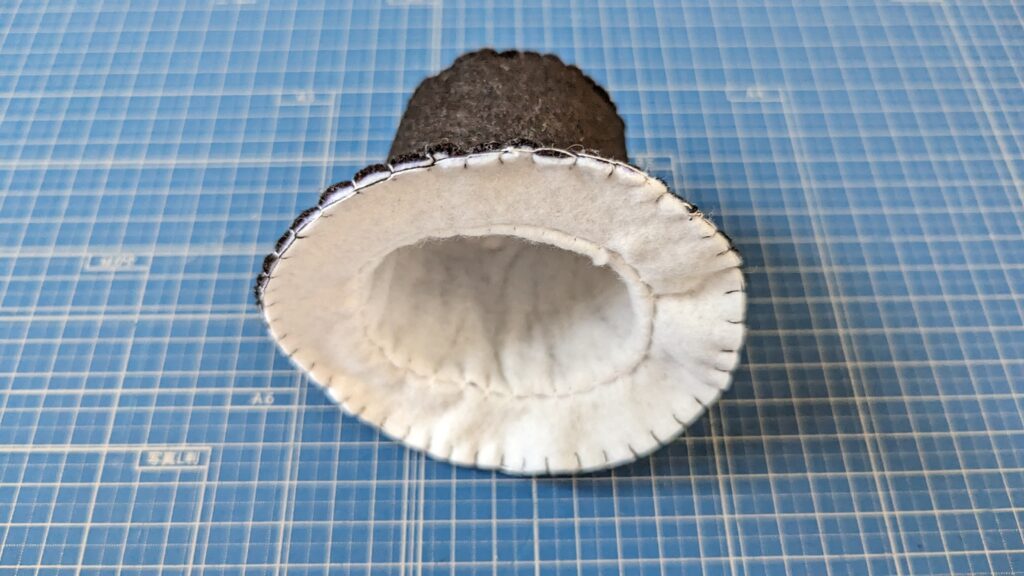
4.3とブリムの内側を縫い合わせる。
生地同士を中表にして縫います
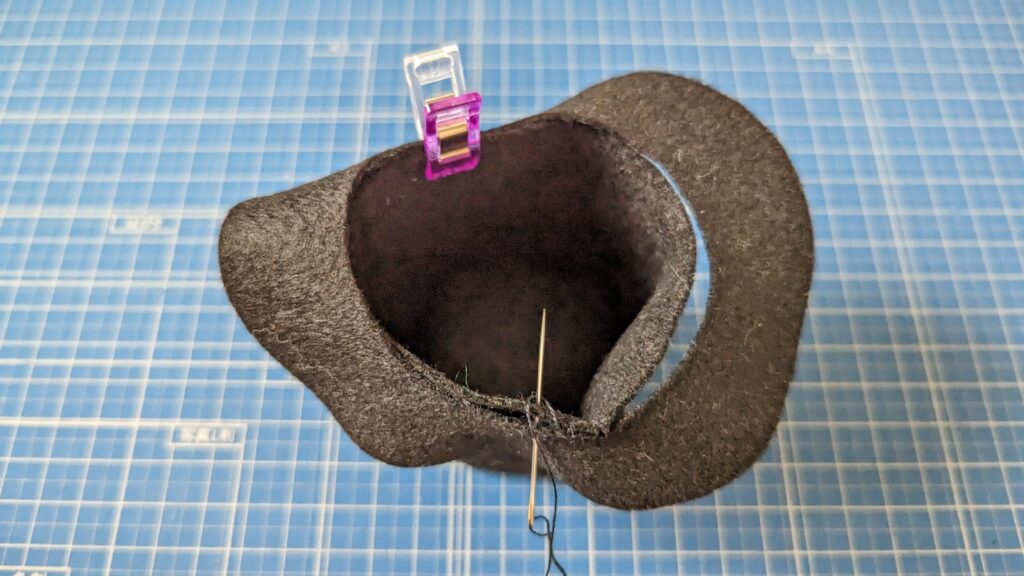
2セット作ります
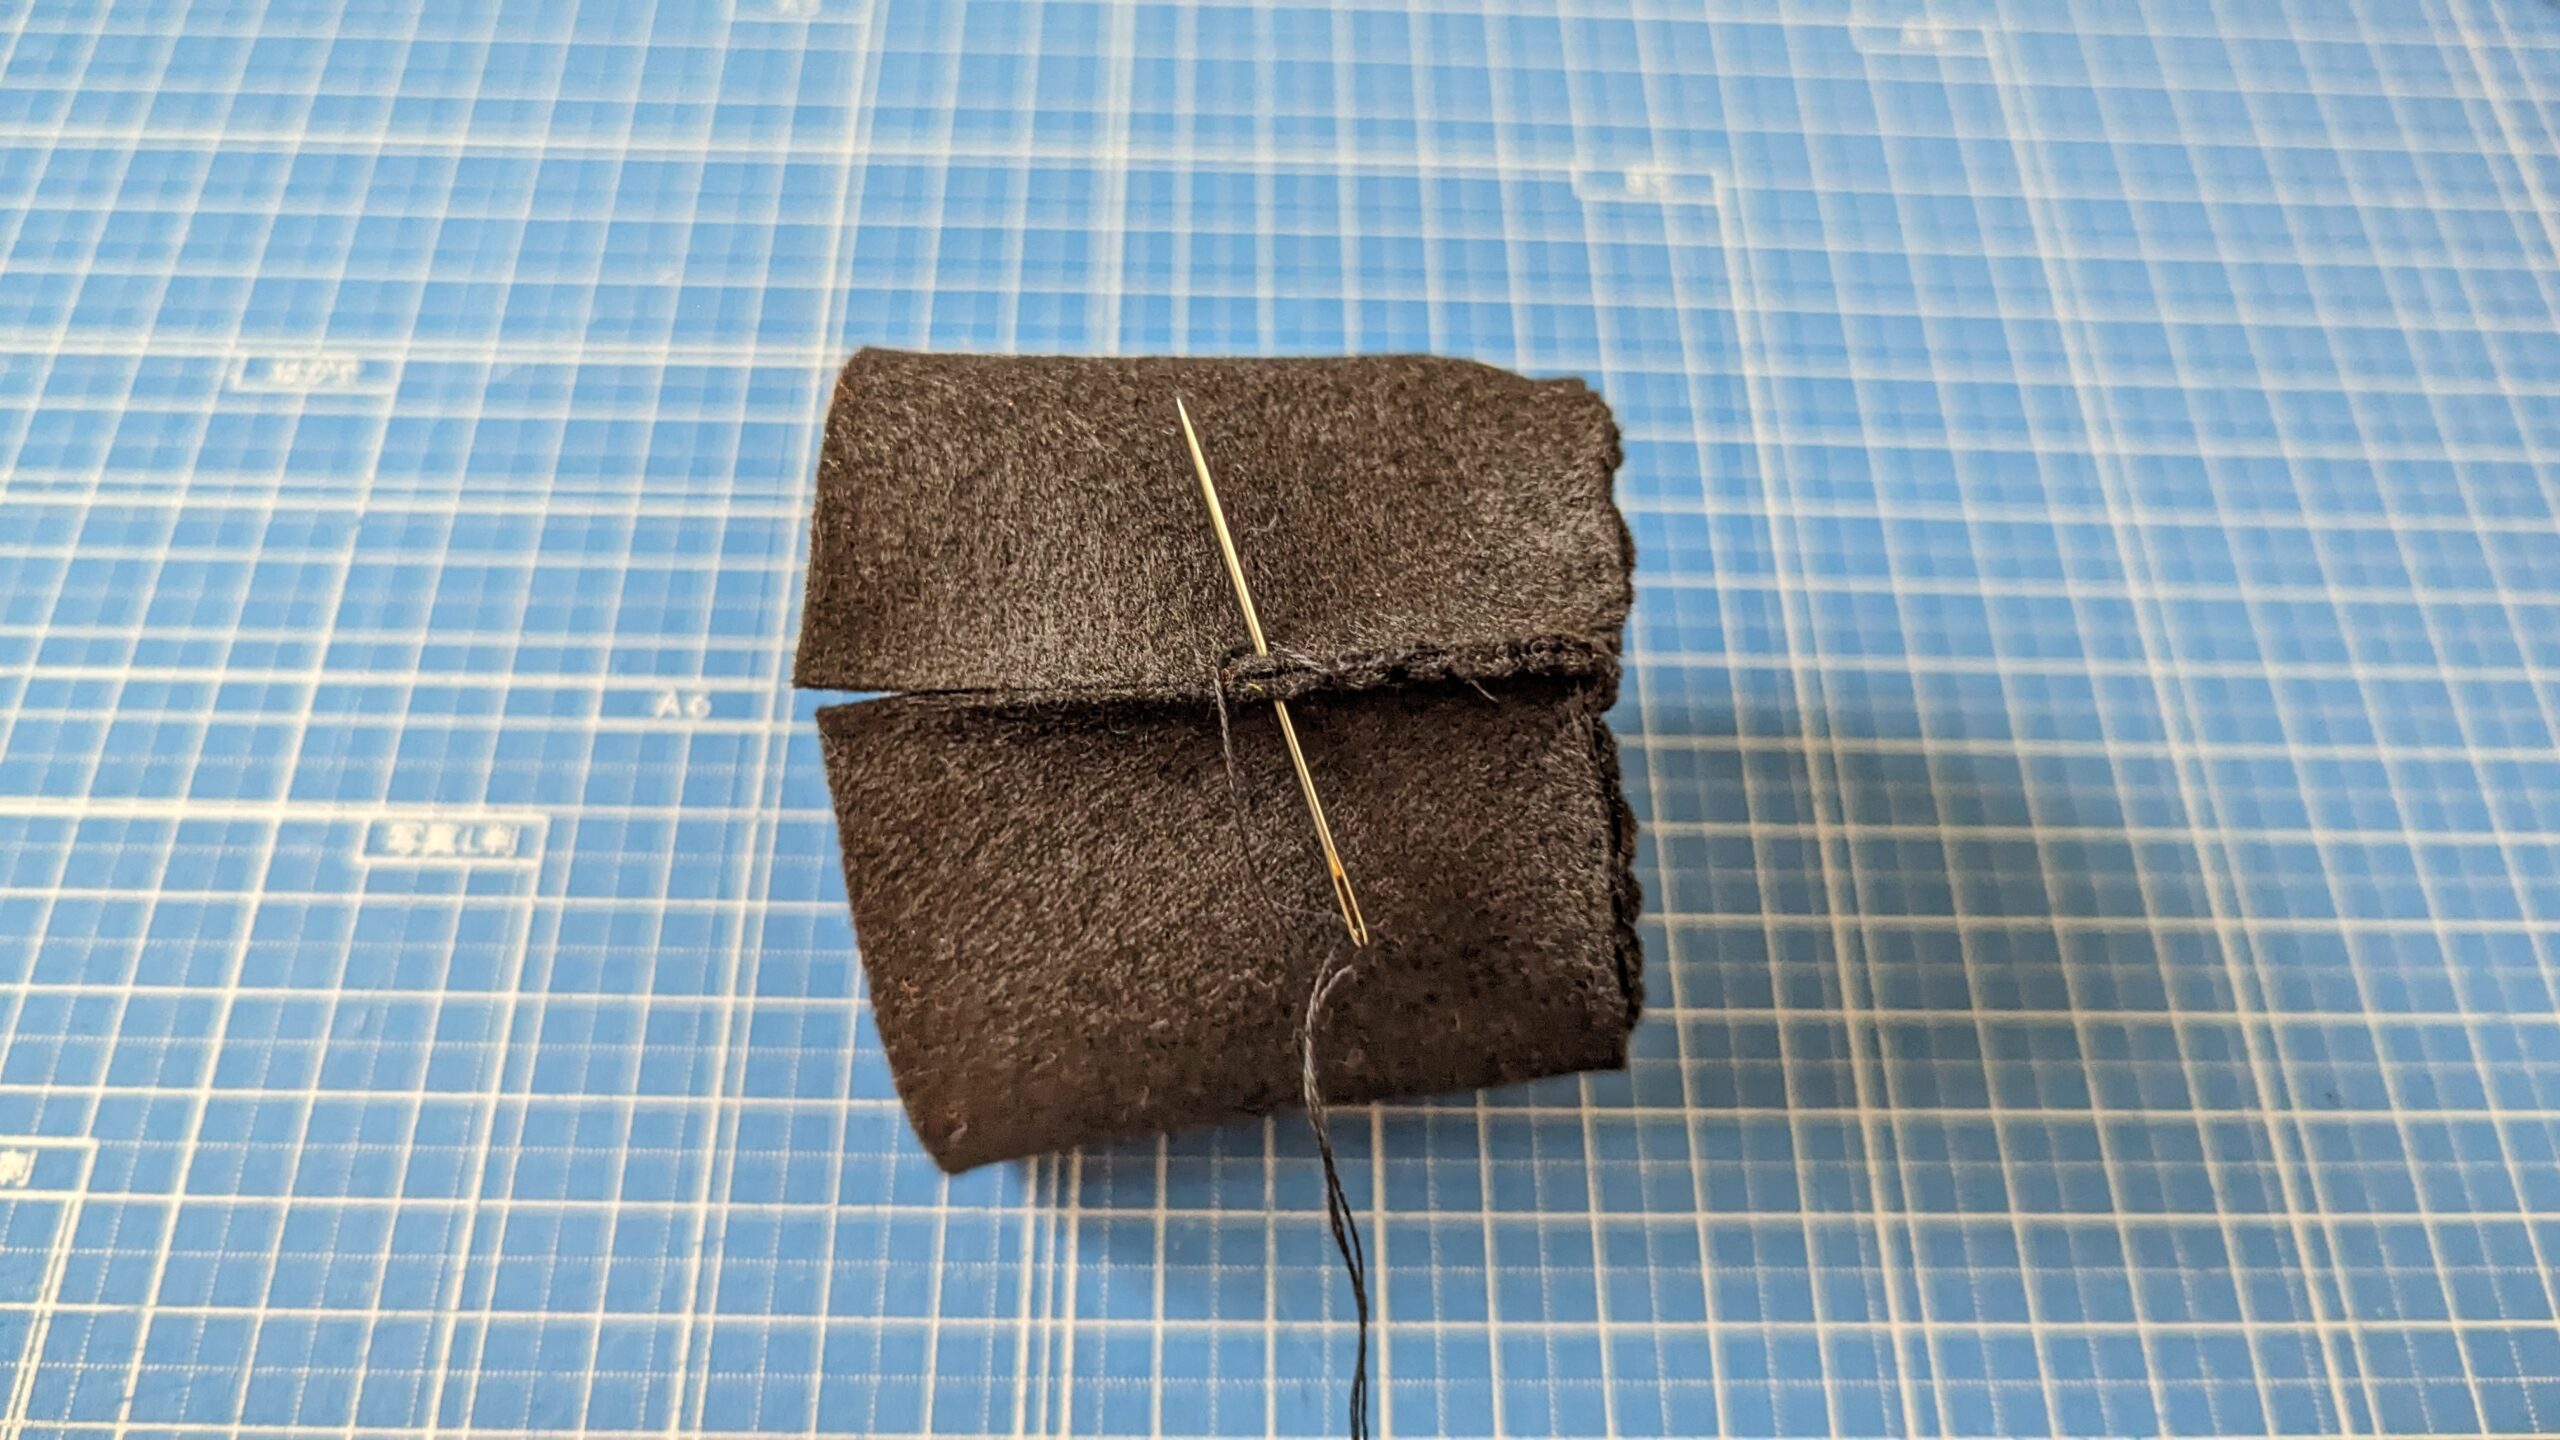
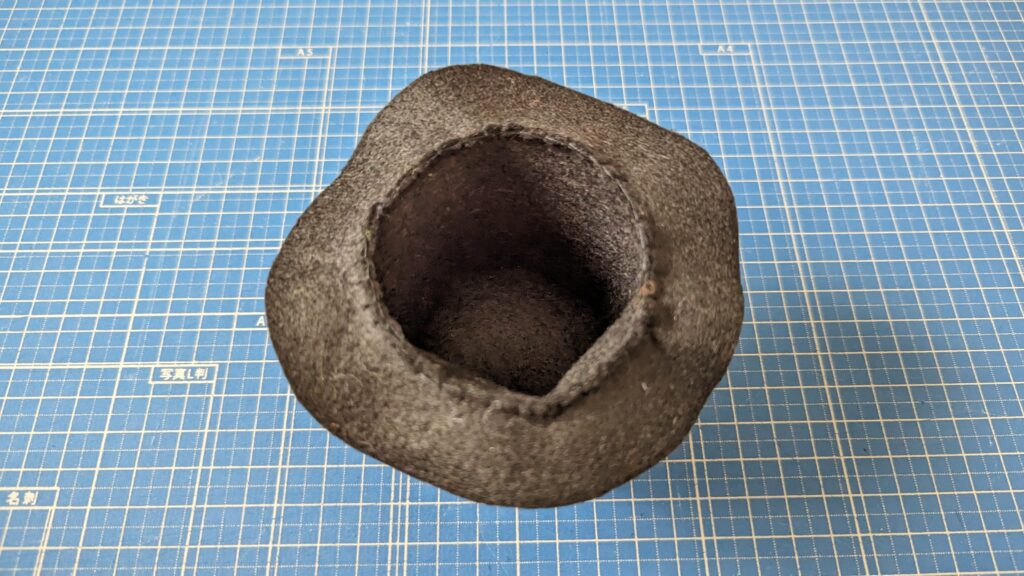
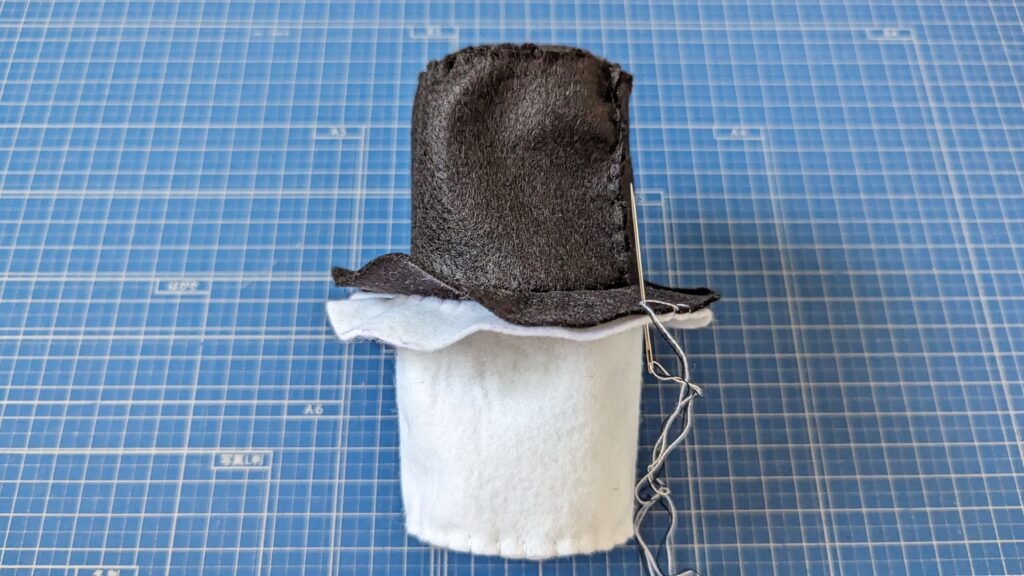
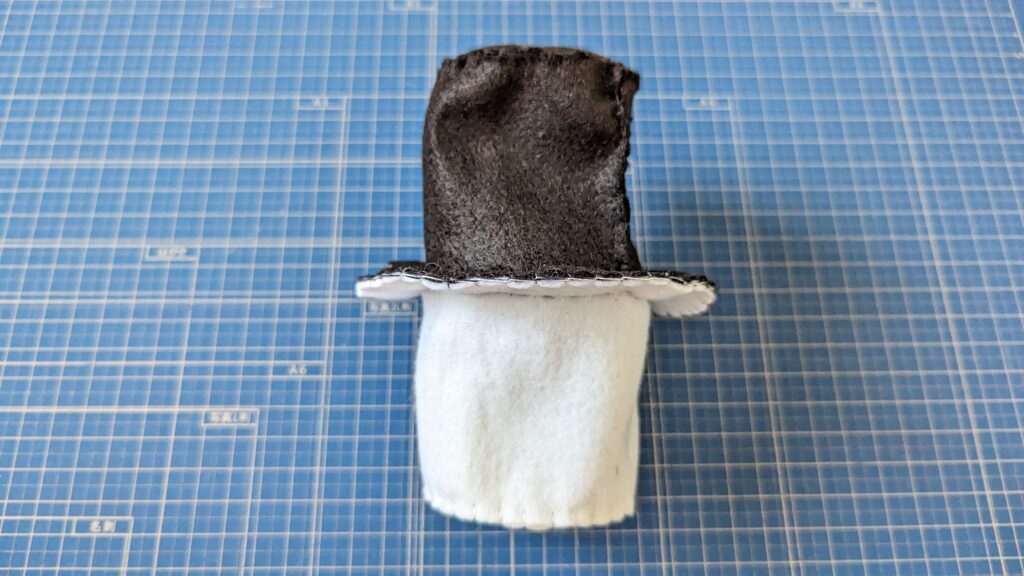
5.4のブリム同士を合わせて縫い合わせる。
黒と白の刺繍糸を1本ずつ使い、2本取りにしました
お好きな色でどうぞ
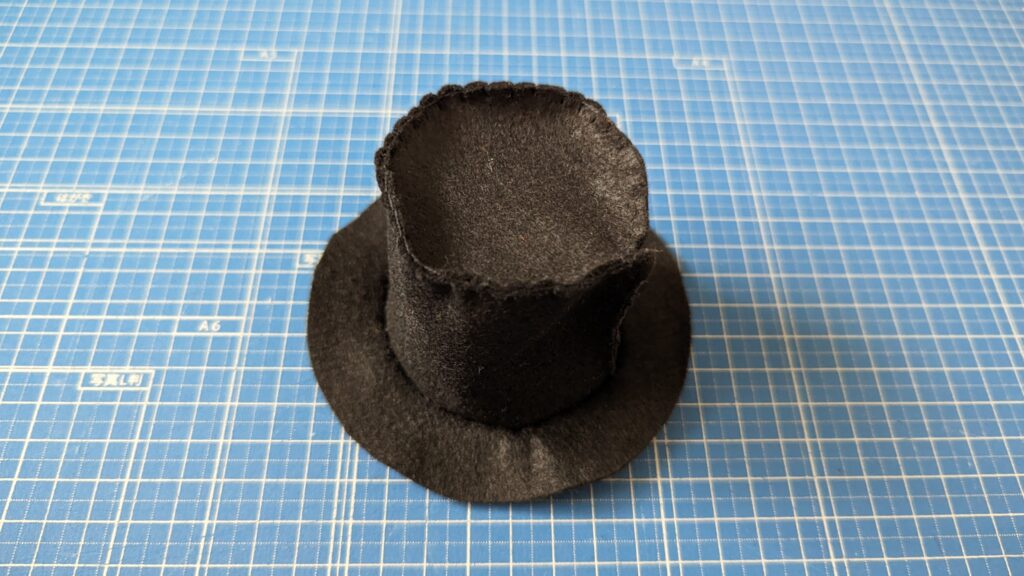
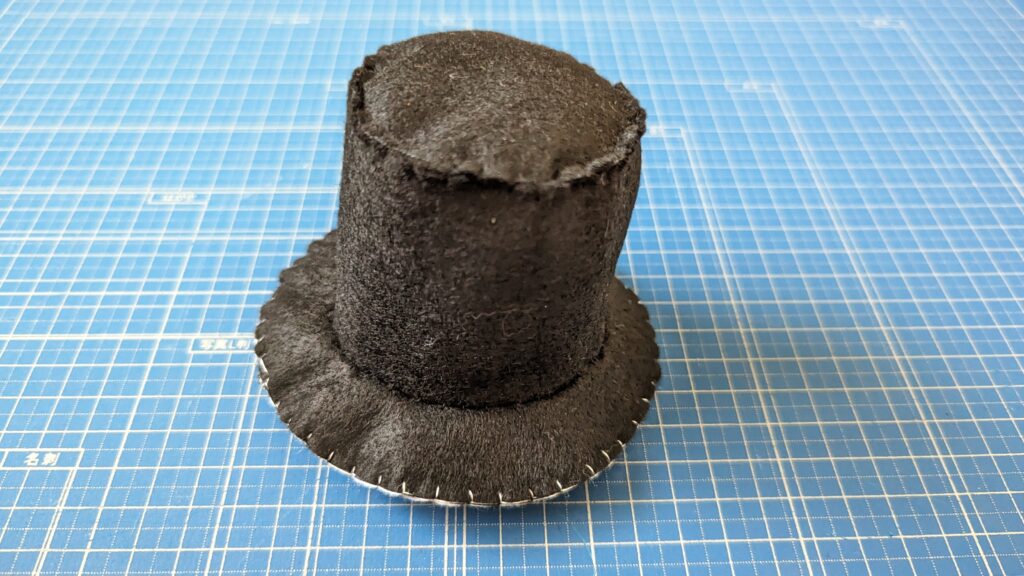
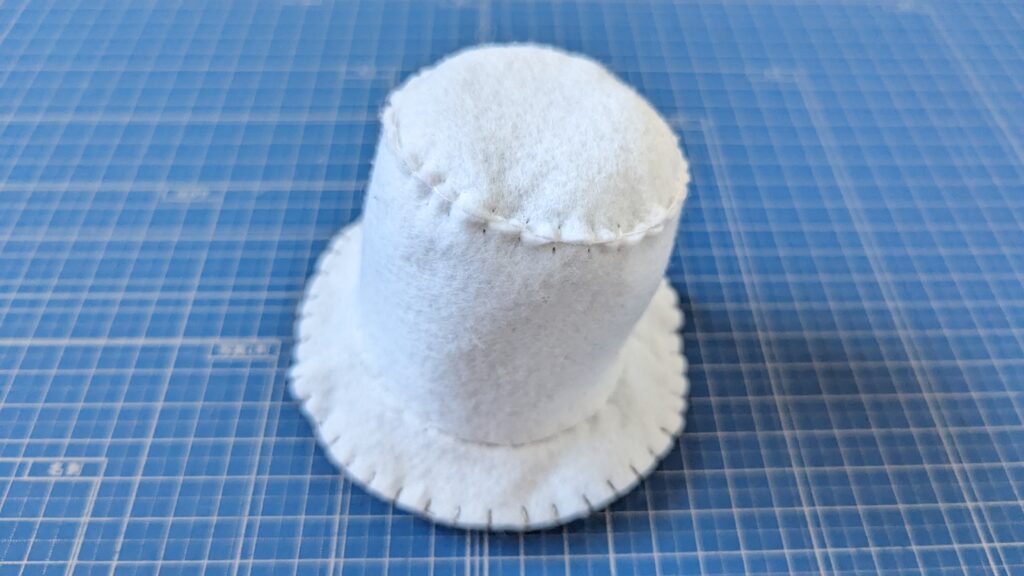
6.クラウンを片側に寄せて整える。
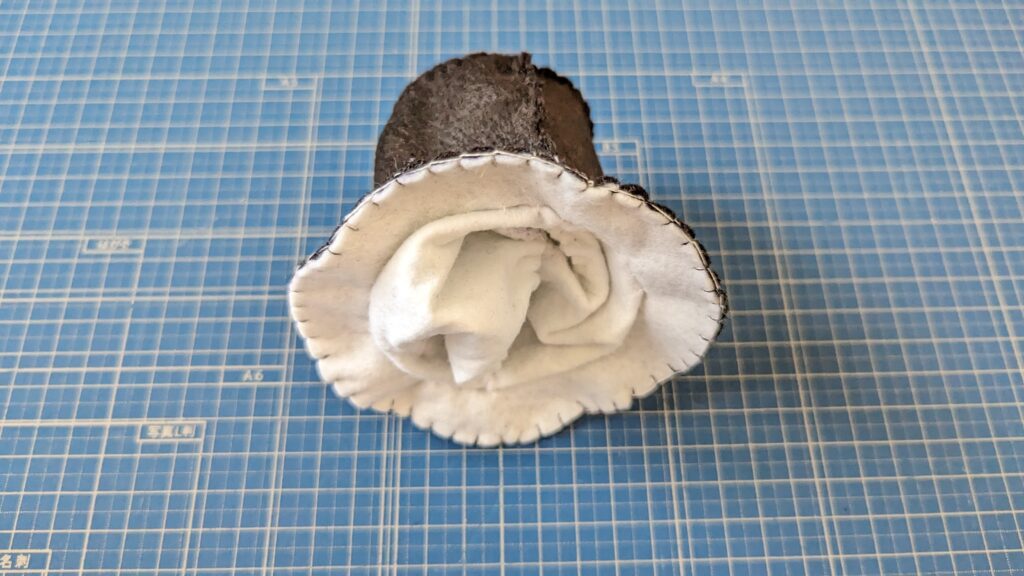
完成です!
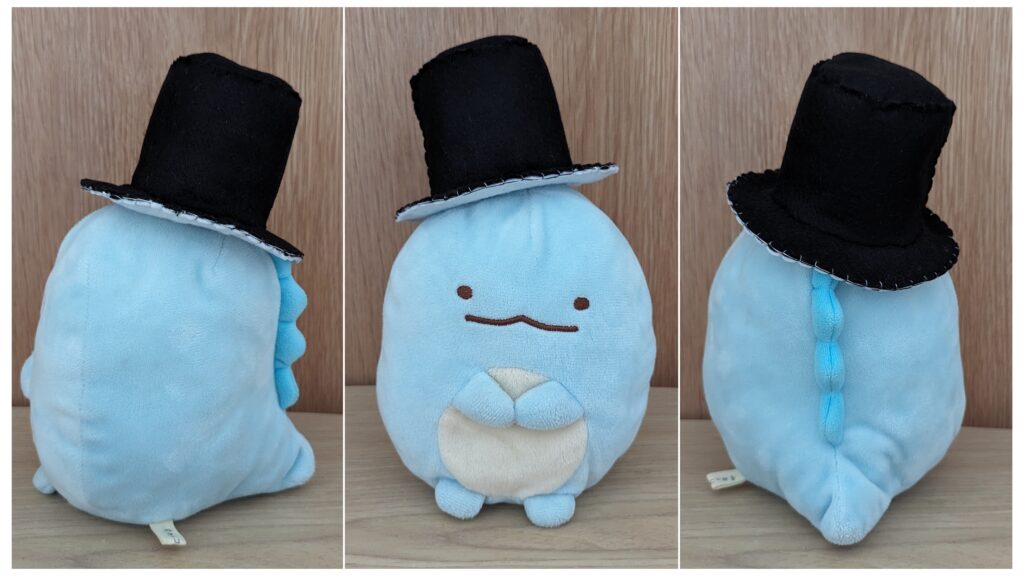
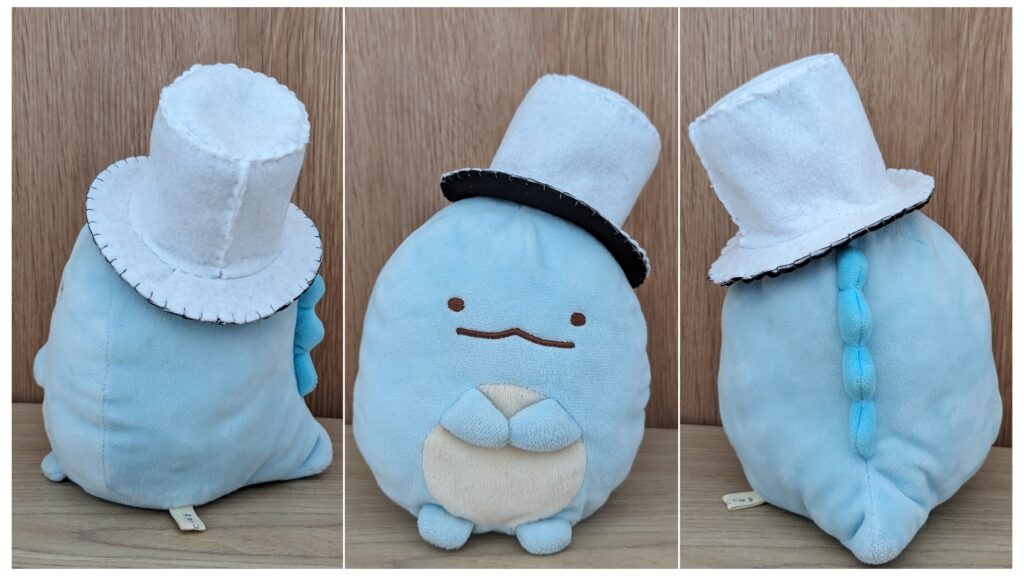
ぬいぐるみ達に被せてみました。


コメント